-
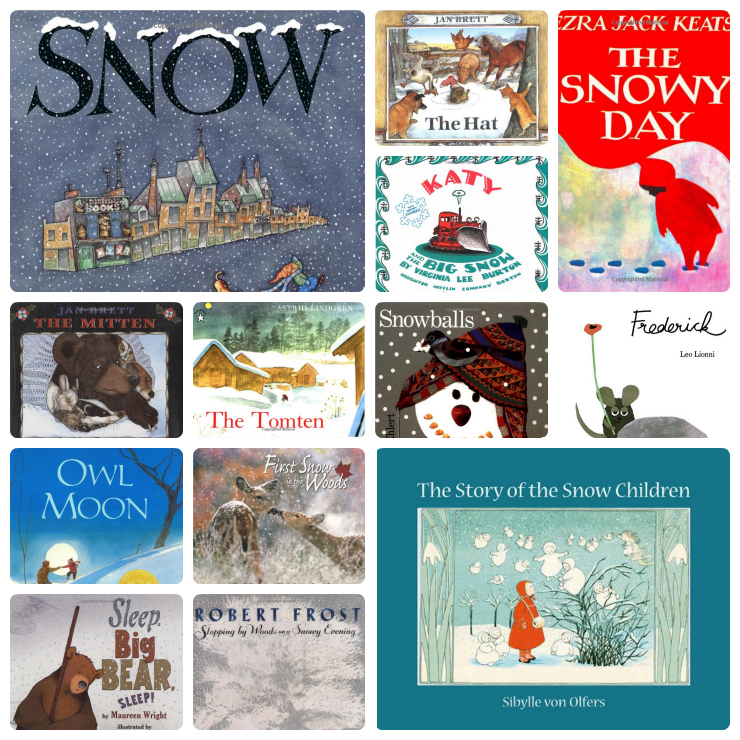
Favorite Winter Books for Children
I have always been a lover of children’s books. Of course I loved them as a child, but I also continued to collect them as a teen and young adult. By the time my children…
-
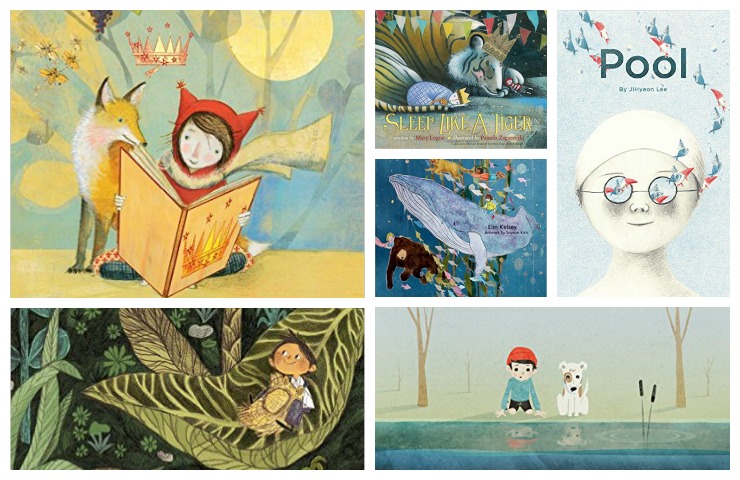
Judging a Book by its Cover
Although my kids are getting a bit older, they still enjoy picture books and I must say I’m still very drawn to beautifully illustrated books. I have several books sitting in my Amazon cart that…
-
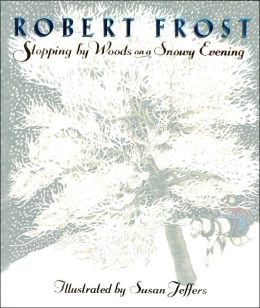
Miles to Go Before I Sleep
I must admit as a young child I did not read much poetry. Oh, sure, I had learned most of the nursery rhymes by heart and marveled at lines like “Mary, Mary, quite contrary” and…
-
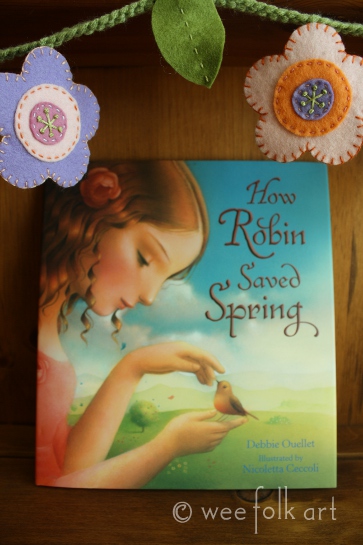
How Robin Saved Spring :: Book Review
When it comes to children’s books, I find my favorite books tend to be the classics. As a preschool and elementary school teacher, I was exposed to the latest books, and although there were many wonderful new books, my top 10 still…
-
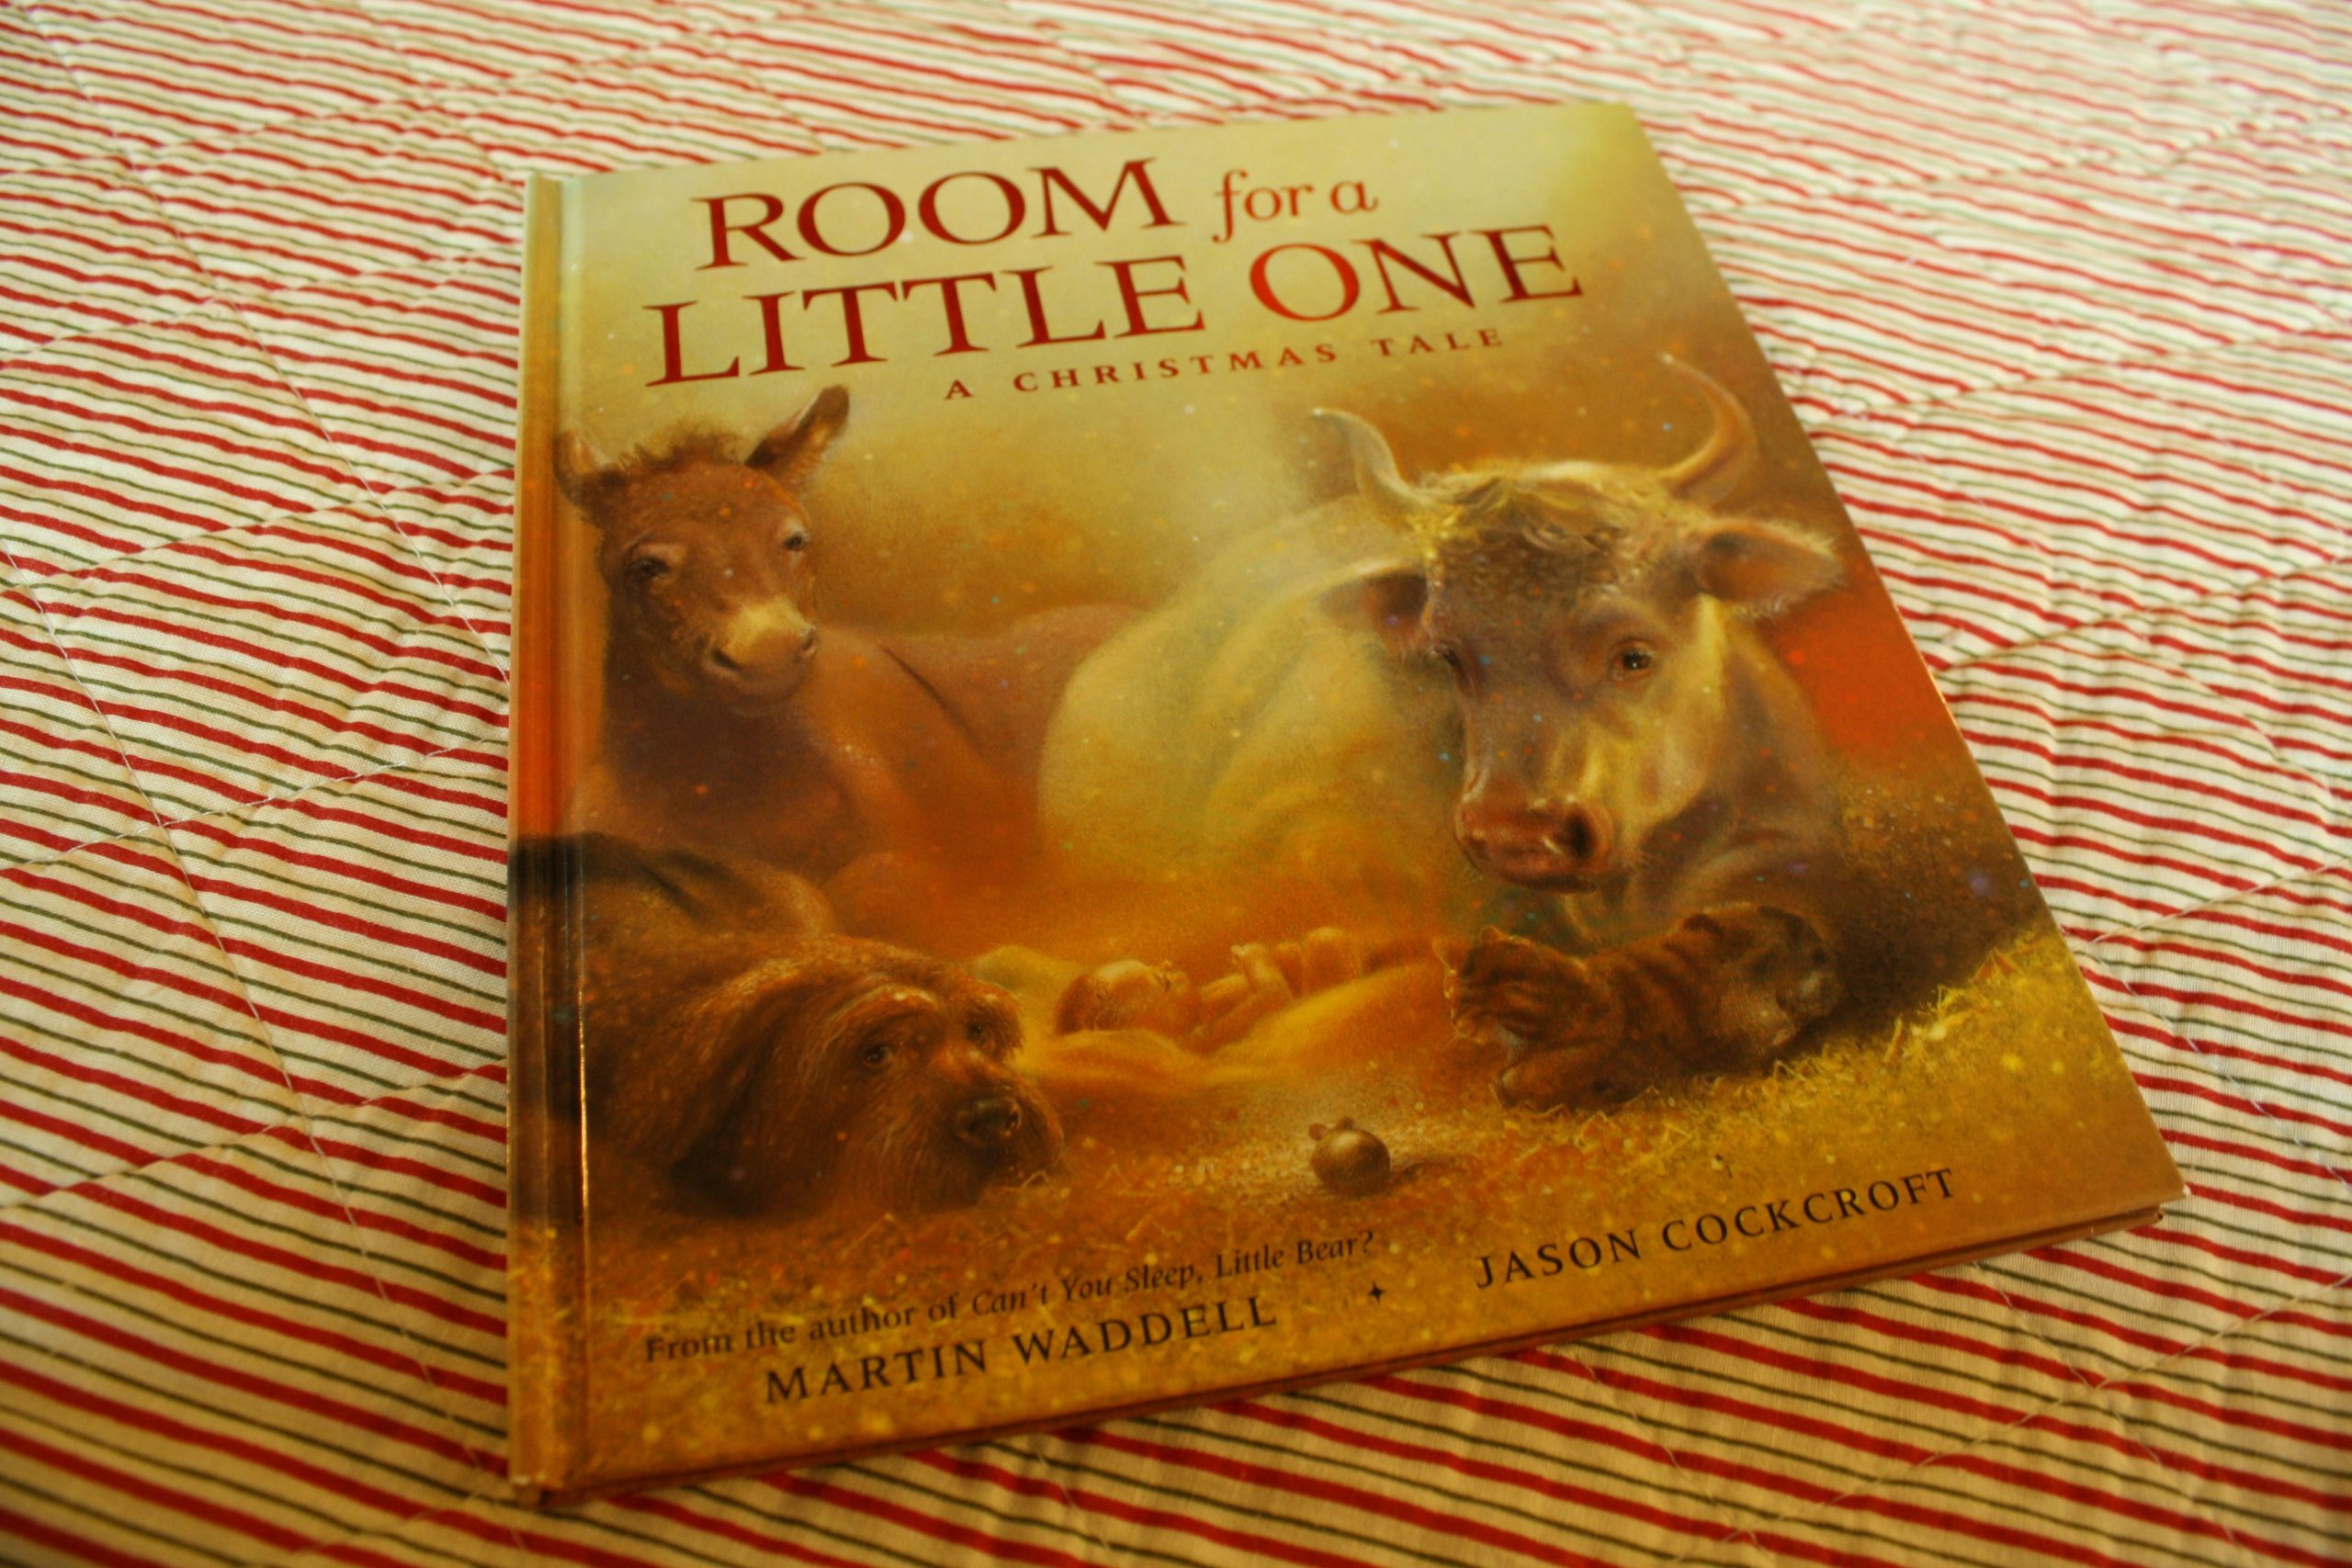
Advent Week 4 – Room for a Little One
WEEK 4 – Birth of Baby Jesus The book: Room for A Little One The craft: Nativity with Mary, Joseph and Baby Jesus (using 2 large people bodies and 1 boy peg with assorted fabric…
-
Advent Week 1 – The Littlest Angel
WEEK 1 – Gift Giving From the Heart The book: The Littlest Angel The craft: Wool roving angels The recipe: Angel wings The applique: An angel Children are constantly learning whether we are aware of…
-
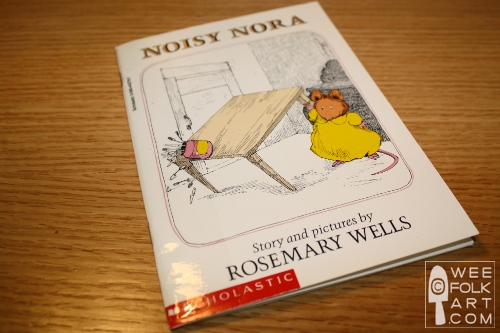
Book Nook – Noisy Nora
“Jack had dinner early, Father played with Kate, Jack needed burping, So Nora had to wait. First she banged the window, Then she slammed the door, Then she dropped her sister’s marbles on the kitchen…
-
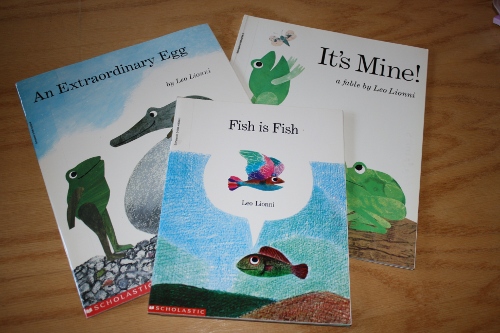
Book Nook – Leo Lionni
Over the next few weeks I plan to share books with Bug, Fairy and Pixie by author and illustrator Leo Lionni. I have quite a few of his books in my collection including: It’s Mine…
-
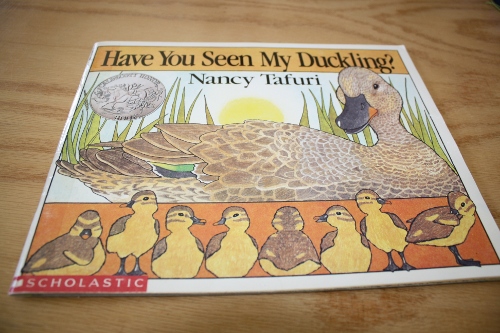
Book Nook – Have You Seen My Duckling?
It all began when one very curious little duckling decided to leave the nest and follow a moth on an adventure. When Mommy Duck returns to her nest, only to find herself one duckling short,…
-
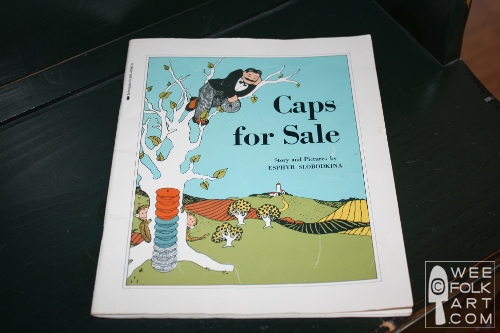
Book Nook – Caps for Sale
“Once there was a peddler who sold caps. But he was not like an ordinary peddler, carrying his wares on his back. He carried them on top of his head.” So begins the tale of…
-
Wanted: Christmas Cookie Recipes!
When I was a little girl, one of my favorite things about the Holidays was baking with my mother. She loved… nah, loves… to bake, and the Christmas cookie platter in our house was always…
-
Fairy In the Tree
We’ve gotten a few inquiries about the little Fairy sitting in a tree in the Felt Forest. In answer to every one’s questions, no, we do not have a pattern for the fairy. He was…

Patterns & Crafts