
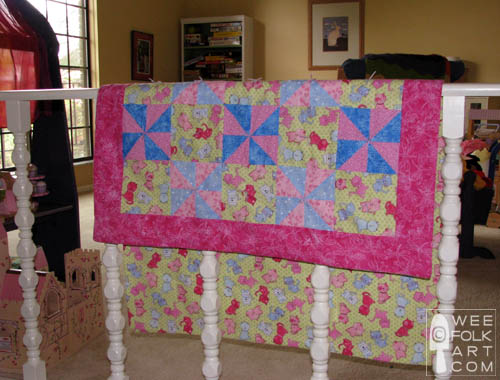
Pinwheel Quilt – Part Two “Assembling Your Quilt”
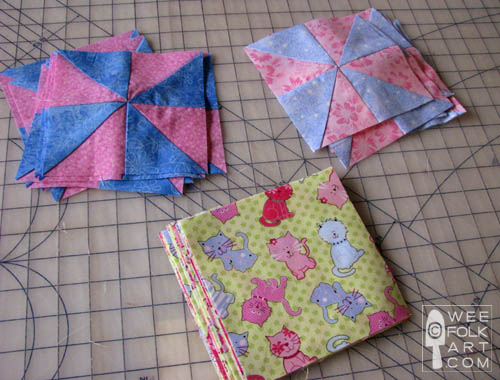
Remember that pinwheel quilt I started before my vacation. I didn’t forget… as promised here is the second part of the tutorial. Now that you have complete Part One of this tutorial, you should have your 17 pinwheel blocks completed and 18 6" print blocks cut out.

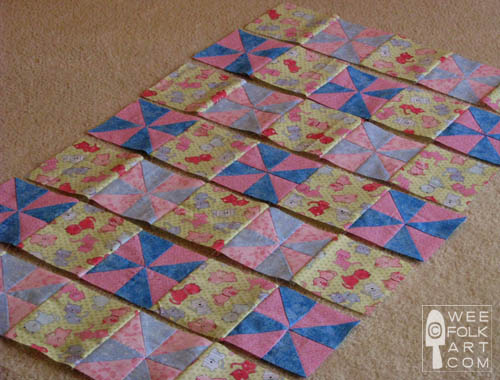
Layout your block into rows as follows…
3 rows (A) with Pinwheel, Block, Pinwheel, Block, Pinwheel
4 rows (B) with Block, Pinwheel, Block, Pinwheel, Block
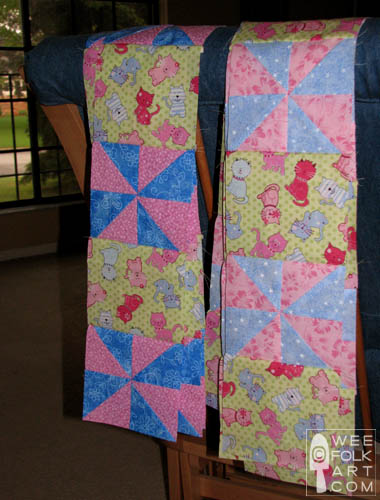
Sew your blocks together into rows and iron the seams.
Pin your rows together in the following pattern… B, A, B, A, B, A, B.
Sew your rows together and iron the seams.
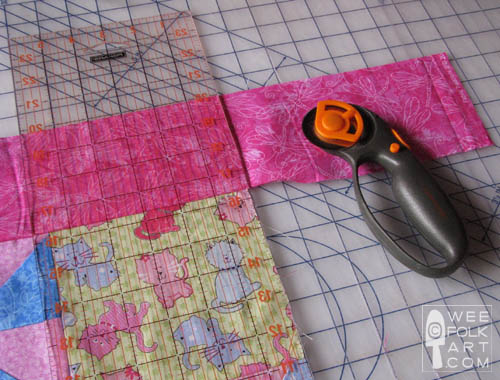
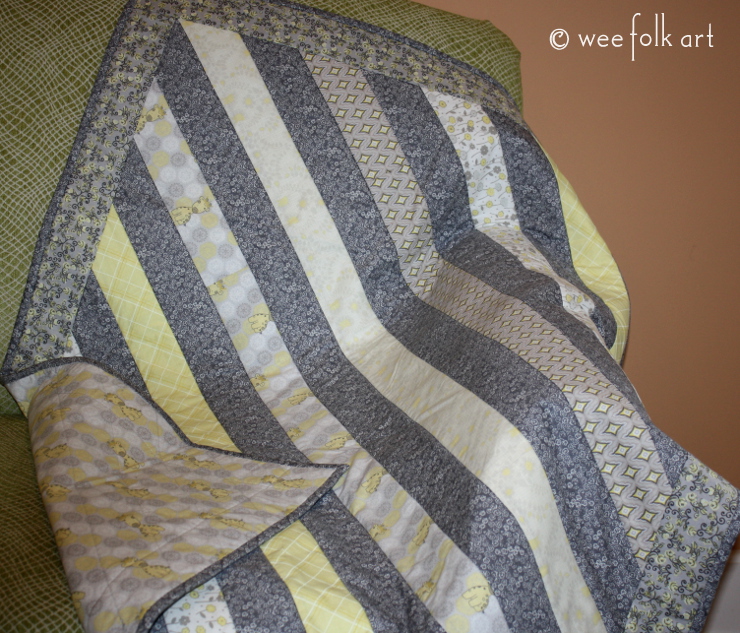
Cut out your border. You will need 4 4×42" strips. Your strips will be longer than you need. I always like to leave my border longer and trim them after I sew them on.

Sew the borders onto the long sides of your quilt block. Iron your seams and trim the borders even with the top/bottom edges of your quilt.
Sew the borders onto the wide sides of your quilt block. Iron your seams and trim the borders even with the sides edges of your quilt.
Now you need to cut out a piece of batting to fit with your quilt top. Trim up your yard of backing fabric to fit as well. Layer your pieces batting, backing right side up, quilt top face down. Pin and sew leaving a 5" gap. I like to use a 1/2" seam allowance when sewing the quilt layers together.
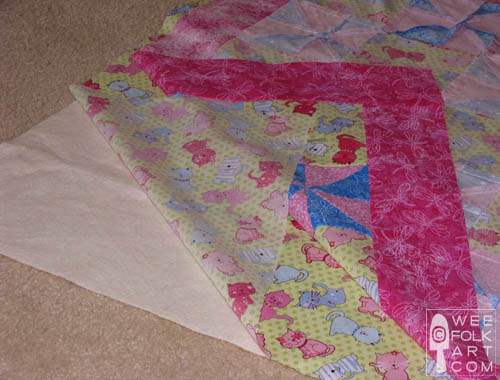
Turn, iron the edges and then sew the gap closed by hand.
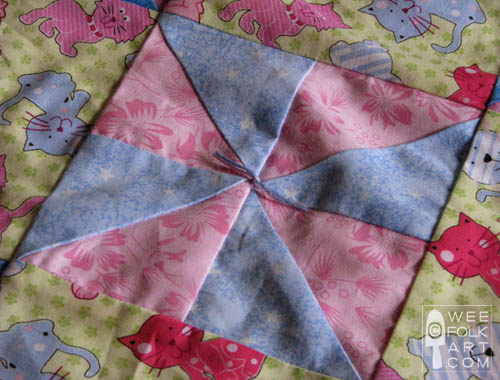
Now it is time to tie your quilt. Use two full strands of embrodery floss in cordinating colors to tie your quilt in the middle of each pinwheel and print block. I tie 3 knots and then trim the thread to be about 1/2" long.
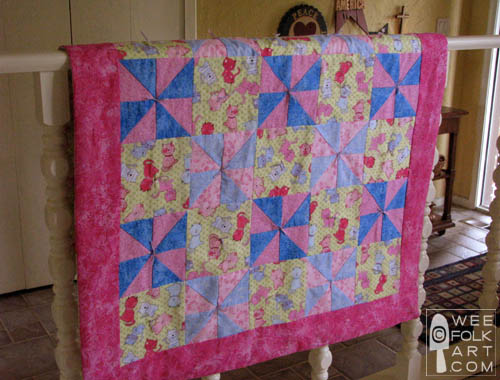
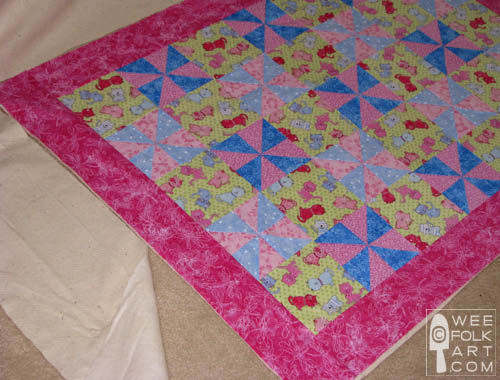
Enjoy your Playful Pinwheel Quilt.


12 Comments
manda
Do you have little bows in the middle of each pinwheel?
Michelle
I do the embroidery floss ties (as pictured above) in the middle of each pinwheel and each print square.
Sheridan
Boy, this is one lucky baby. Most her aunt and her grandma are so crafty. Does the momma to be craft too? I love the quilt. The fabrics you picked are so cute.
Stormy
This is really quite lovely. I’ve never attempted a quilt, but this one seems doable. I just found out mySIL is pregnant. Perhaps this is good time to give it a go. Love the materials.
Beatriz
3 quilts later I find this blog. By far the easiest instructions for basting it together and finishing off with ties! Beautiful quilt
deandra slankerd
What would be the best way to make this for a twin size bed? Would it be better to add more blocks or add a wider border? I’m new to sewing and this will be my first quilt!
Michelle ~ Wee Folk Art
I would suggest doing both… adding more squares and a wider border. For a twin sized bed you need a quilt around 65″x90.” These blocks are cut to 6″ so with a 1/4″ seam allowance will be approx 5.5″ wide when done. I would suggest making the top 11 blocks wide (I like using an odd number for the pattern) by 16 blocks tall. I would also make the border the same width as the blocks.
HTH – Good luck with your first quilt!
Serena
Hi!
Thanks you so much for beautiful applique patterns.
I’m working on wool felt applique blocks.
How should I connect all the blocks to make one big wall hanging?
I made quilt wall hangings before but never used wool felt blocks..
Kimara
If you are making the blocks exactly as is, and are making it for a wall hanging, you can simply whip stitch them together. That way you won’t lose any of the block to seams. If you wanted a sturdy quilt, I would add a 1/4 – 1/2″ all around the block before starting so you could sew them together with a sewing machine and have a 1/4 – 1/2″ seam allowance. Hope that helps 🙂 ~Kimara~
Serena Kim
Thanks for your help!
I need to redo couple of the blocks because I didn’t add extra 1/4″.
I guess I should have asked questions before I started.. 🙂
Kimara
Do share a photo when you are done. We would love to see it 🙂 ~Kimara~
Pingback: