

For years I've wanted a light box… not the kind for taking photographs, but rather for tracing designs. As a designer, I am always tracing, while putting together a finished product. I don't like using the thin tracing paper because it smudges… I'm not a neat drawer… and I tend to be a vigorous eraser and wind up with holes! Often, I'd tape designs to my window, using the sun as a natural light box, but what to do in the early morning or late at night when I often work?
So, I finally bought one, and I can't believe I went for all these years without one! Not only is it great for my design work, but it makes tracing designs for embroidery a piece of cake! I bought a low end light box, it cost $42.00, but it is perfectly fine for all my needs. How does it work, you ask?
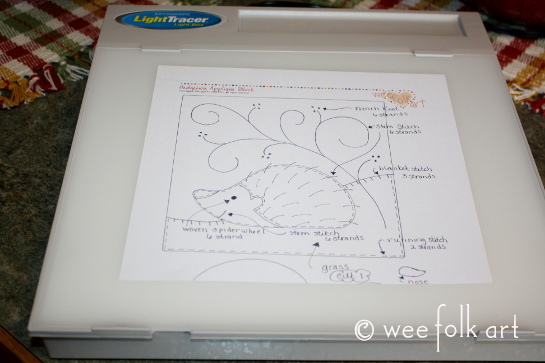
Start by laying your design on the light box. The light is not on yet.

If you laid your fabric on the design without the light on, this is what it looks like.

Now, turn on the light…

Place your fabric back on the design. I use a light glue masking/painters tape to hold the fabric in place. See how the design pops! Awesomeness, I'm telling you!

Use a water erasable marker to trace the design.

And, it's that easy! You are now good to go.


If you do design work or embroidery, I so recommend the light box. Has moved up on my list of Top Ten Items for Crafting I can't do without!
Photos: 3-25-14


I want one!! Amazing thanx for sharing.
I too finally bought one and it is a wonder. Makes crafting sooooooo easy
[…] my pattern. If you’d like to learn more about how to use light boxes you can read about them HERE. There are many other options for transferring patterns which we will talk about in another […]
[…] Tape your pattern to the window or light box if you have one. Tape your fabric over the pattern. Trace your pattern onto the fabric with the pencil or washable sewing pen. Pencil markings are usually light and can be completely covered with thread. They will also fade or wash away with time. The washable pens will either wash away by dabbing the fabric with water or will fade over time. If it takes you awhile to finish your project, you may need to retrace parts of your design. You can read more about using a light box in our Light Box post. […]
[…] Light Box :: Tracing Box u2013 As a designer, I am always tracing, while putting together a finished product. I don’t like using the thin tracing … And, it’s that easy! You are now good to go. […]