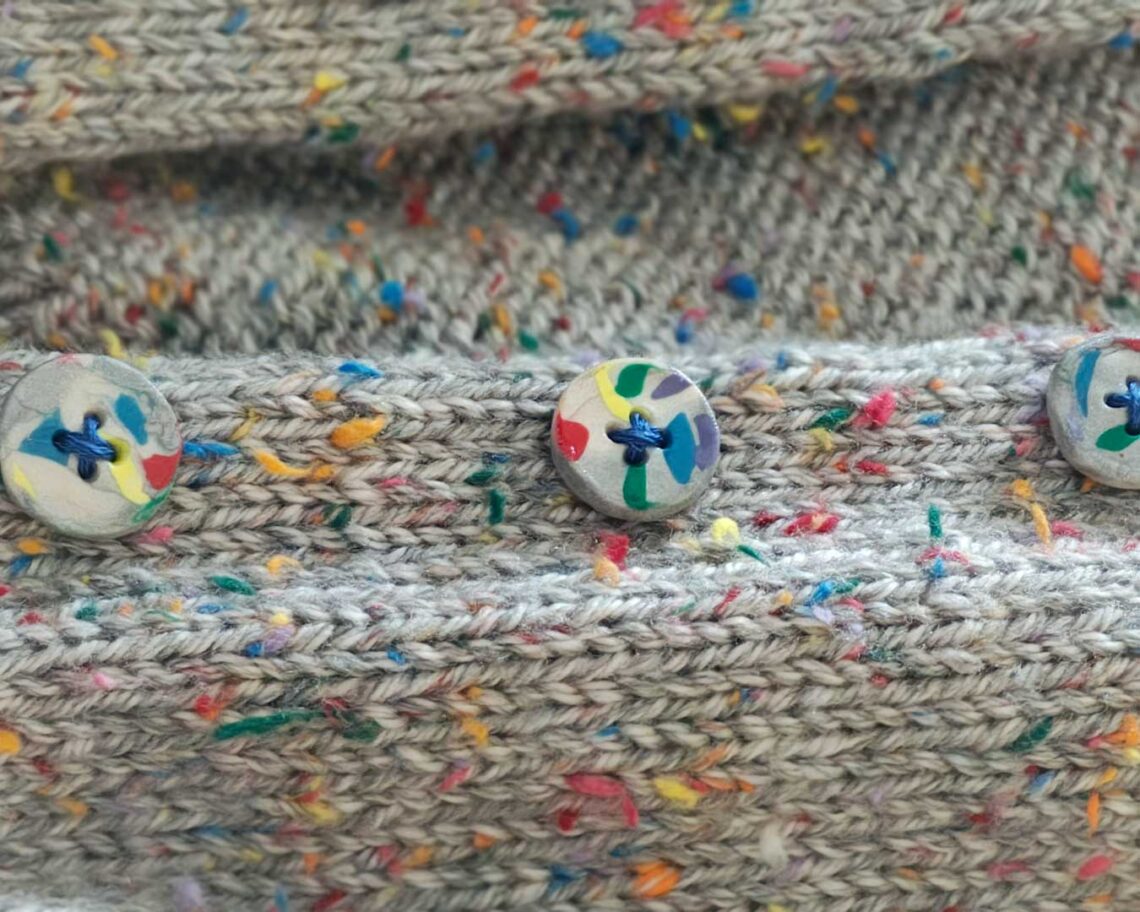
Sculpey Clay Buttons with Sprinkles
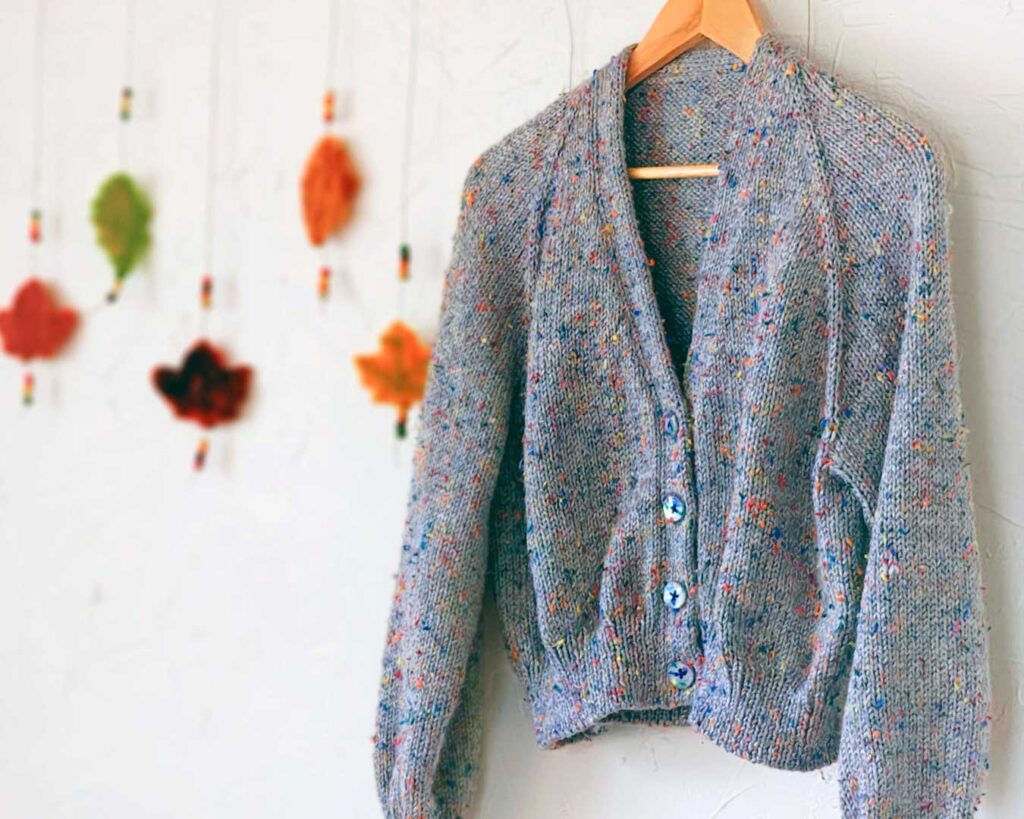
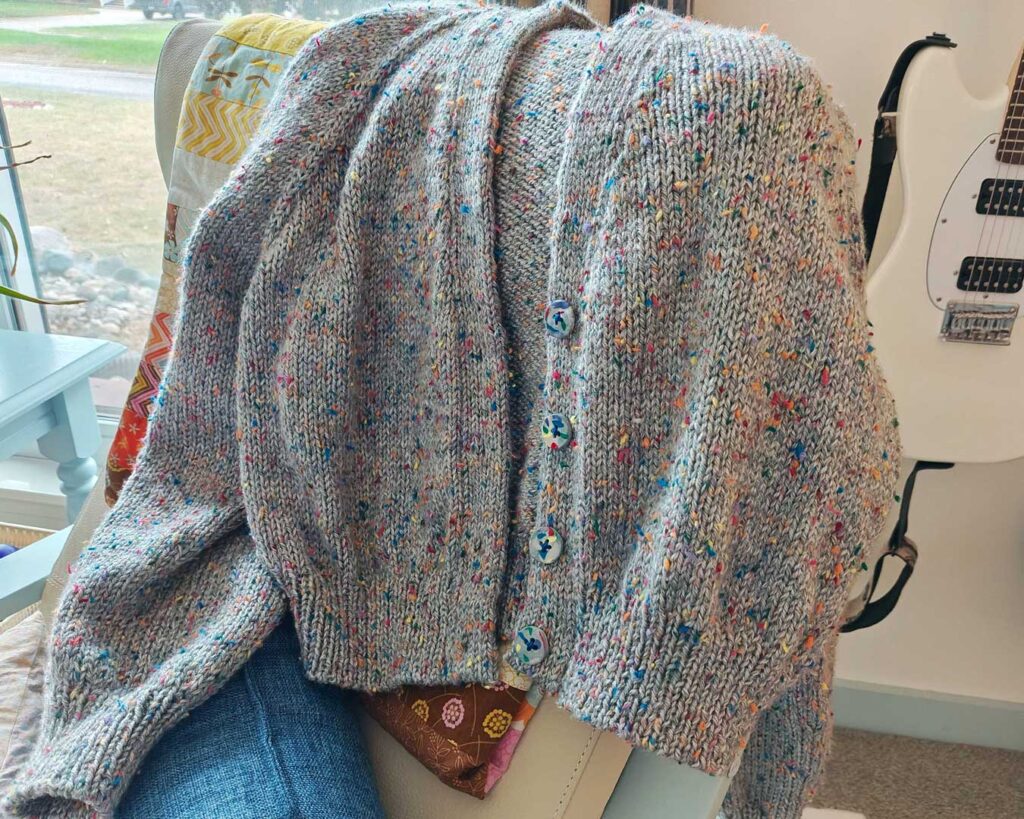
I just completed a cute cardigan made with rainbow speckled tweed yarn that I have dubbed my Fun-Fetti Sweater (more details below). When I went to add buttons, I felt like the basic buttons I had on hand weren’t adding the pizzaz I wanted and decided that the sweater needed equally fun buttons. I used what I had on hand and made these very 80s styled sculpey clay buttons.
Materials:
- Sculpey Clay
- Wax Paper
- Aluminum Foil
- Baking Sheet
- Bamboo Skewer or Sculpting Tools
- Button Template
- Rolling Pin or Bottle
We are an Amazon Affiliate. We will receive a small commission when you purchase items by following our links.
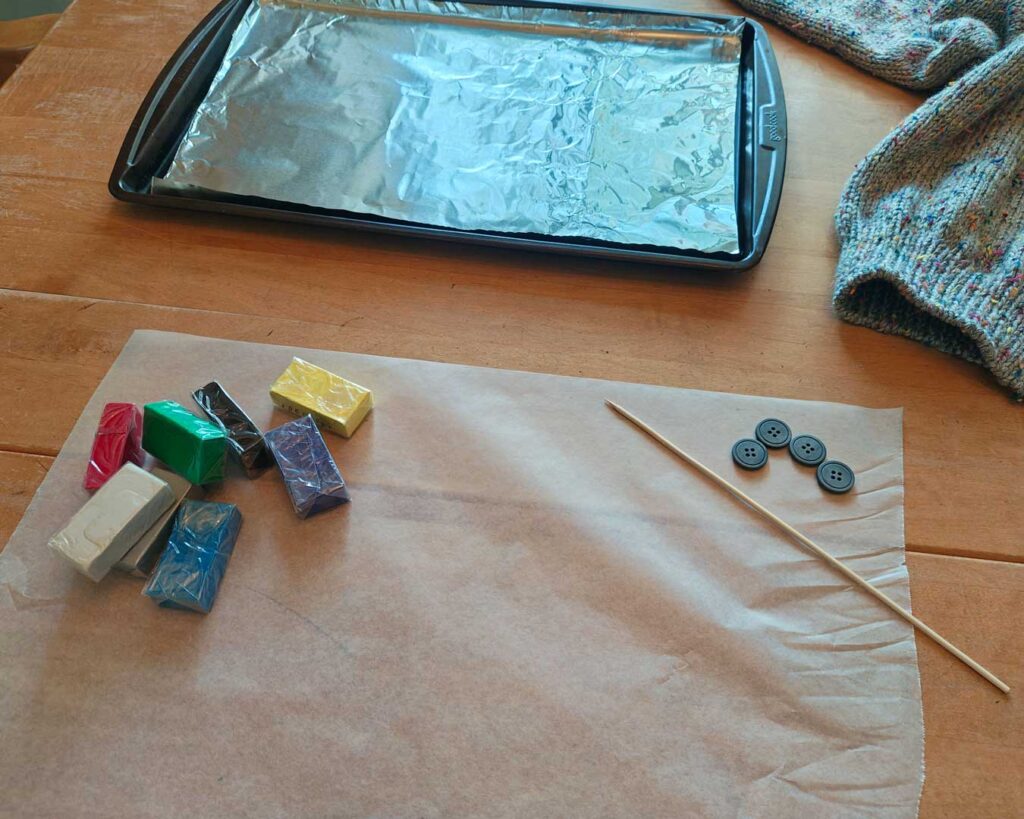
Gather the materials. Cover your working area with wax paper and a baking sheet with aluminum foil.
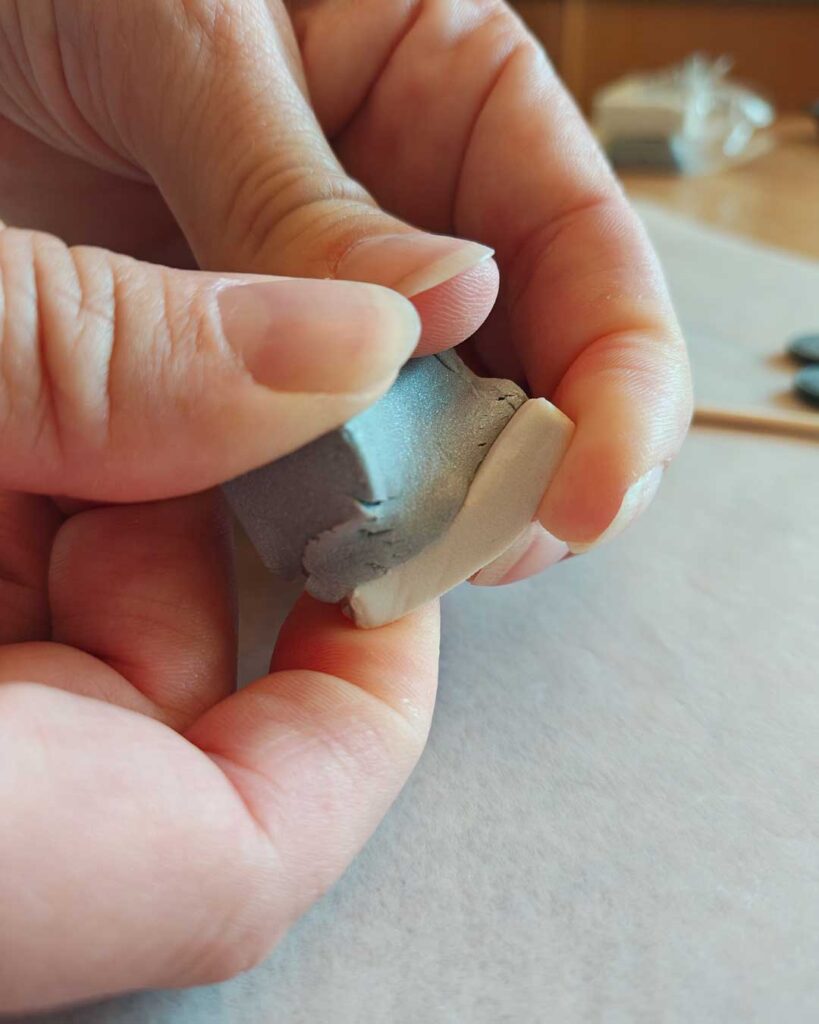
Choose your base colors. I marbled grey with a bit of white.
I twisted the two colors together just enough to combine, but not enough to thoroughly mix the colors.
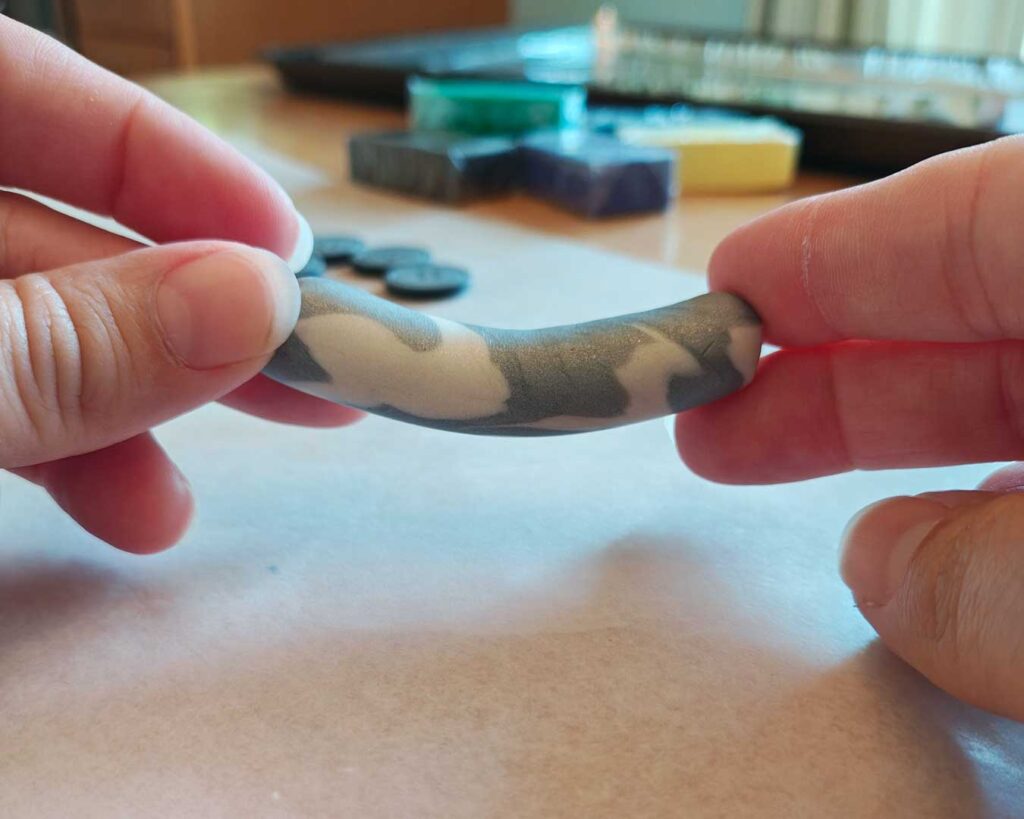
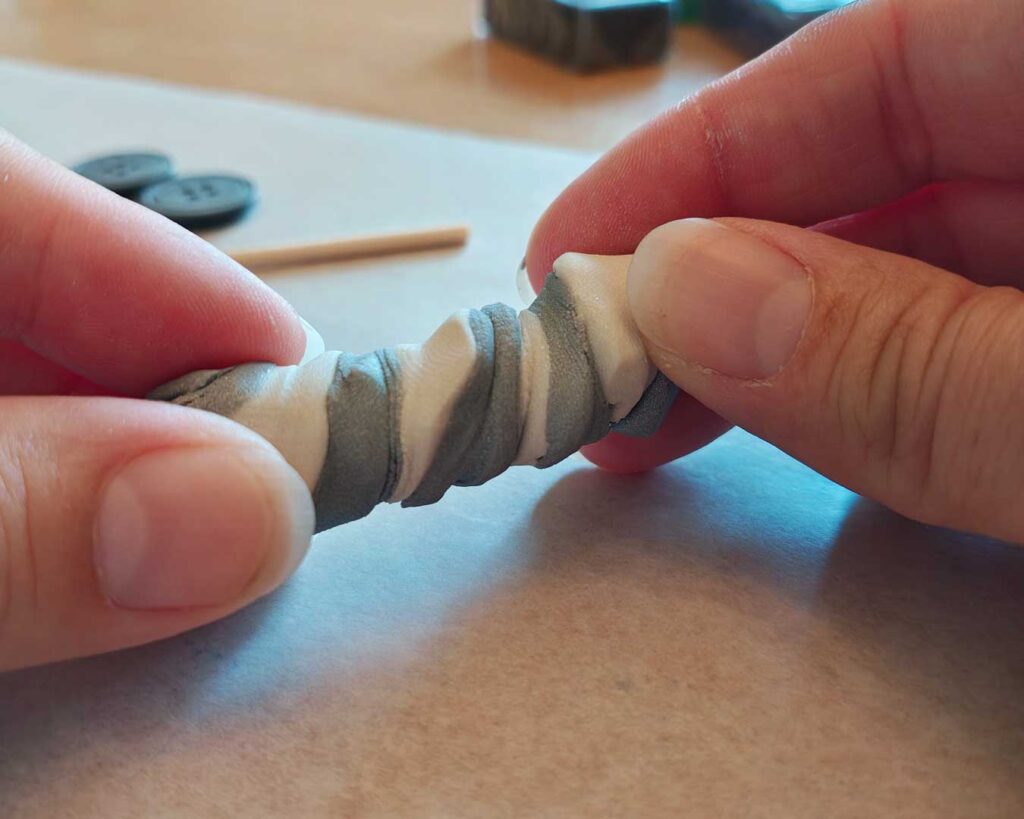
I rolled the combined clay into a log.
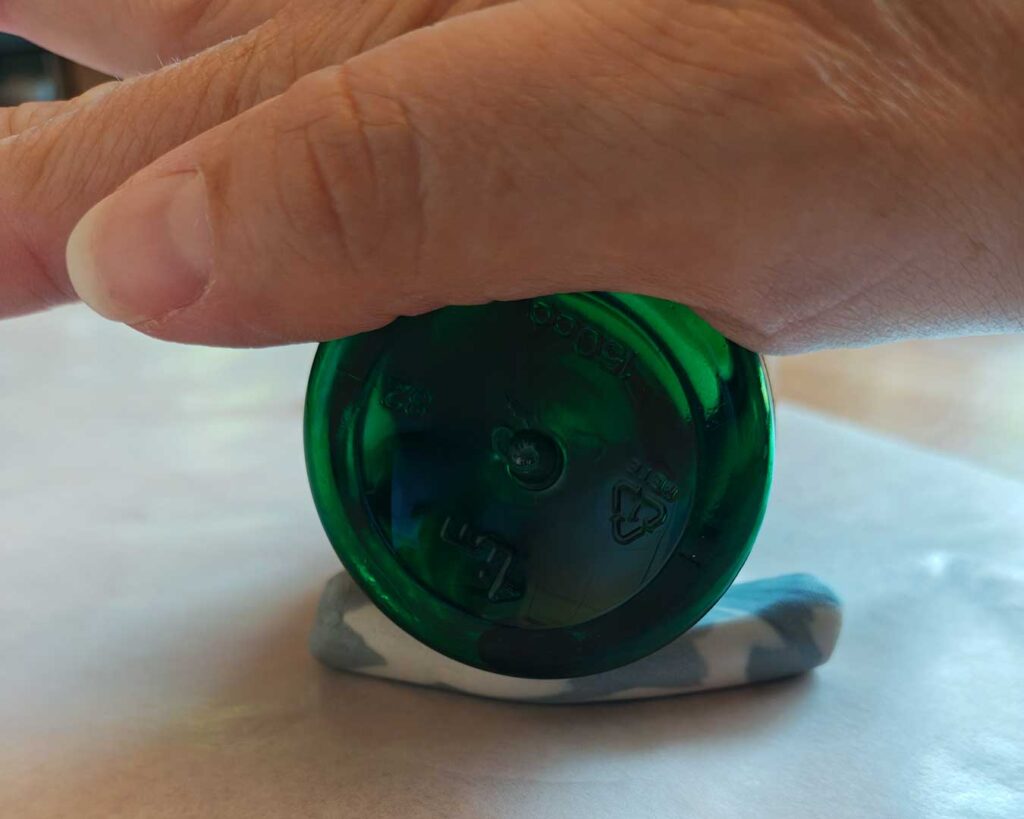
I didn’t want to use my baking rolling pin, so I found an empty bottle with a smooth surface to roll the log into a flat base. Keep the base slightly thicker than the finished button depth you would like.
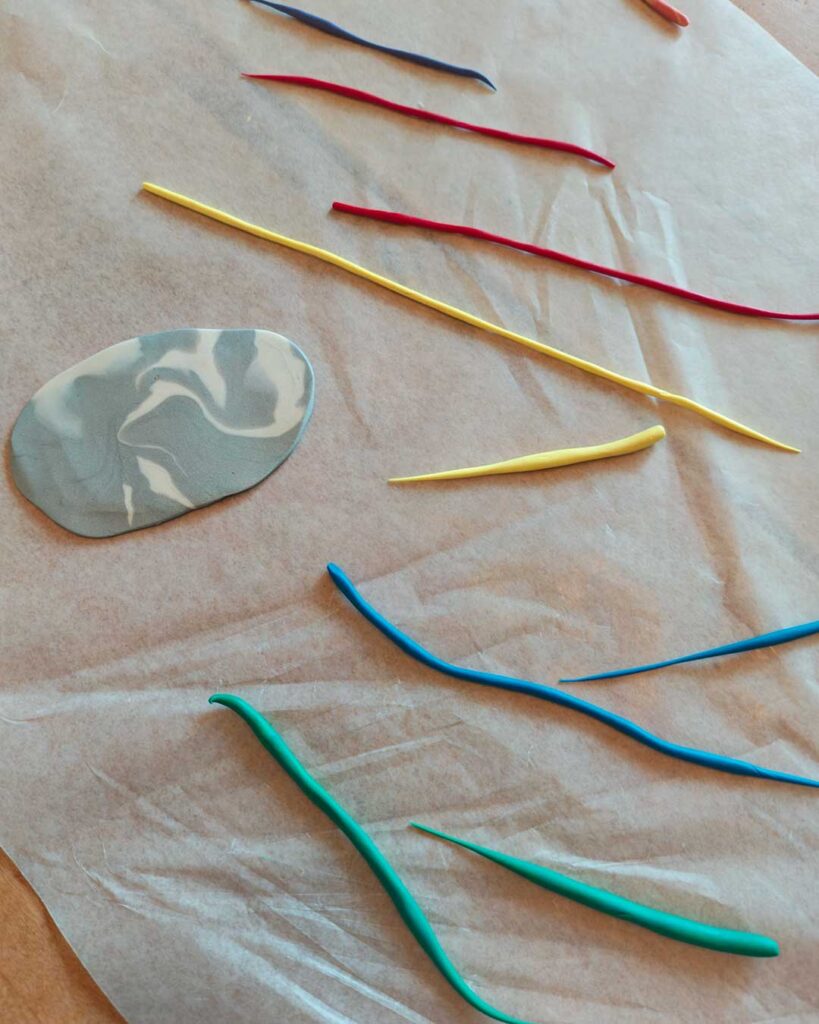
I rolled a few accent colors into skinny snakes.
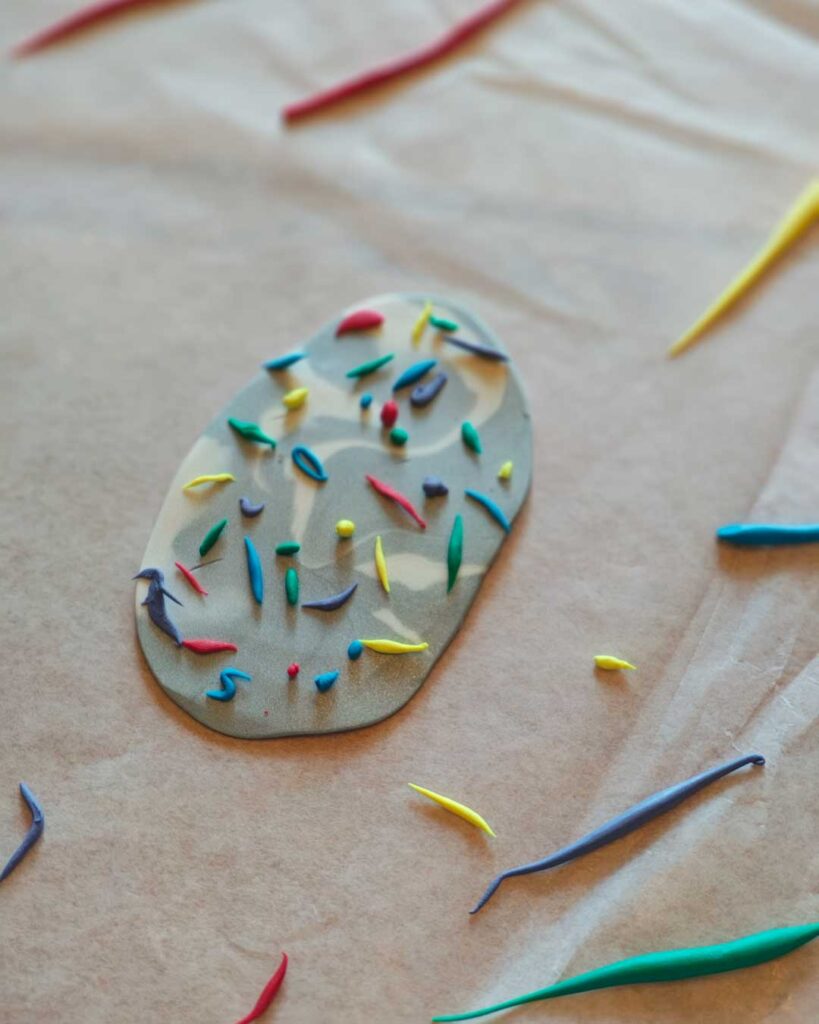
I broke the skinny snakes into sprinkle bits and dropped them in a random pattern onto the base.
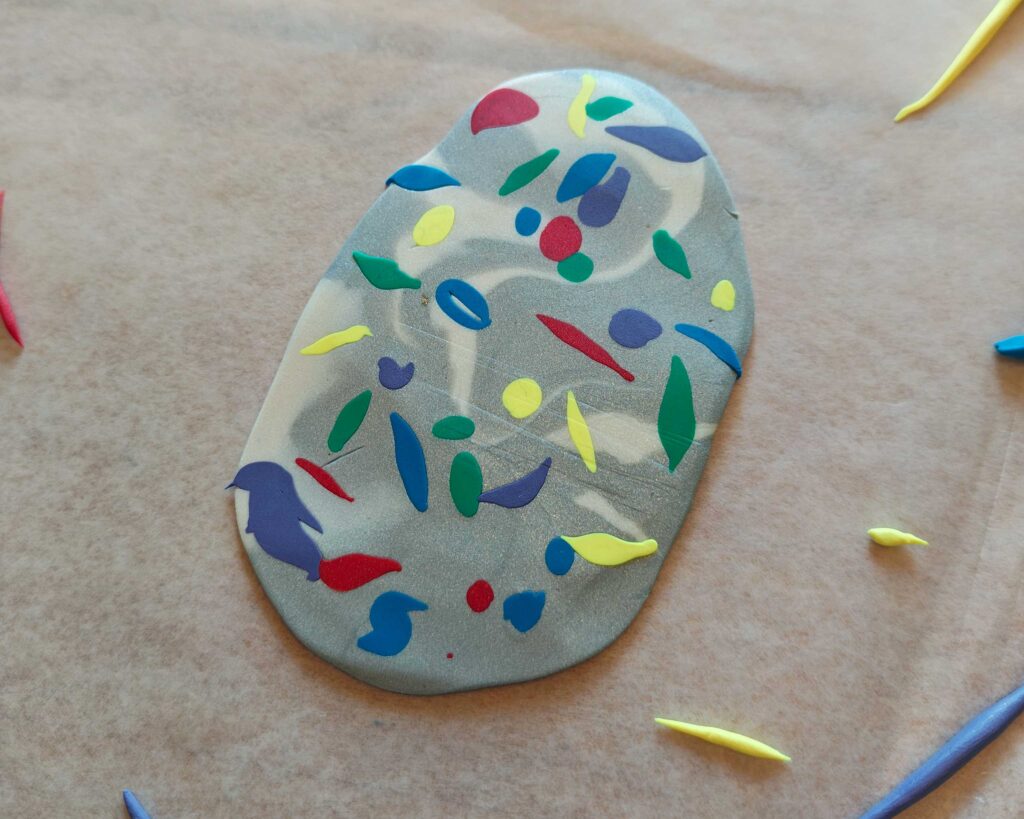
Roll out the clay again to incorporate the sprinkles. This time roll until you have reached the button depth you would like.
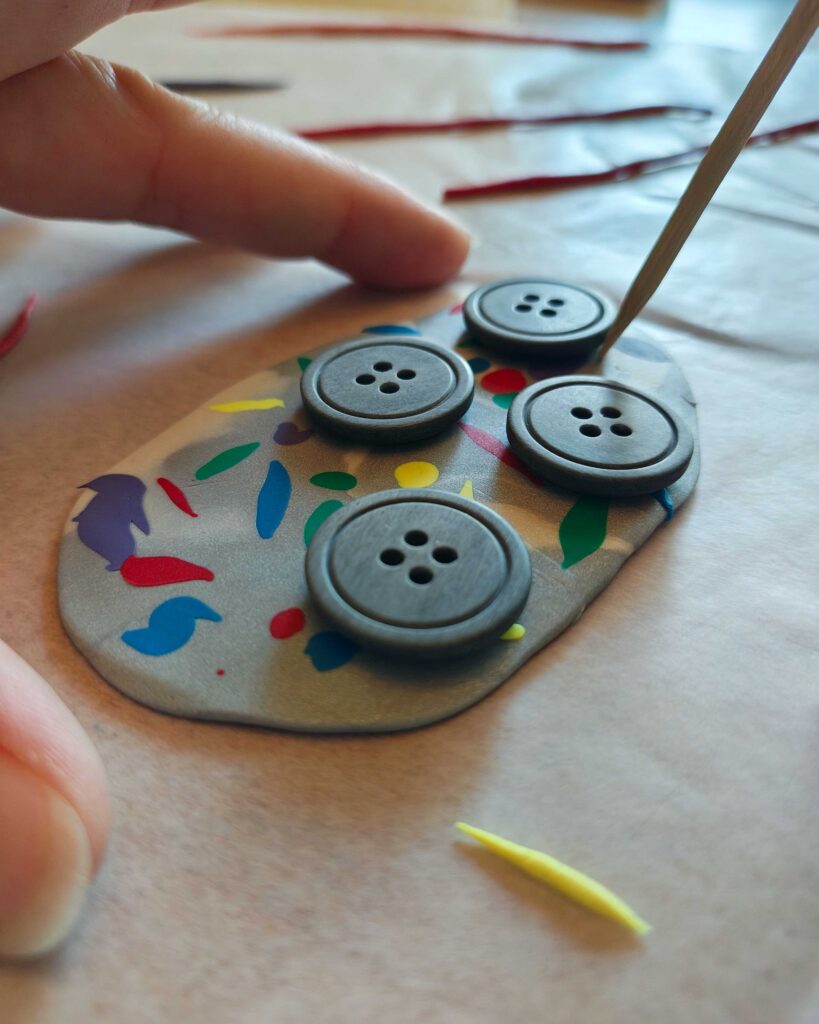
Use a template, bottle cap, or cookie cutter to mark/cut out your buttons. I just used some basic buttons as a guide and traced them with the tip of the bamboo skewer. I also marked where the button holes should be placed.
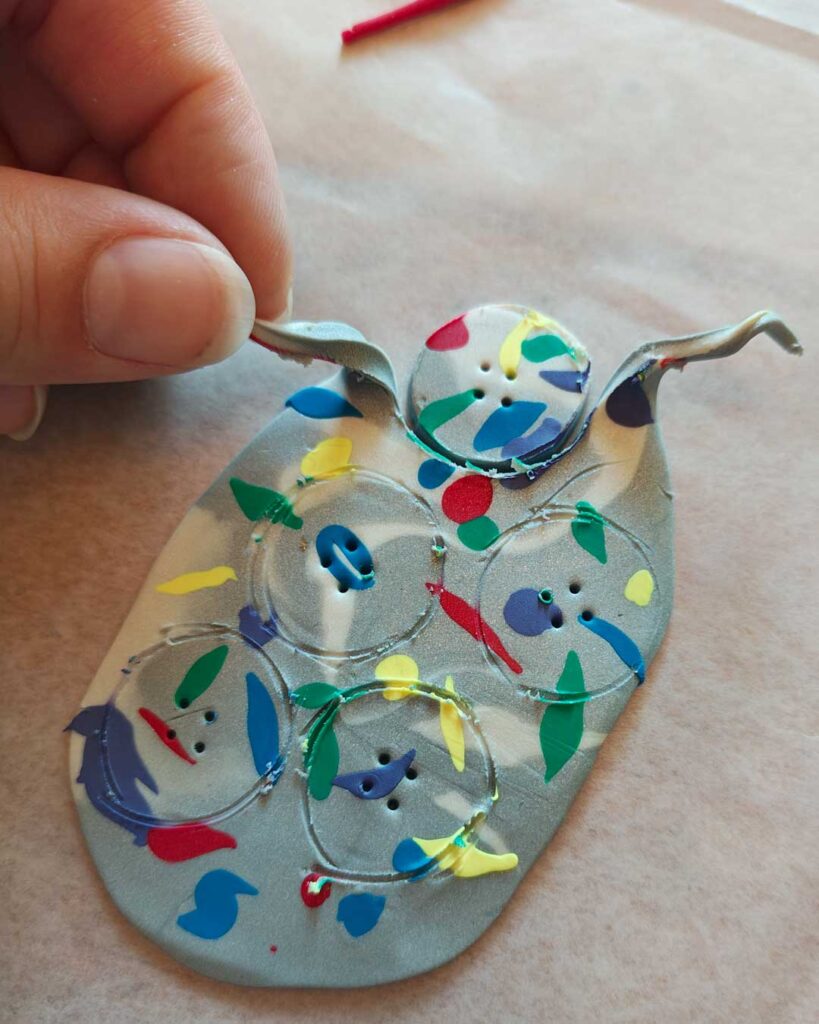
Cut out the buttons.
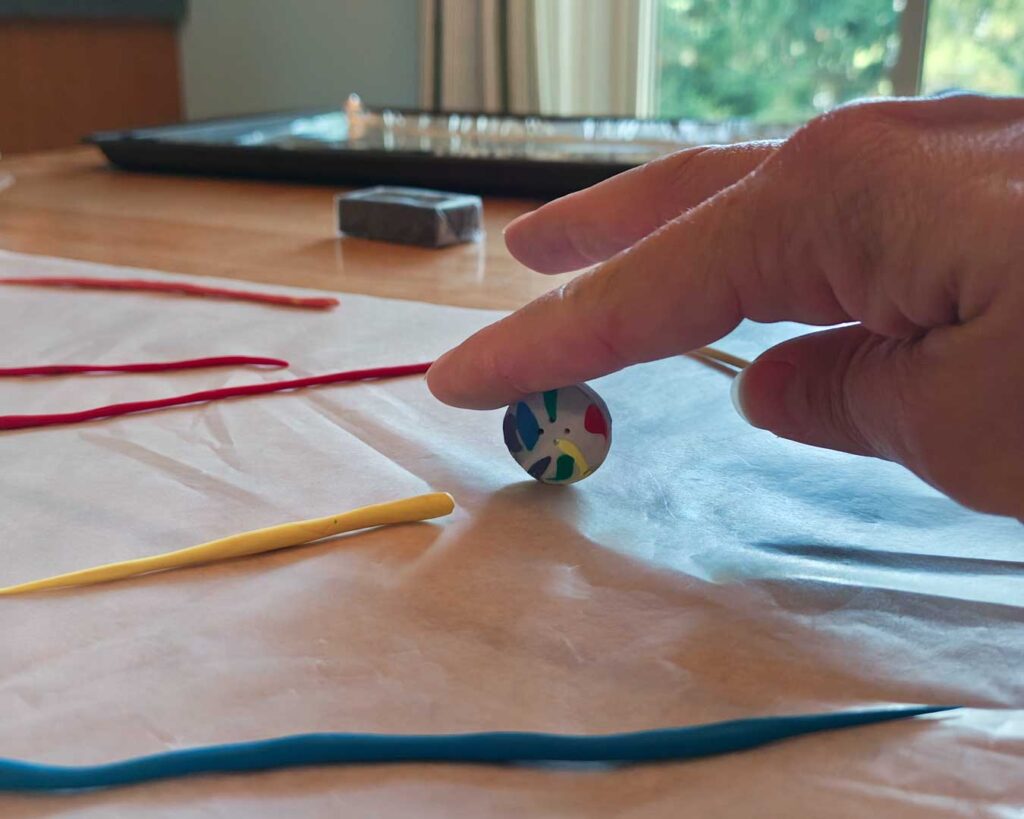
Smooth out the edges by gently rolling your buttons.
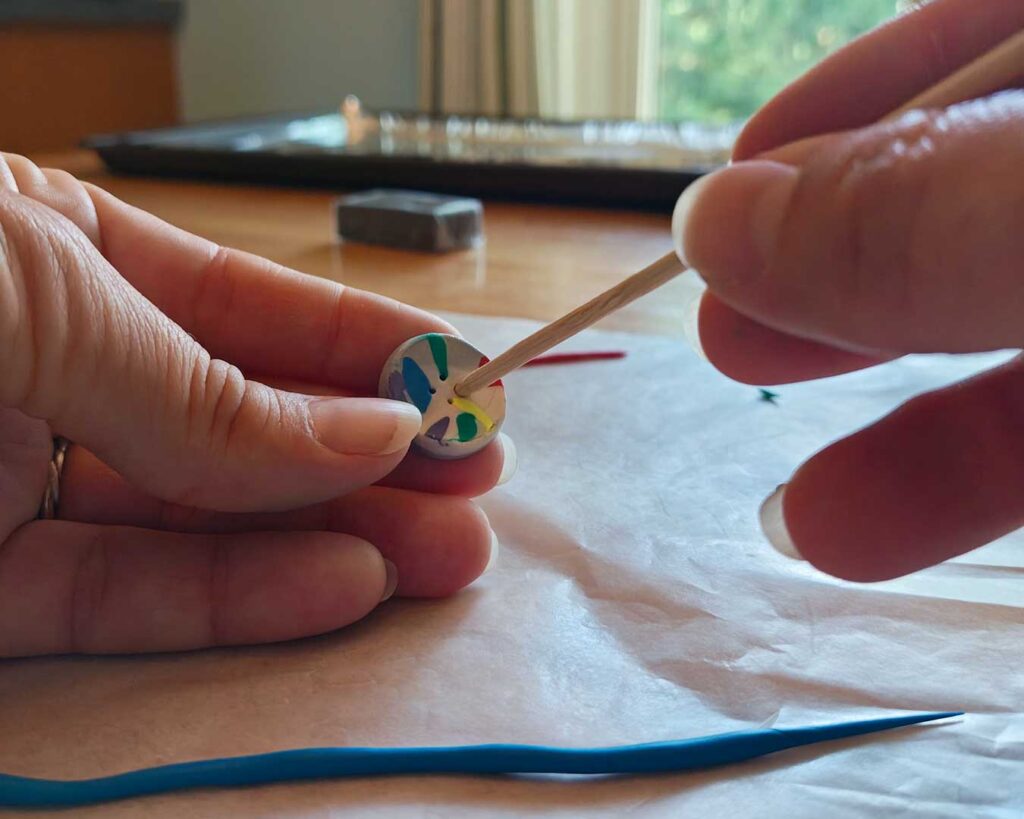
Use a skewer to make the button holes. Be sure to go in from the backside as well to make sure that the hole goes cleanly all the way through the button.
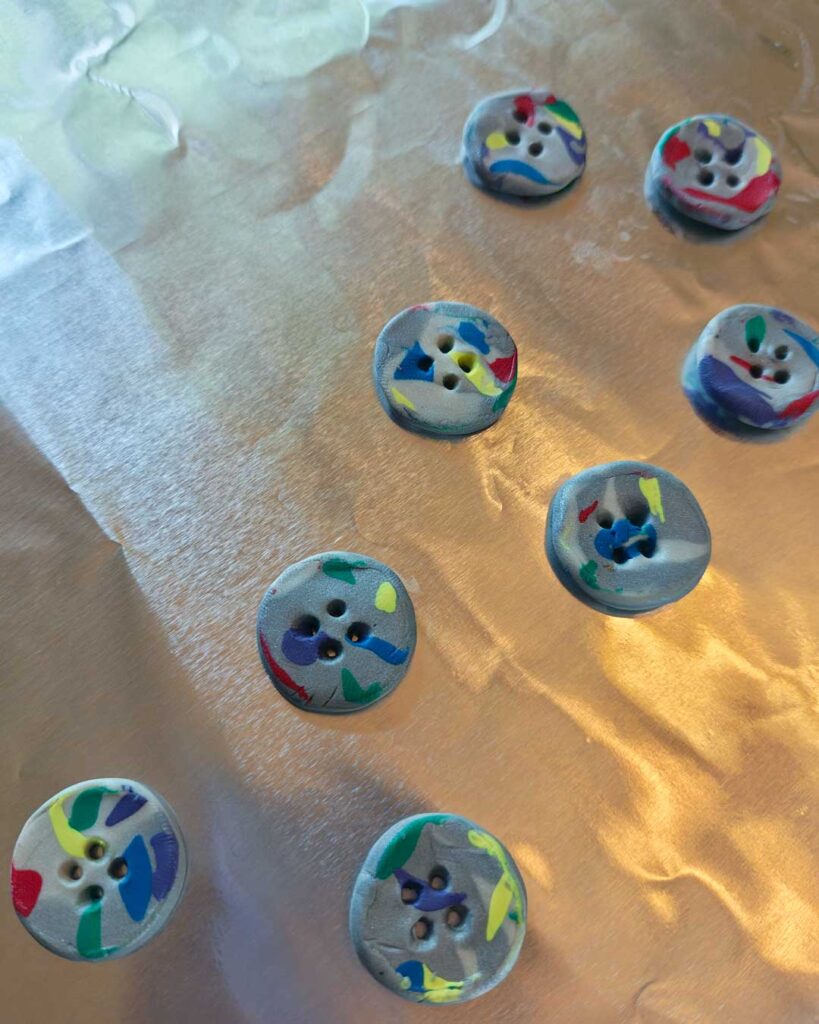
Bake your buttons following the directions on your package of clay.
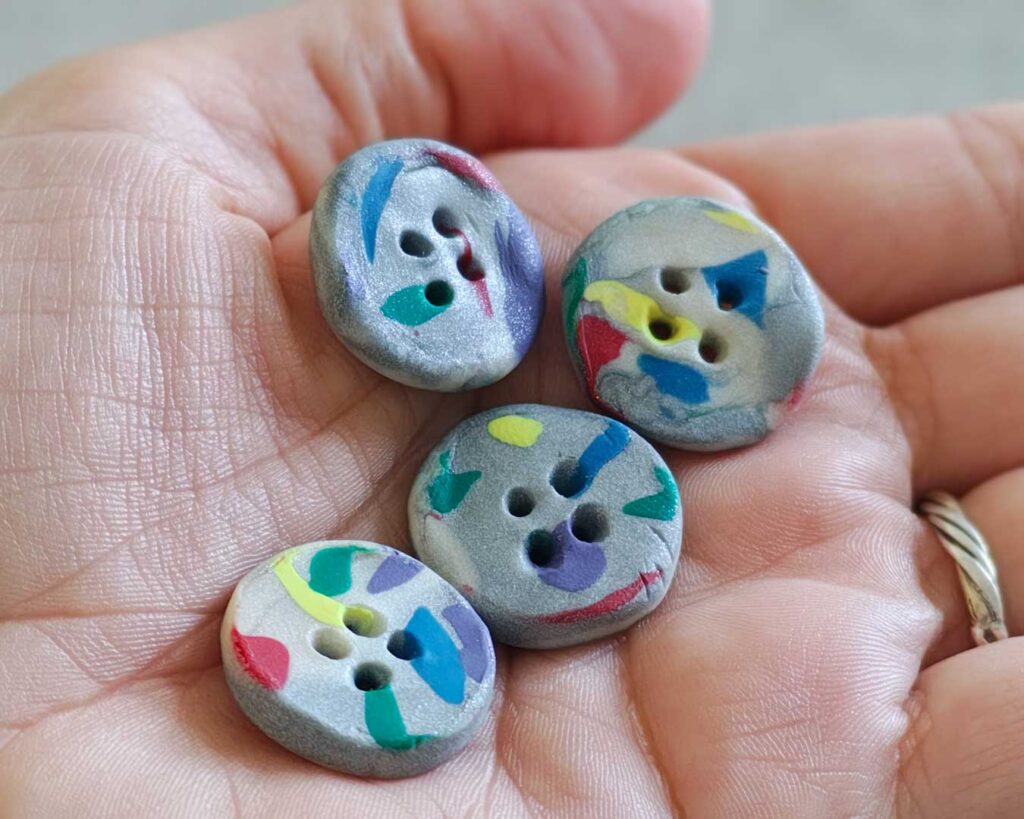
OPTIONAL: When the buttons have cooled, you can add a clear coat of nail polish or sealer if you want a glossier finish.

Attach the buttons to a project you plan to hand wash.
Sweater Info:
We are an Amazon Affiliate. We will receive a small commission when you purchase items by following our links.