
Materials for Making the Wooden Swans:
- wood – Most of our wood projects are cut from 1″ woods. (i.e. 1″ x 8″, etc.) I have used pine, poplar, oak and maple. The harder the wood, the more durable the project, but harder it is to cut. These are made with poplar.
- paint – non toxic acrylics or soy
- permanent black marker (optional)
- wood finish – non toxic – I used a beeswax finish but you can also use food grade acrylics
- pattern
Tools and equipment for the Wooden Swans:
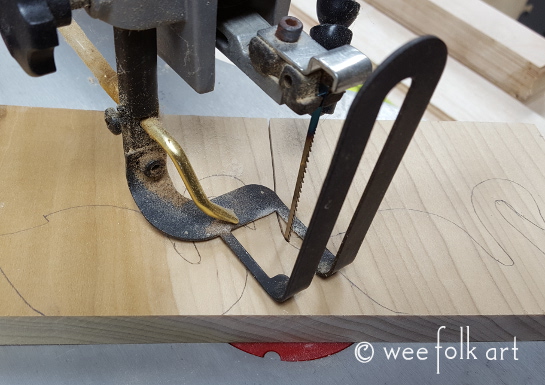
- scroll saw
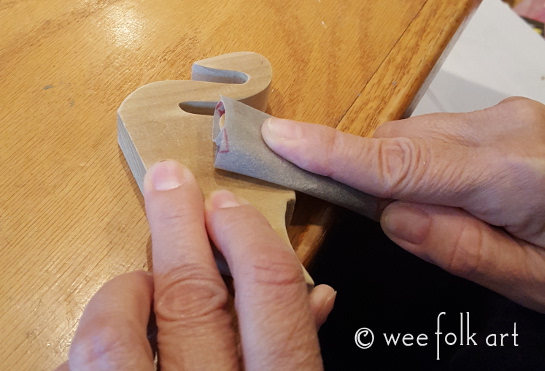
- fine sandpaper
- wide clear packing tape to reinforce pattern (optional)
How to make the wooden swans:
Read the general directions for How To Cut Out Wood which can be found HERE.
Make a copy of the pattern. If desired, cover the pattern with wide packing tape before cutting out. This makes the pattern sturdy, easy to trace around and it can be used over and over again.
Position the pattern on the wood so the neck follows the grain of the wood. This will give extra strength to the neck. Trace the pattern on the wood. Cut out wood, and use the sandpaper to round the edges.
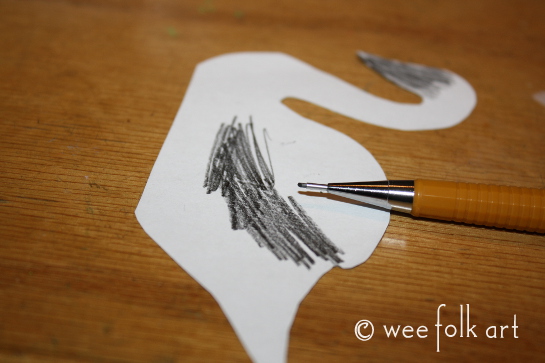
Transfer markings from the pattern to swan for painting. Make sure to transfer the markings to both sides of the swan. There are 2 mirror images of the swan on the pattern to make this easier. For transferring markings to the wood I usually color the back of the pattern with pencil, making sure all the lines from the front are covered with pencil. Then, I place the pattern on the wood and trace the markings with a pen. This will lightly transfer the markings to the wood.
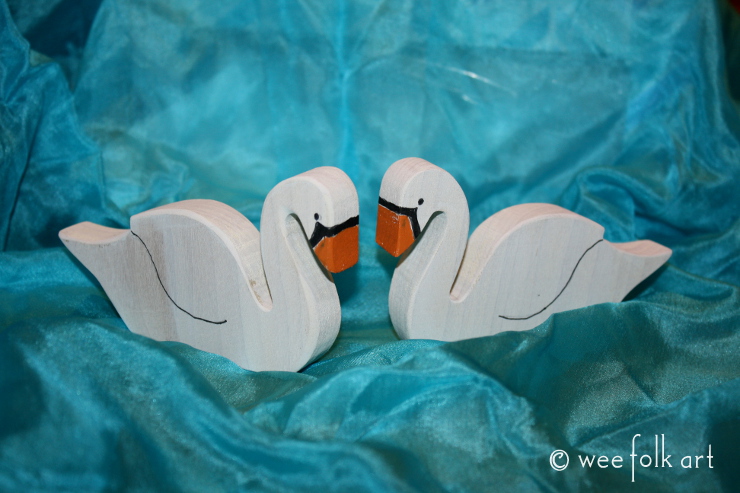
Paint the swan. I created a wash by mixing equal amounts of paint and water. Paint the swan’s body. Then paint the beak. You can either use paint or a permanent marker to paint the black markings around the eyes and other detail lines. I find a marker is easier for really small areas.
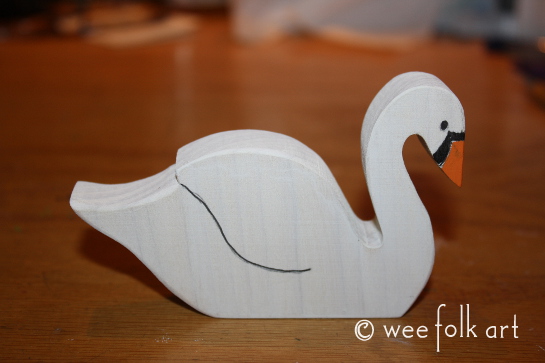
Finally, use a finish to protect the wood and paint. I use beeswax finishes but you can also use non toxic food grade acrylics.


Shari
April 29, 2016This is so dear. I cannot wait for the next installment!
Kimara
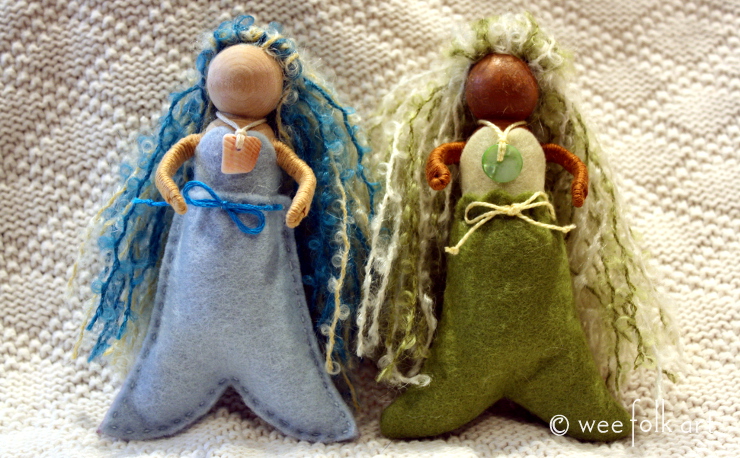
April 29, 2016You can find part 2 of the story here 🙂 http://weefolkart.com/meet-seaside-mermaids/