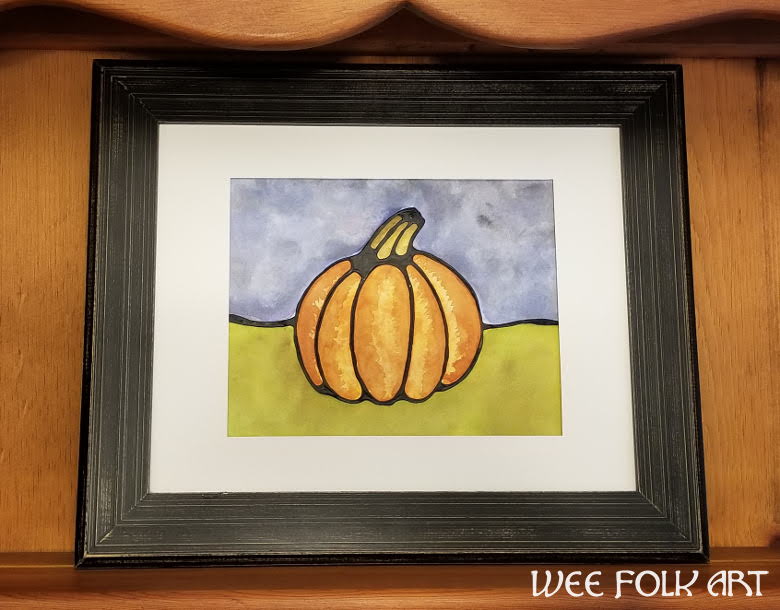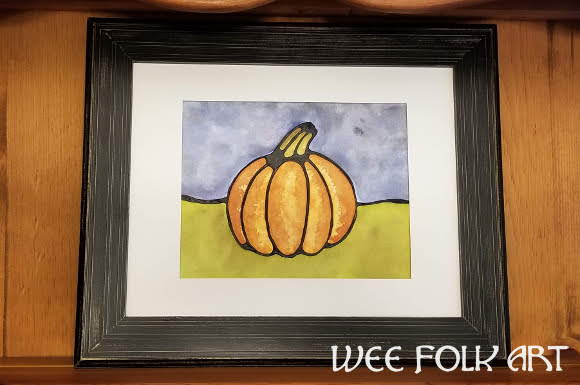
Pumpkin Glue Resist Painting Tutorial
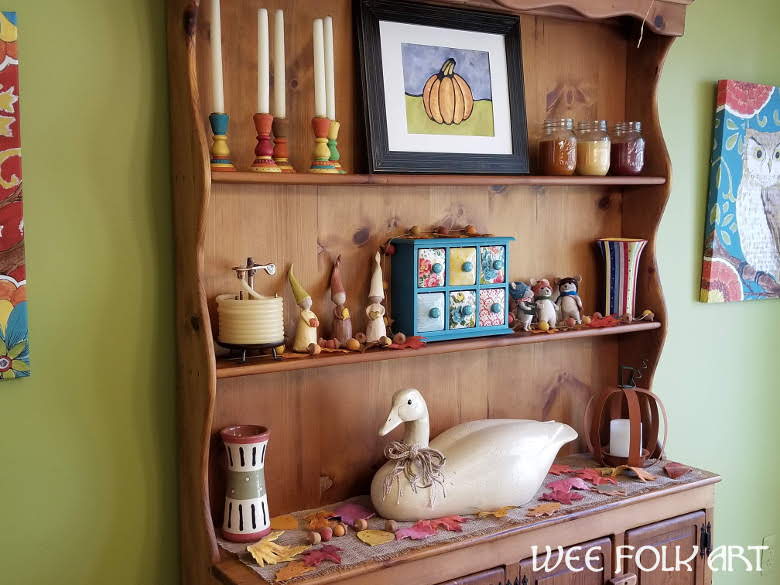
I have a cabinet in our eating area that I use as a seasonal display area. I replace summer candles, with autumn candles, flowers with colorful leaves, and framed summer paintings with autumn ones. Most things on this cabinet are hand-made… many by children. Today’s craft is a perfect craft to do with children. Young children will need help with placing glue on the design, but let them at squiggles and dots to the painting… the more the merrier. But the secret to making this project look fantastic, or any painting or drawing for that matter, is to frame it when you are done. Framing takes the simplest design and makes it special. I usually have 3 or 4 frames on the cabinet, and I simply change out the pictures in the frames for the seasons. Give our Pumpkin Glue Resist Painting a try, and start thinking about a design to replace it with come the holidays or winter!
Pumpkin Glue Resist Painting Materials
- 9 inch x 12 inch watercolor paper
- watercolors
- pencil
- ball point pen
- white craft glue (like Elmer’s Glue)
- black acrylic paint
- pattern or draw your own picture
- frame (optional but desirable!)
Pumpkin Glue Resist Painting Directions
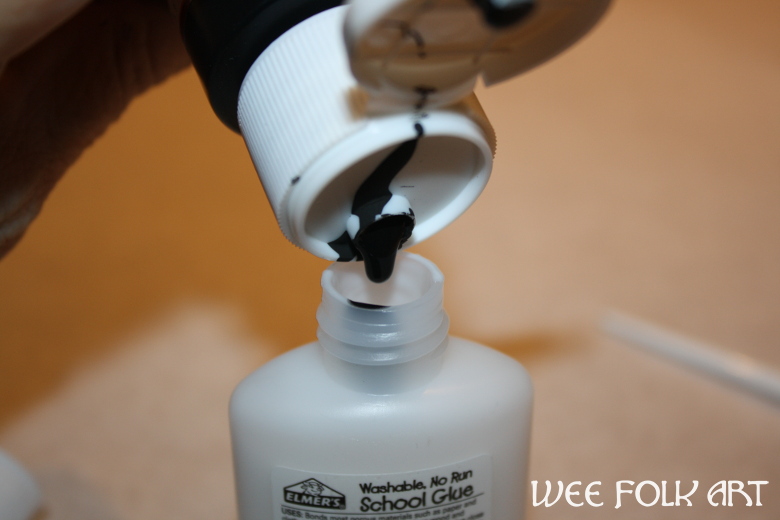
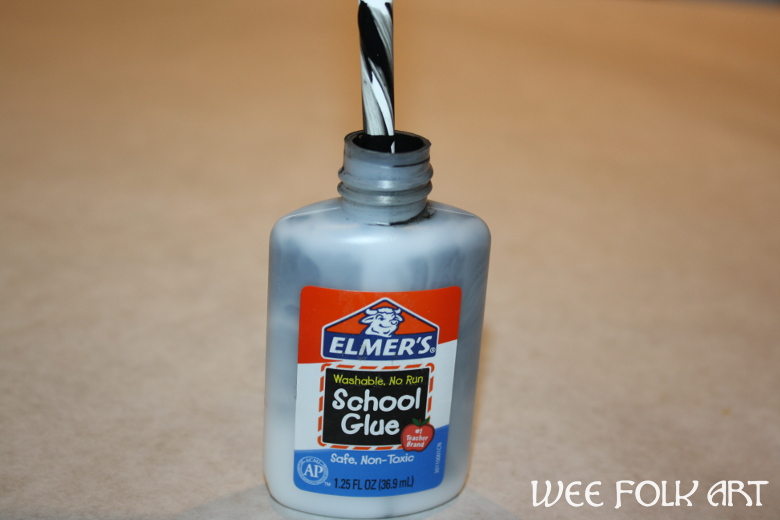
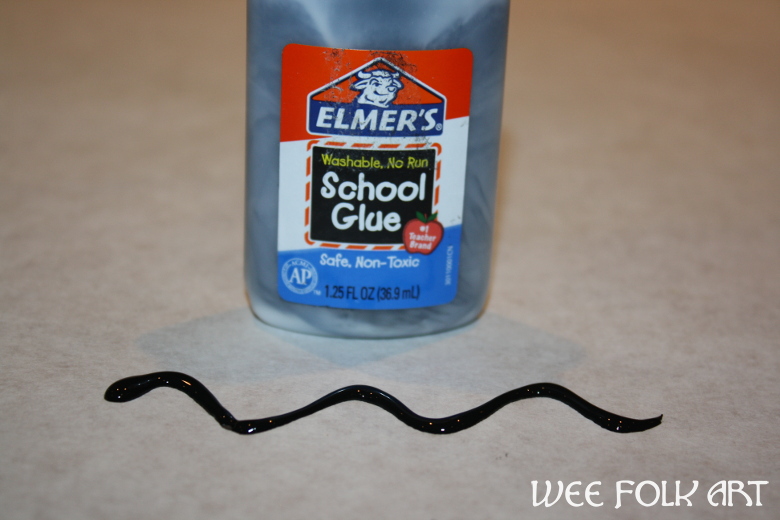
Before you start the project you will need to make (or purchase) black glue. To make your own you will need to mix 3 parts glue to 1 part black acrylic paint. We like to purchase the small 1.25 ounce bottles of glue which we tint different colors. You can then use the bottles to squeeze out the glue.
Make a copy of the pattern or draw your own picture. Transfer design to the water color paper. There are many methods you can use to do this. What I do is turn the paper over and use the edge of the pencil lead to blacken the back of the pattern where the lines are. Then, turn the pattern back over so the right side is facing you and place it on the watercolor paper. Using a ball point pen, trace over the design lines. Push hard. The pencil from the back will transfer to the watercolor paper.

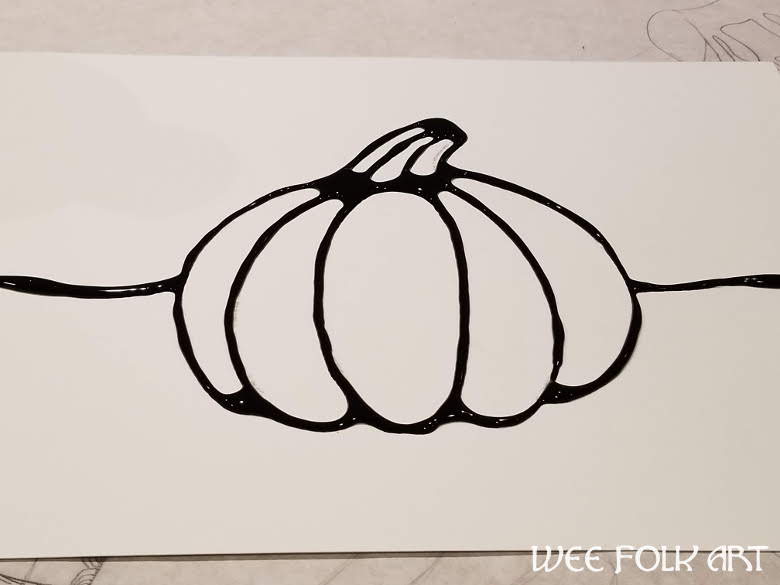
After making your black glue, squeak the black glue over all the pencil lines. Don’t worry if it gets globby in spots. It just adds to the uniqueness of the design. Do make sure that all lines are covered with glue, however. This will keep your watercolor paints from running into each other. Now the hard part. Set aside and let dry completely. I find it usually takes 12 – 24 hours depending on the humidity. You can use a hair dryer to speed the process.
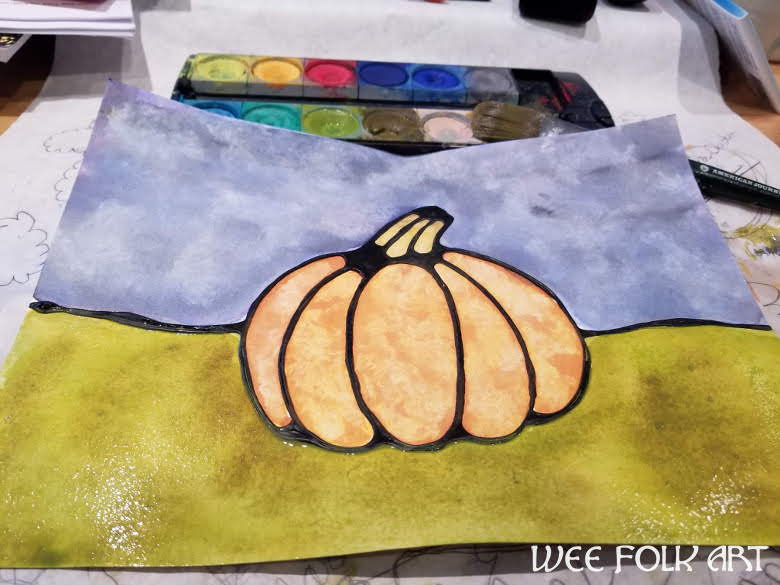
Using water colors, paint your picture. I usually wet the area I am working on first with water, then I apply layers of colors, beginning with the lightest first. I also use a scrunched piece of fabric or paper towel and dab the paint to remove some of the paint. It gives it a batik look.
After your painting has dried, you can re-wet areas and go back in and add more colors, if you like.
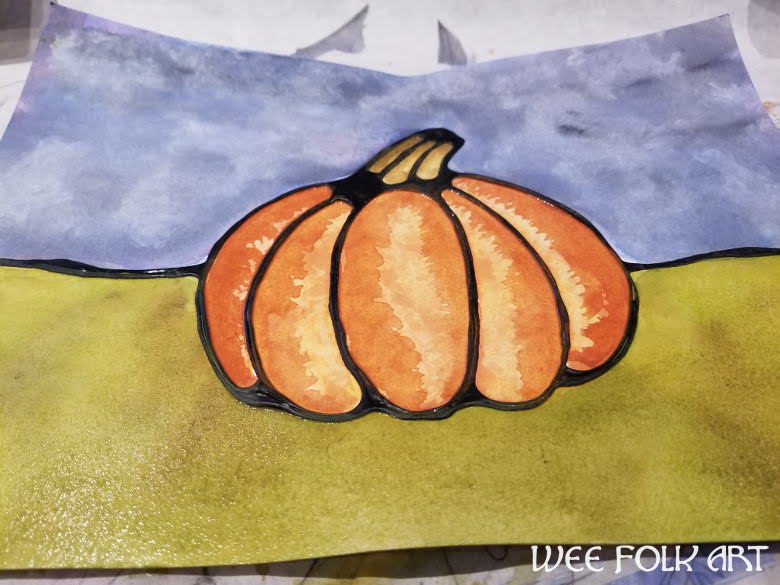
Whenever I work with children, I always tell them, “I you want your artwork to look fantastic, put it in a frame!” Just give it a try. Even a simple design like this one looks great if you frame it! It also makes kids feel fantastic to think their work is “frame worthy”!