

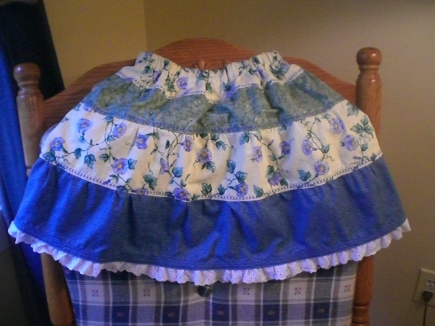
Peasant Skirt Directions

Please read all directions before starting. If you have any questions, please contact us at weefolkart@yahoo.com.
Unless otherwise stated, seams are 1/2 inch.
Before beginning make all necessary calculations to insure a proper fit.
Materials:
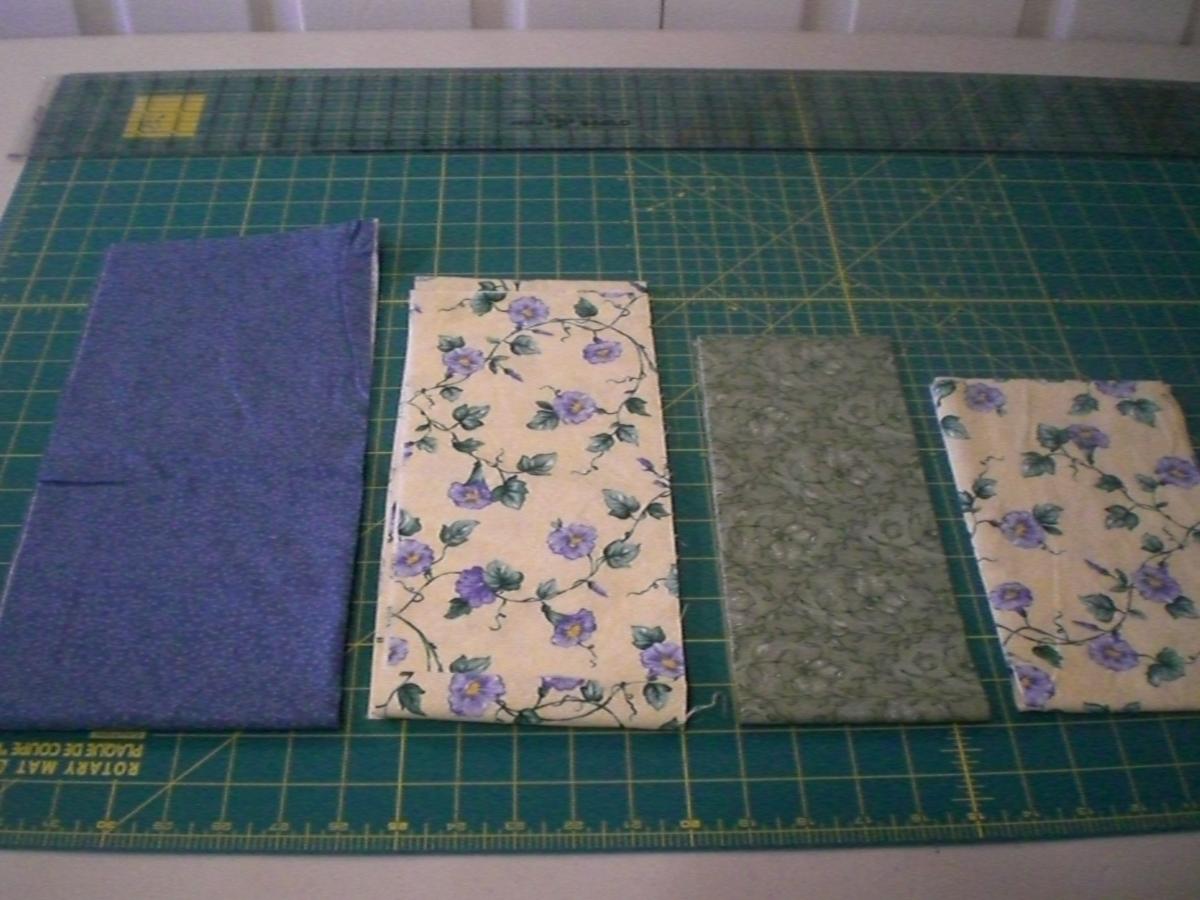
Fabric: There are 4 tiers to this skirt. You may choose to use 1, 2, 3 or 4 different fabrics. For that reason we cannot give specific fabric requirements. Calculate the correct size and pick your fabrics. Determine fabric needs based on your selections.
Elastic: 1 inch wide elastic equal to your child’s waist.
Thread: Matching or contrasting.
Optional embellishments: Rick rack, lace, etc.
Cutting:
Make the following calculations to determine correct cutting size. Round to the nearest 1/2 inch. You will need to cut two (2) for each tier.
Body Width (BW): The largest measurement around your waist or hips.
Total Length (TL): The length you want the skirt to be from waist to hem PLUS 7 inches. (Example: The desired length is 17”. The Total Length is 17 + 7 = 24”.)
Tier A (cut 2):
Height: TL x 25% (TL x .25)
Width: BW x 80% (BW x .80)
Tier B (cut 2):
Height: TL x 20% (TL x .20)
Width: BW x 100% (TL x 1)
Tier C (cut 2):
Height: TL x 25% (TL x .25)
Width: BW x 120% (BW x 1.20)
Tier D (cut 2)
Height: TL x 30% (TL x .30)
Width: BW x 140% (BW x 1.40)
Directions:
Skirt construction:
-
Use the guide above to determine measurements for each tier. Round each number to the nearest 1/2 inch.
-
Cut out all 8 pieces (2 for each tier.
-
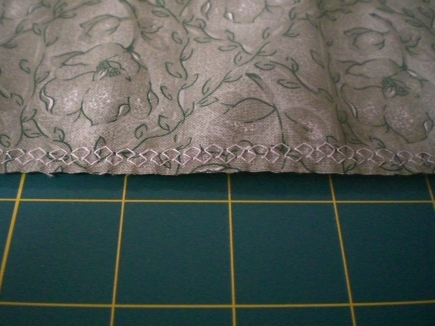
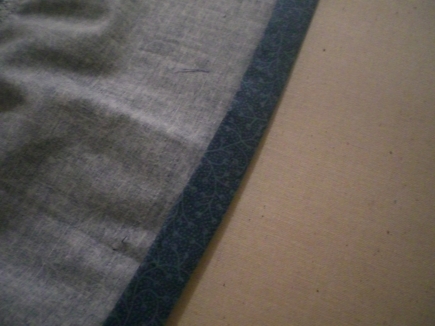
(Optional) Serge or finish the top and bottom edges of each piece to prevent fraying.
-
With right sides together, stitch the side seams of each tier. You will now have 4 circles of fabric. Press seams open.
-
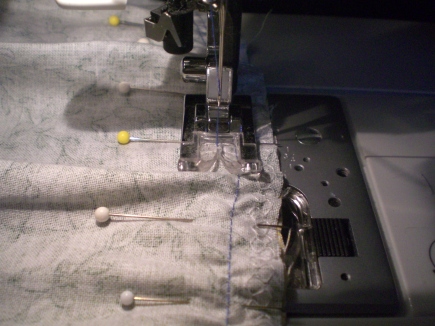
Without backstitching, run a basting stitch (the longest stitch setting on your machine) along the top of tier B, C and D. This should be 3/8 inch from the edge.
-
Gently pull the basting stitch to lightly gather the tier. Gather the tier enough so it is the same size as the tier above it. (Example: If tier A is 36 inches, gather the top of tier B so it is 36 inches.) Space gathers evenly around tier.
-
Line up the bottom of tier A with the top of tier B, with right sides together.
-
Pin the tiers together matching side seams.
-
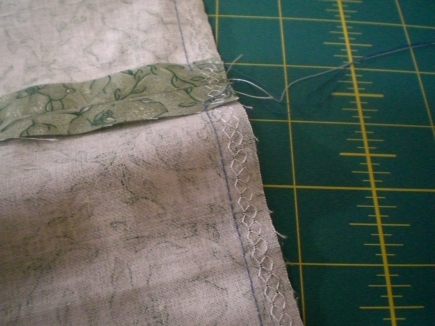
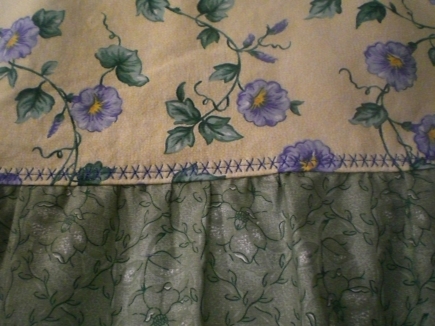
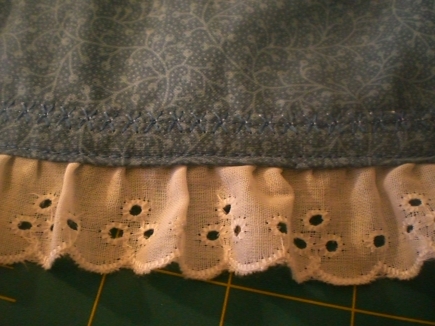
Stitch the two tiers together.
-
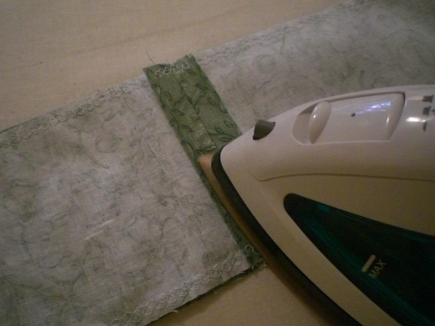
Iron the seam up. (Optional: You can use a fun decoration stitch or top stitch if you would like or add rick racks, ribbons, etc.)
-
Repeat steps 7 – 10 with the additional two tiers; top of tier C to the bottom of tier B, the top of tier D to the bottom of tier C.
Waistband construction:
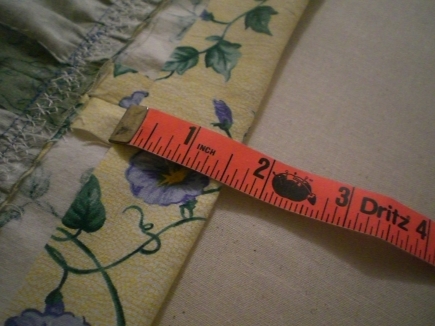
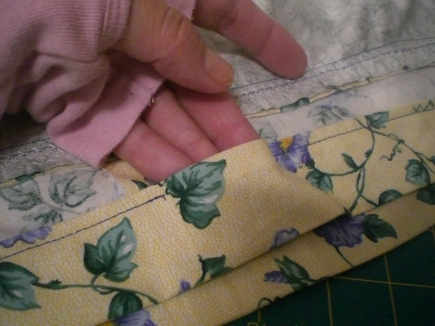
1. Fold the top edge of tier A over 1 1/2 inches to the wrong side of the skirt. (Note: If you did not serge or finish the edges of your seams turn under and iron the top edge 1/4 inch. THEN fold the top edge of tier A over 1 1/2 inch. This will hide the raw edge on the waistband.)
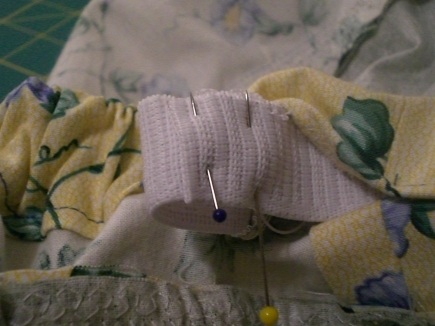
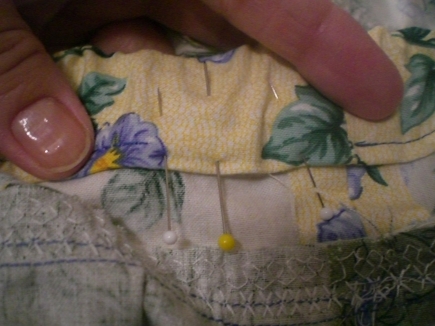
2. Iron and pin to hold the waistband in place.
3. Stitch the waistband to the skirt 1/4 inch from open edge. Leave a 2 inch opening by a side seam (to later insert elastic). Be careful to maintain a full inch width in the waistband so your elastic will slide through nicely.
4. Cut 1 inch wide elastic the child’s waist measurement. (You may need to cut it a little large if there is a big difference between waist and hip measurement. You may want to leave the elastic a little long and wait to cut it to size after you try it on your child.)
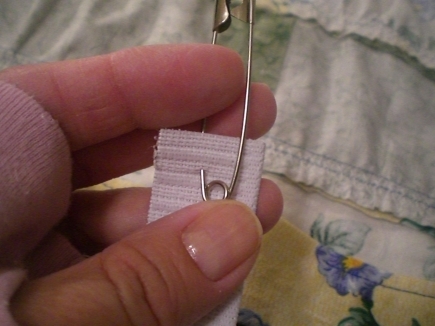
5. Pin a safety pin to one end of the elastic. Thread your elastic through the waistband. (If you are sizing it on your child, do so now.)
6. Overlap the elastic 1 inch so it lays flat (not like a side seam) and sew the edges together. Make a square (up, over, down, over) so the elastic will not give inside the waistband.
7. Slide the elastic into the waistband and sew up the opening making sure not to sew through the elastic.
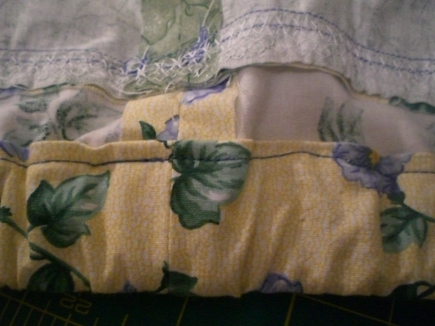
Hemming:
1. Fold the bottom edge of tier D up 1/2 inch to the wrong side of the skirt. (Note: If you did not serge or finish the edges of your seams, turn under and iron the bottom edge 1/4 inch. THEN fold the bottom edge of tier D over 1/2 inch. This will hide the raw edge on the hem.)
2. Iron and pin to hold the hem in place.
3. Hem using a straight or decorative stitch.


One Comment
Anonymous
I am going to give this a try, your instructions are very clear an I appreciate you taking the time to make them so clear and easy to understand 😀
I have lots of pretty material to use up, and a 7yr old who keeps growing and growing and would love to start making her some adorable clothes 😀
THANK YOU!!
CrazyMumOf5 😛