
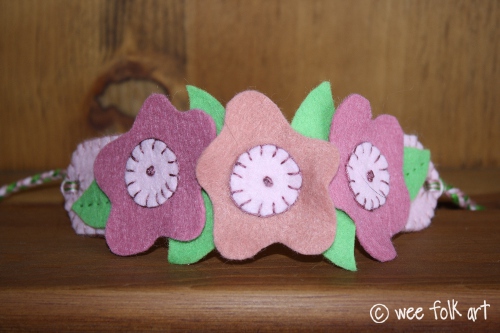
The Basic Felt Bracelet
![]()

We all have a collection of "basic" things. The "basic" black dress, the "basic" muffin recipe, and the "basic" sock pattern. These "basics" have proven to be dependable, familiar, and most importantly, adaptable. "Basics" can be altered slightly, tweaked and accessorized to create a different look or taste. "Basics" are the "tried and trues" that we return to again and again.
Today we are sharing directions on how to make a "basic" felt bracelet. Once you know how to make one, the possibilities for embellishing are endless. Given in 2 widths, with instructions for getting the perfect fit, we hope it becomes a "basic" that you return to over and over, a starting point, so to speak, for the creation of many lovely and fun bracelets! And with the sizing variations, it works for everyone in the family.
Materials:
pattern
wool felt
embroidery floss
Directions:
Make a copy of the pattern.
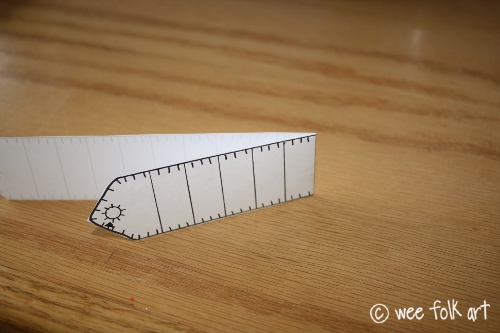
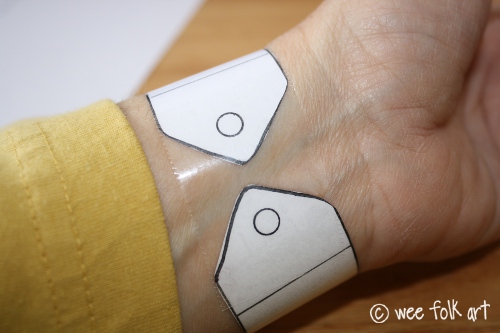
Decide which width you prefer and cut out the template.
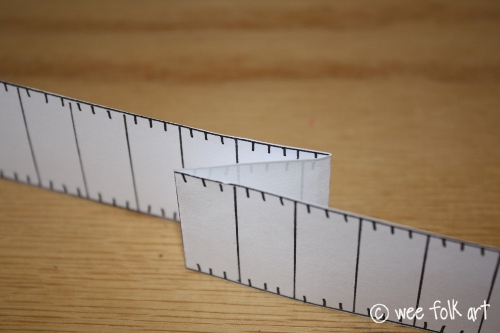
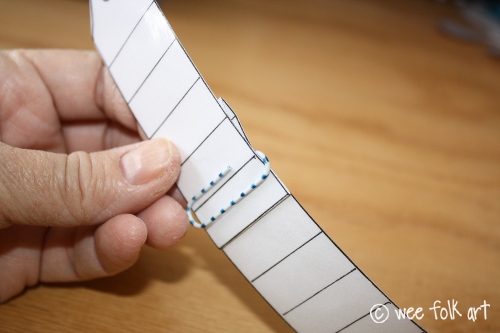
Wrap the template around your wrist to get an idea of size. You want the two ends to be about 1/2" to 3/4" apart on your wrist. To size, fold along one of the lines, fold it back on itself to shorten the length of the bracelet. Use a paper clip to hold it in place. Try the bracelet template on again. Continue refolding until you get it sized properly. When you are satisfied with the fit.
NOTE: Another way to get a proper fit is to measure your wrist, subtract 1/2" – 3/4" and measuring the template, cutting or folding it to the proper size. (My tape measure was upstairs when I was doing this so I used the first method 🙂
Using the "How to Cut Felt" tutorial found HERE, use the template to cut out 2 pieces of felt.
On the template, cut out the 2 holes, then position the template over the felt pieces, mark the holes, and cut out the holes using sharp, small scissors.
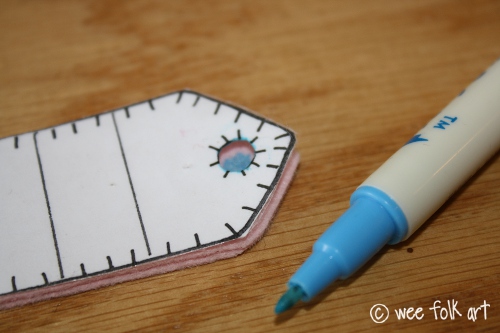
Pin or staple the felt pieces together and sew the 2 pieces of the bracelet together. You can either blanket stitch the edge using 3 strands of floss or sew a running stitch around the edge using 2 strands of floss.
![]()
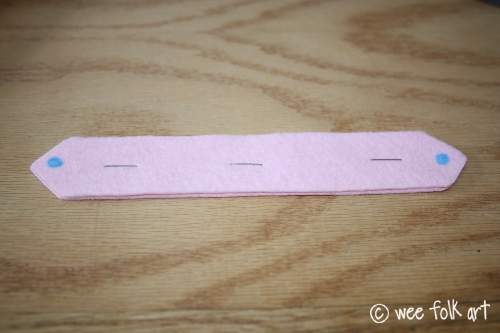
Using a blanket stitch and 3 strands of floss, finish the edges of the 2 circles.
![]()
NOTE: If you are embroidering a design or sewing on appliques that do not extend beyond the stitching line of the bracelet, you can do that before you sew the 2 pieces together, hiding all threads.
To make the ties, cut 3 pieces of floss for each side. The length of the floss depends on whether you simply want to tie the bracelet on using a square knot or if you’d prefer to tie it on with a bow. You will need to cut the floss 12" to 24". If in doubt, choose the longer length then cut it to the desired length later.
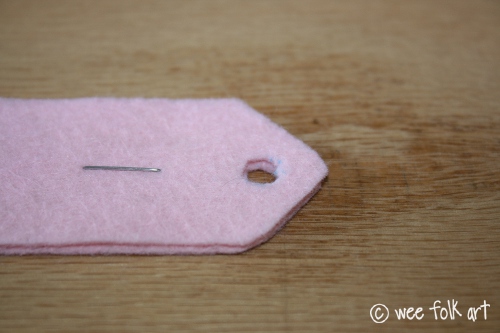
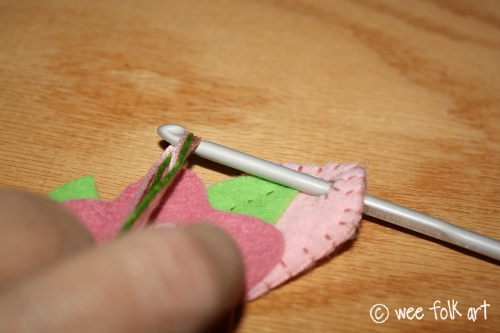
To attach the floss to the holes, insert a crochet hook through the hole from the back. Fold 3 pieces of floss in half creating a loop and hook the floss at the loop.
Pull the loop through the hole, then slide the ends of the floss through the loop. Pull gently on the floss until the loop is snug against the bracelet.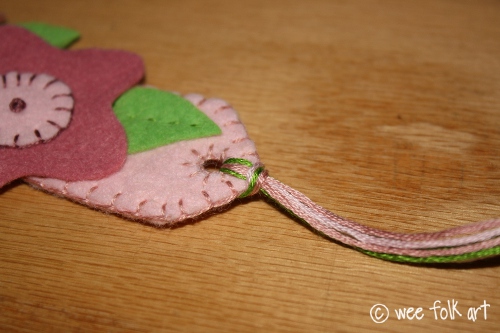
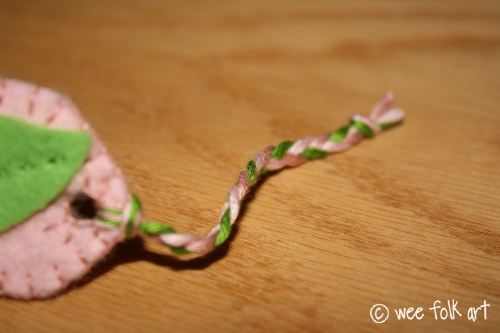
Divide the floss into thirds (I did mine by color but you do not have to) and braid. Tie it off at the end. Try the bracelet on and determine the desired length of the ties. You may need to retie the braid and cut off extra braiding.
Your bracelet is now ready to embellish. Next time I will share directions for a flowered bracelet.
Copyright © Wee Folk Art 2008 – 2011. All rights reserved.

6 Comments
Guest
Canu00B4t seem to finde the flower pattern!!! could you please link it too??? I really love it!! I want to do a headband for my niece!!!!!!!!!!!
drenka
I think that this bracelet is very cute! It is adorable!! I may try to make it soon
Jill
And how old would you recommend they be to just make the basic bracelet (or embellished if they have an adult cut out the complicated shapes)?
Kimara
Pixie, who is four, could do this. Check out the work they did last summer while she was still 3. http://weefolkart.com/content/pocket. I would definitely have younger children use a running stitch instead of blanket stitch to sew the 2 pieces together, and obviously, help when necessary. I would also blanket stitch the holes for them because this reinforces the holes so the ties don’t rip the felt.
Will their bracelets look like ours? Of course not. But I can guarantee you that they will think they do! Have fun and let us know how they turn out 🙂
Anne
Hi, I’m having some trouble downloading the pattern. The link tries to open but then Adobe tells me that there is an error with the file. Is it just me, or is there something wrong? Anne
Kimara
Hi Anne,
Other readers have already made the bracelet so I know they can download without a problem so we are assuming there is something going on on your end. The computer geek hubby suggests you try rebooting or clear your browser cache. If you are still having problems email me and I’ll be happy to send you the pattern.