Newbie Knitting | Knit & Purl Wash Clothes
To practice knitting and purling I have included 2 wash cloth patterns. These make a great gift when paired with a special bar of soap. When working in stockinette stitch (when you knit one side and purl the other) it helps if you can visualize how the knit side and the purl side should look.
After a couple rows of a pattern it should become pretty obvious if you are on a knit side or a purl side. On the knit side (when you are looking at the stitches on your left needle that you are getting ready to knit) you should see rows of Vs.
When you are working on the purl side you should see offset horizontal lines.
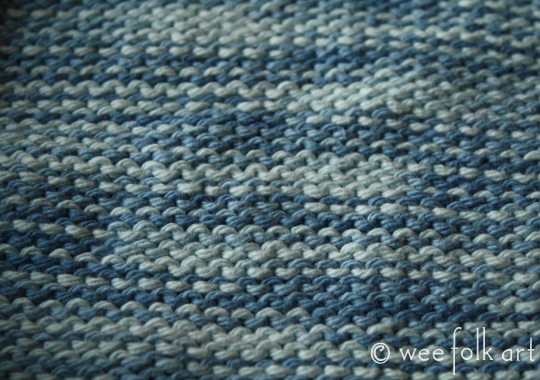
Take a look at a couple sweaters in your closet. The outside (unless it has fancy stitches) will probably have the Vs and the inside will have the horizontal lines. If you are able to see the difference in your sweater being inside out… then you should be able to see what type of stitch you need to do. I must admit thought, this is one of those things that I remember as a kid having a hard time truly seeing. I would ask my mom at the beginning of every row if it was a knit or a purl row. Fairy does the same thing now. It is also hard to see during the first couple rows so keeping track of where you are in a pattern especially for the first few rows is a good idea. Tally marks on a scrap of paper works well for me but there are rows counters that you can buy.
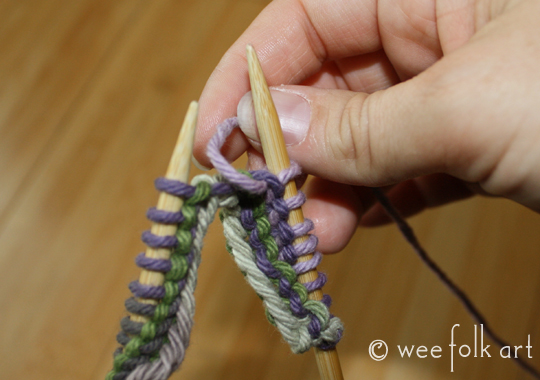
Another thing to note, in both of the patterns below you will have to switch from knitting to purling in the middle of a row. When switching from knitting to purling, you will need to bring the yarn from the back to the front. Likewise, when switching from purling to knitting, you will need to bring the yarn from the front to the back. When switching, you will want to be careful to bring the yarn through the middle of your needles and not over the needles, otherwise you will create a “yarn-over” and add an extra stitch. Below is the correct way to switch from purling to knitting. (Front to back.) After you switch, beginning knitting as usual.
Materials for both patterns:
size 8 needles
cotton yarn such as Lily Sugar ‘n Cream
You may be able to make two wash clothes from one skein of yarn.

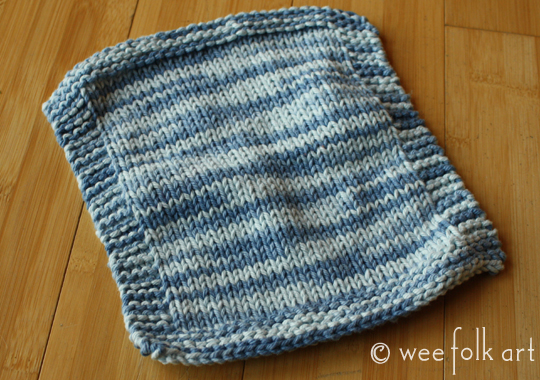
Simple Stockinette Wash Cloth
Cast On 34 stitches.
Knit 7 rows.
Pattern:
Row 1 and all Odd Rows: Knit 4, Purl 26, Knit 4
Row 2 and all Even Rows: Knit all stitches
Repeat the pattern (row 1 and row 2) until you are about an inch away from a square. (Note: Knitting the first 4 and last 4 of every row will create the garter stitch border and stop the cloth from curling.)
Knit 7 rows.
Bind off.
Weave in ends.
Add the Simple Stockinette Was Cloth to your Ravelry Queue.
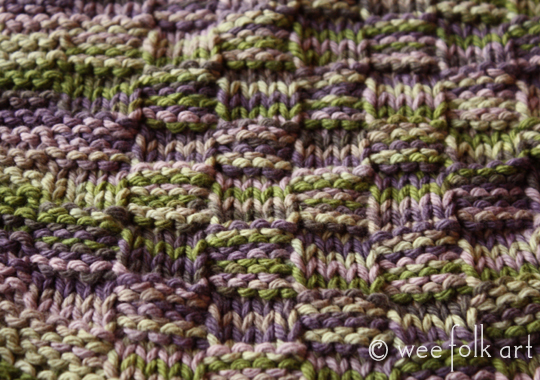
Basket Weave Wash Cloth (more advanced pattern for your second cloth)
This is a smaller version of my mom’s Basket Weave Dish Cloth pattern that can be found here.
Cast on 36 stitches.
Knit 6 rows.
Pattern: Row 1: k4, *k4, p4* repeat between* a total of 3 times (24 stitches), k 8.
Row 2: k4, *p4, k4* repeat between * a total of 3 times (24 stitches), p4, k4.
Row 3: repeat row 1.
Row 4: repeat row 2.
Row 5: k4, *p4, k4* repeat between * a total of 4 times (32 stitches).
Row 6: k8, *p4, k4* repeat between * a total of 3 times (24 stitches), k4.
Row 7: repeat row 5.
Row 8: repeat row 6.
These 8 rows make up the pattern. Repeat these 8 rows 6 times (48 rows).
Knit 6 rows.
Bind off.
Weave in ends.