
Festival Gnome :: Part 1
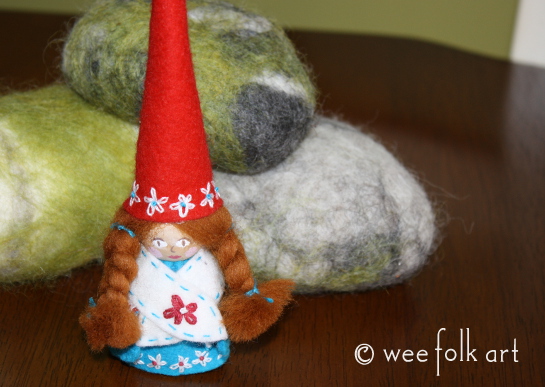
There are many celebrations in The Thicket, and Britta wanted a new dress for those special occasions. Here, Britta is wearing her Festival Dress, in red and aqua, with pretty flowers everywhere.
You can make your own Festival Gnome. Directions are in 2 parts. Here is Part 1. Hope you enjoy!
MATERIALS:
- 1 adult wooden peg – 2 3/8″
- 100% wool felt
- 100% cotton 6 play cotton embroidery floss
- wool roving for hair
- acrylic paint for face (optional)
- stuffing for hat (optional)
- Pattern
Note: All materials used should be non toxic and child safe.
IMPORTANT: Do not cut out the hat until you have added the hair. Then, cut the hat out of paper first and “try it on” for size. You may have to make the hat slightly larger if you have lots of hair 🙂
The tutorial on How to Cut Out Felt can be found HERE.
The Stitching Glossary can be found HERE.
DIRECTIONS:
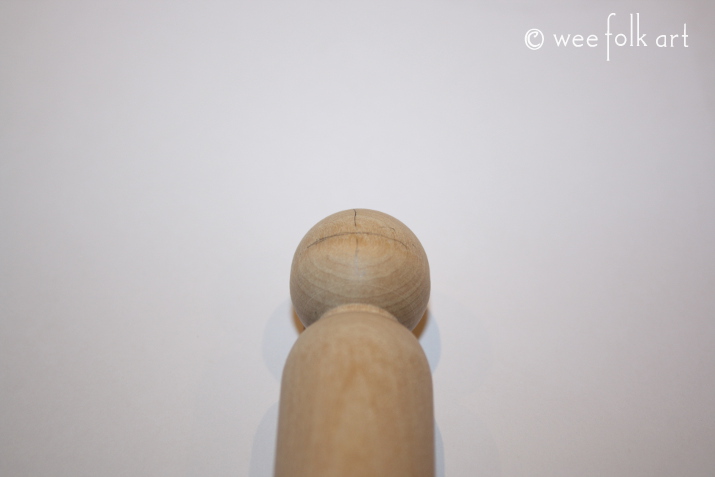
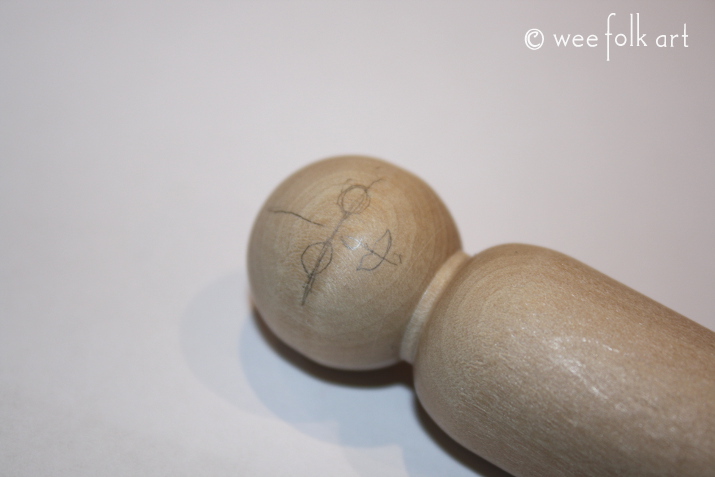
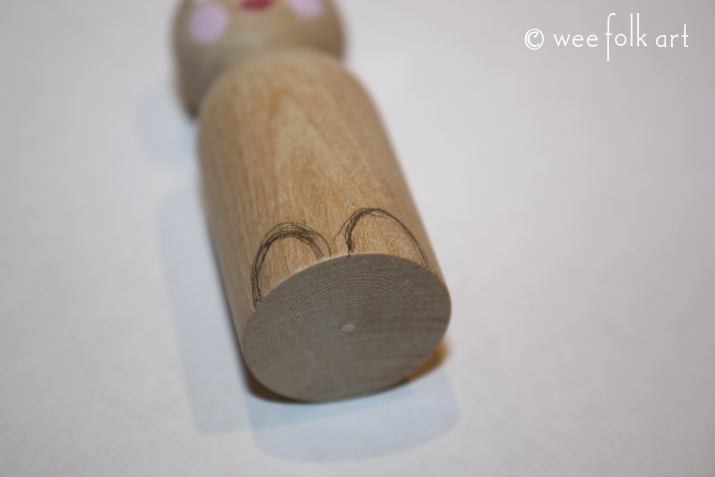
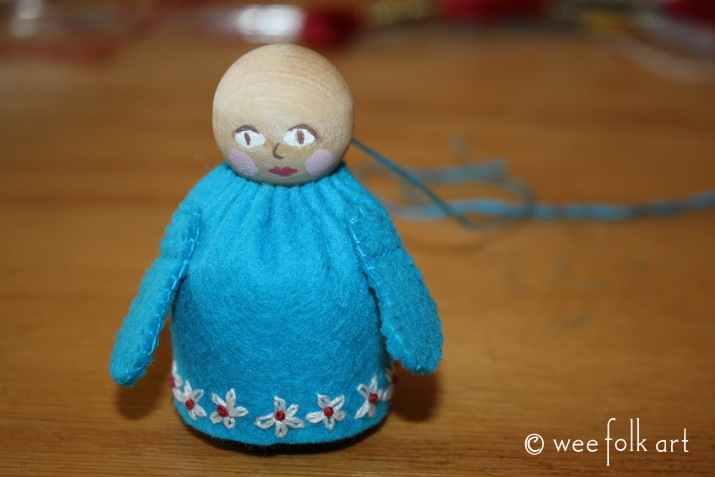
Many of our gnomes are “faceless”. If you do not wish to add a face, skip down to the directions for shoes. We like to add faces to our “fancy gnomes”. To add a face, begin by lightly marking the center of the face. If you think of the head as a circle, the intersection of the 2 lines should be in the center of the circle. (Note: I drew my lines darker than need be so you can see them. Use faint lines.)

Sketch your eyes on the horizontal line, and center the nose and lips on the vertical line.
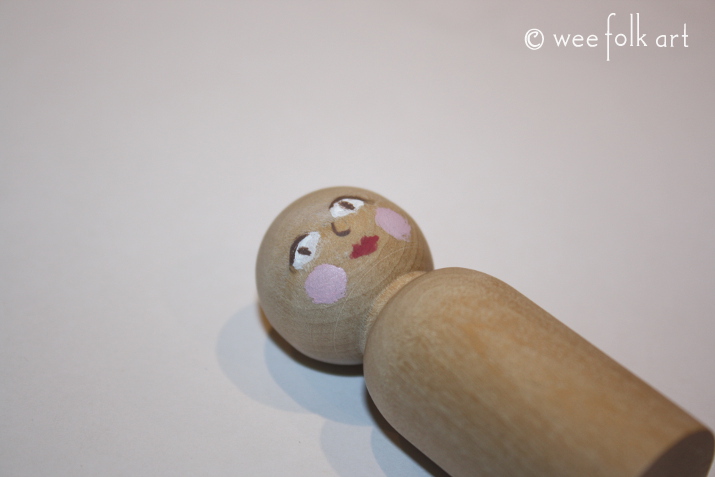
Using a small brush and acrylic paints, add the facial features.
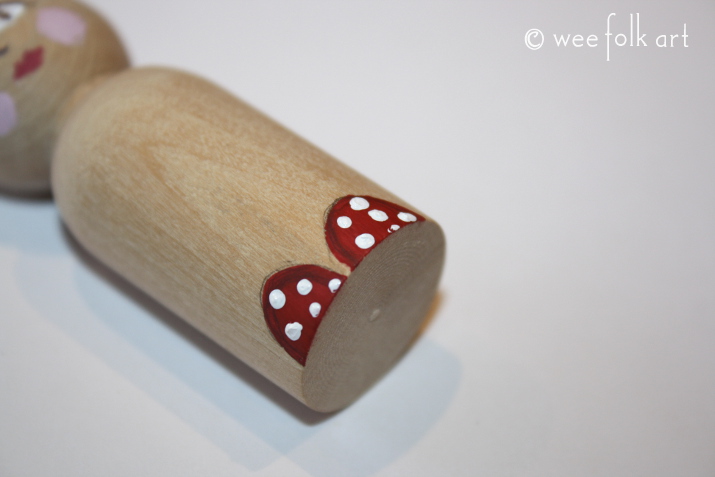
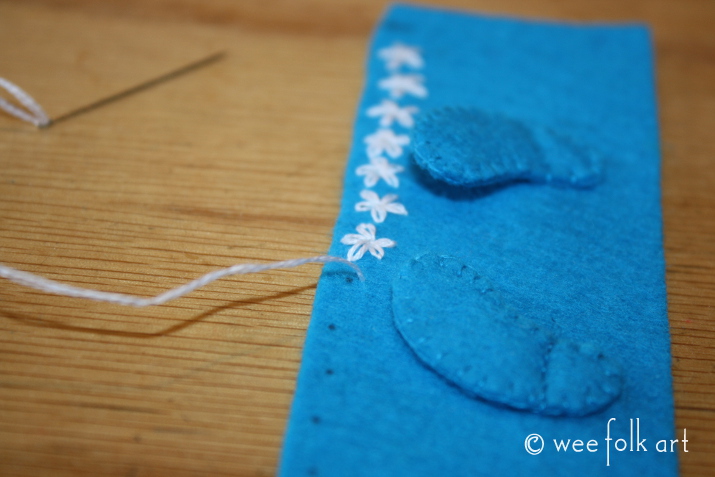
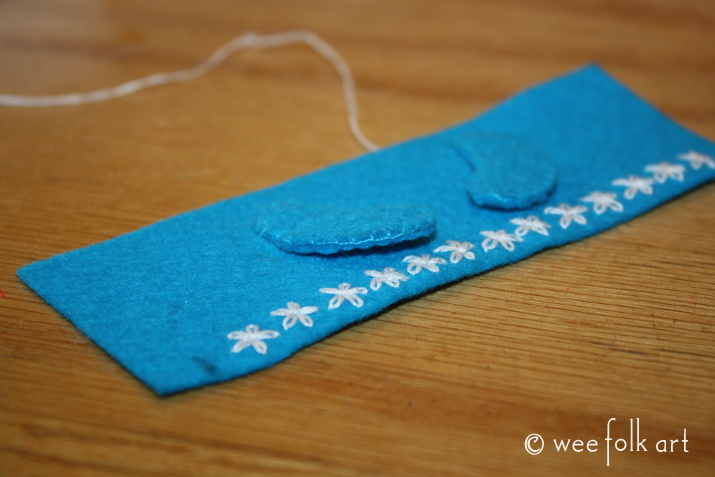
At the base, draw on shoes centered on the front of the gnome. Paint the shoes. After paint dries completely you can erase visible pencil marks.
Using the pattern as a guide, cut out the felt EXCEPT for the hat. Do not cut out the hat until you have added the hair. Then, cut the hat out of paper first and “try it on” for size. You may have to make the hat slightly larger if you have lots of hair 🙂
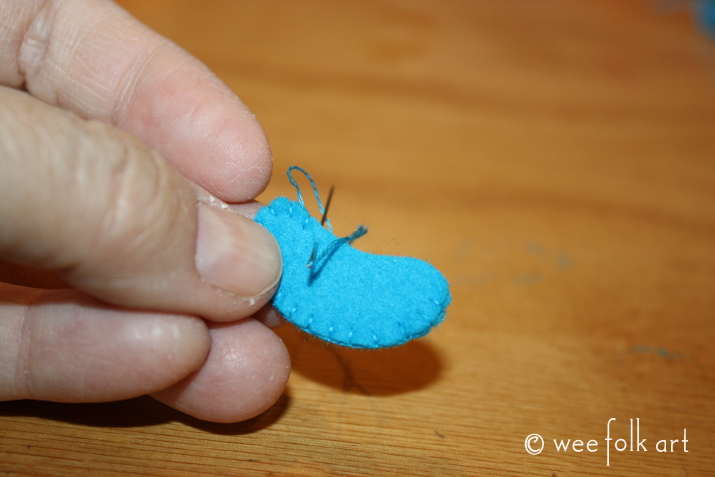
Check out our tutorial for tips on Cutting Out Felt. Make sure you cut out 2 pieces of felt at a time for each arm. This will ensure that the 2 pieces of the arm that are sewn together are the same size and shape. It helps to use very sharp scissors. I cut out all my felt using Fiskars Razor Edge Scissors.

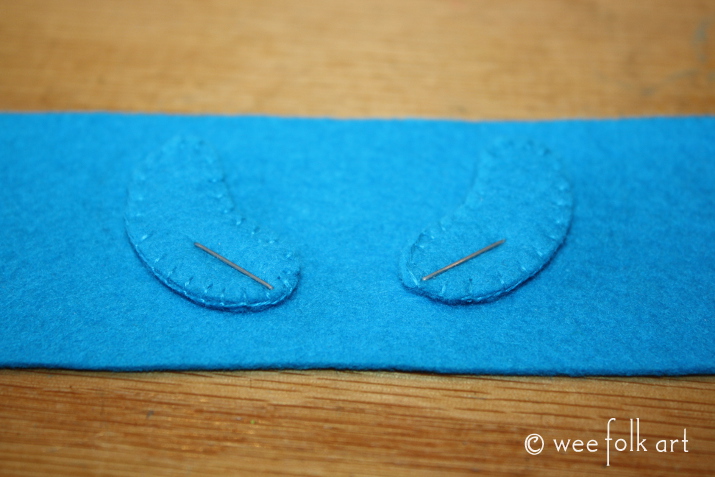
For each arm, blanket stitch the two pieces of the arm together using 1 strand of floss.
Using the pattern as a guide, pin or staple the arms in place to the dress.
Following the stitching line on the pattern, sew the arms to the dress using a back stitch and 1 strand of floss.

Using 1 strand of floss and an overcast stitch, sew the upper arms to the body, going over the blanket stitches of the arms.


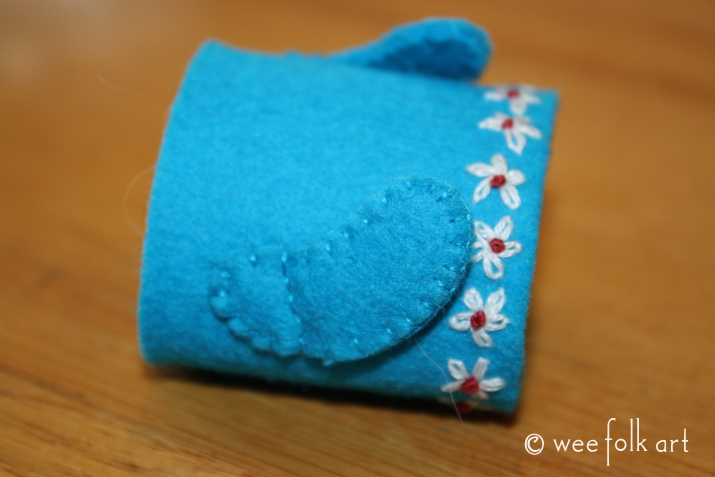
Mark the overlap line on the dress. Transfer the flower placement dots on the dress hem. Using 2 strands of floss, add flowers to the hem using the Lazy Daisy Stitch. DO NOT add the flower that is on the overlap line. You will add the last flower when the dress seam has been sewn together.
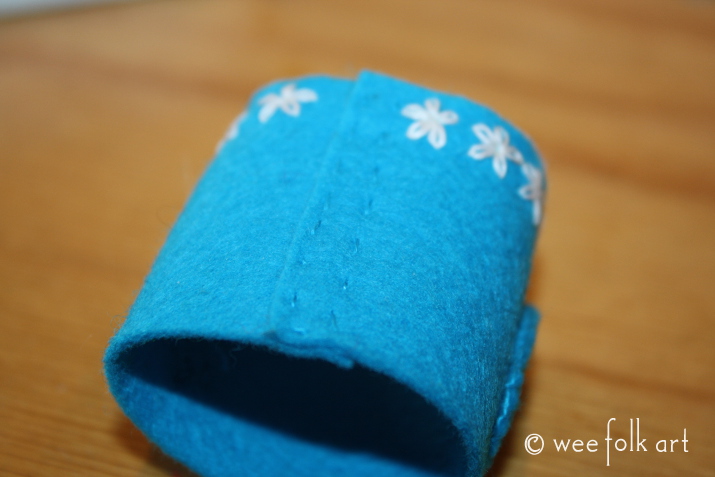
Sew the dress together by overlapping the seam as marked on the pattern. Using 1 strand of floss and a running stitch, sew the dress together by sewing close to the edge and another seam about 1/4″ away, making sure to go through 2 layers of felt.
Add the final Lazy Daisy Flower.
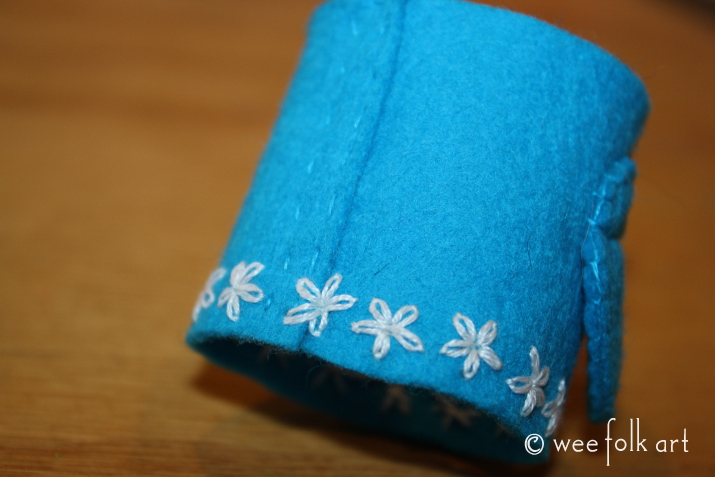
Using 3 strand of floss, add a French knot to the center of each flower.
Using a running stitch and 3 strands of floss and beginning at the center back neckline, sew a line of stitching around the entire neckline of the dress. Leave a 4″ length of floss at the beginning, and do not cut the thread when you have gone around.
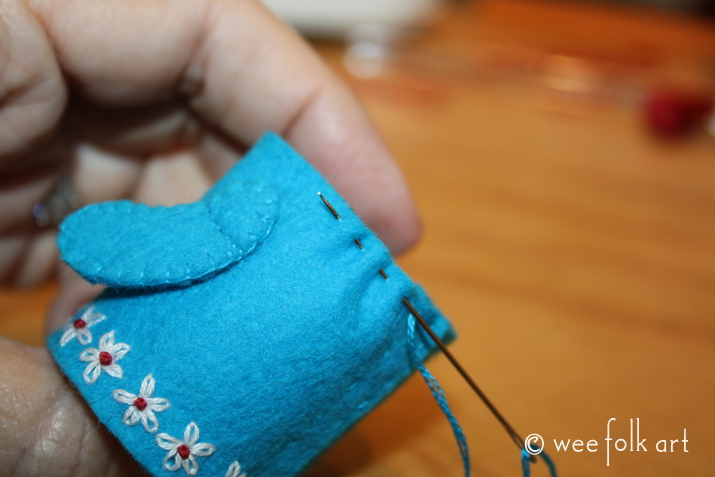
Gently pull the threads so you gather the neckline. Make sure you leave both tails of the thread long enough to tie, but DO NOT tie off yet.
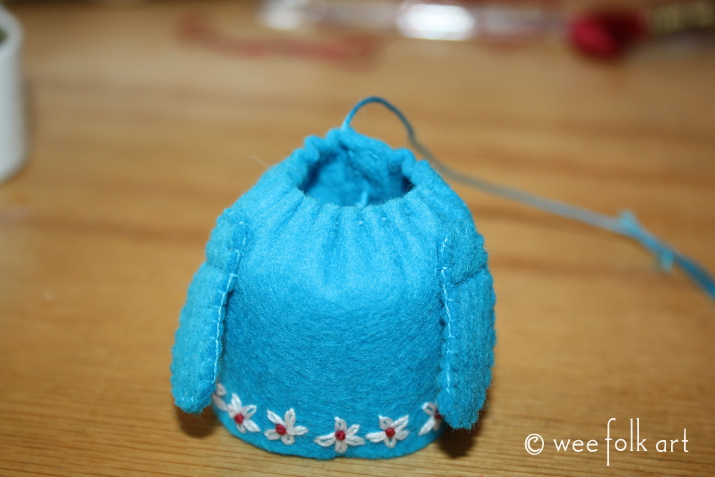
Slide the dress over the gnome, positioning the dress so the arms are centered in the front and the seam is centered in the back. Pull the strings tight and tie off using a square knot (right over left, left over right). Using your needle, poke the ends of the thread to the inside of the dress and cut off the threads, leaving tails about an inch long.
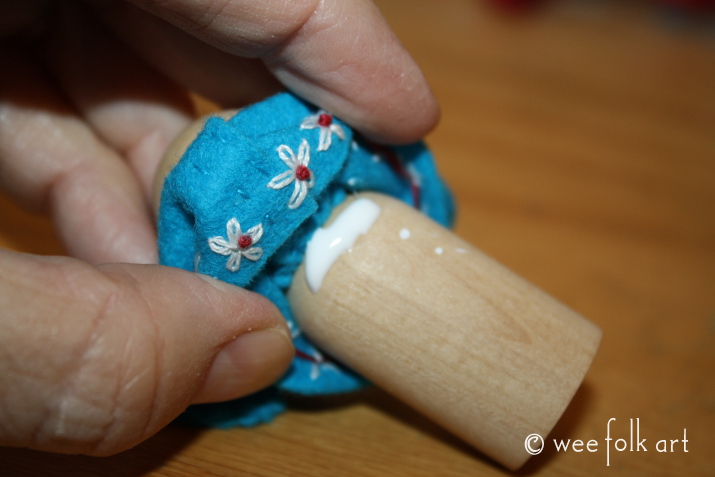
To prevent the dress from turning on the gnome, add a bit of crafting glue under the dress and near the center of the neckline. Allow to dry before continuing.
To make belt, cut 6 strands of floss 20″. Cut 2 pieces of each of 3 colors. (Use the full 6 strands of floss for each piece.) Tie the 6 strands together 3″ from one end.
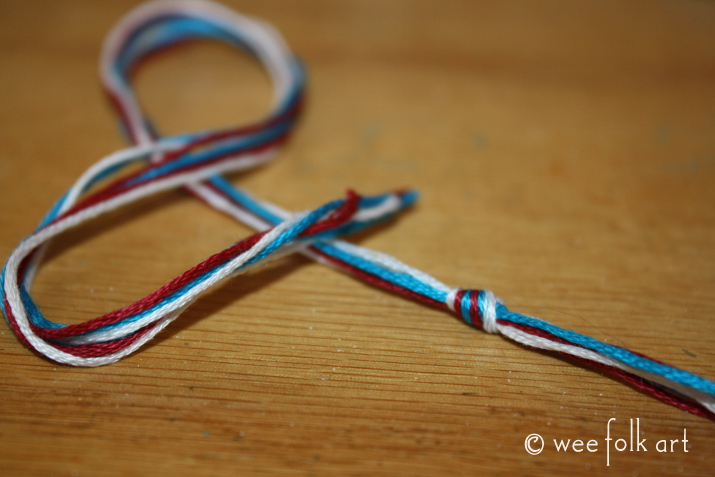
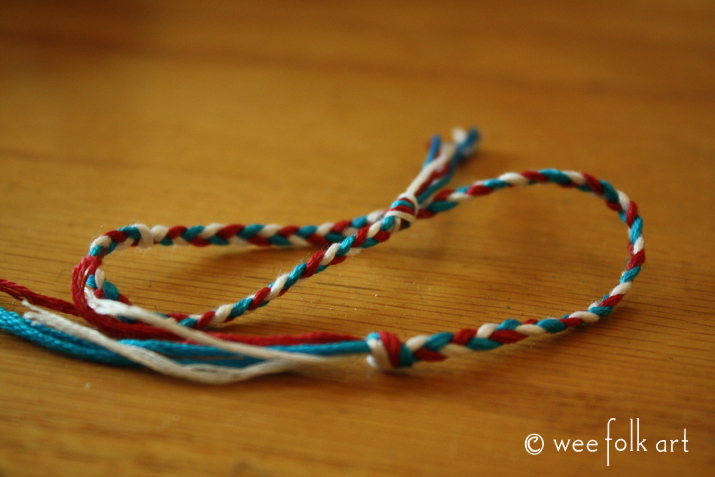
Using a 3 strand braid, tightly braid the floss hold like colors together. Braid until 3″ from the end, then knot.
Wrap the belt around the waist twice. Tie tightly using a square knot. Note: The length of your braid depends on how tightly you braided. If your belt is too long, untie, and make the belt shorter.
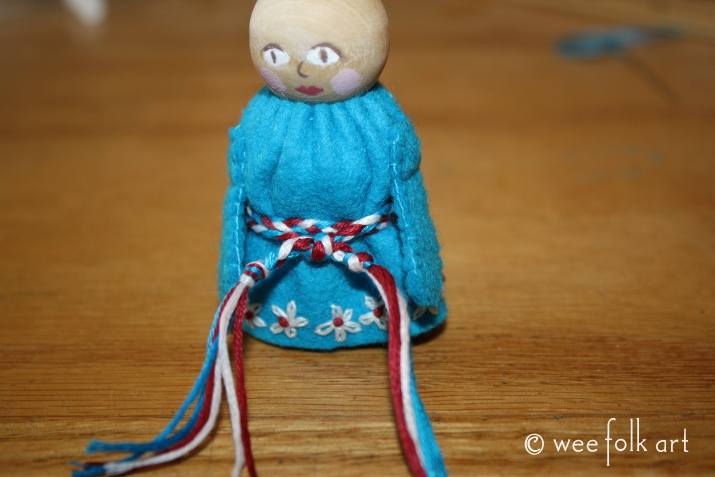
When the belt fits and is tied off, cut off the extra floss leaving the ends 1/2″ long.

This is the end of Part 1.
For Part 2 go HERE.
Photos: 4-11, 4-14, 4-28

3 Comments
Cheryl
Glad to see Britta get a new dress and be made with a peg instead of the bigger body with arms and legs. Thanks so much for all your creativeness.
Kimara
Thanks! We love the simple gnomes, but the wee ones also like a few “fancier” gnomes, with more detail. Over the years people have been asking for a pattern for them, and I finally got around to it. I wanted to keep the gnomes small like the rest of them so they didn’t tower over the others. Soon I will be adding Axel, too.
Pingback: