
Mini Braided Rugs :: Tutorial

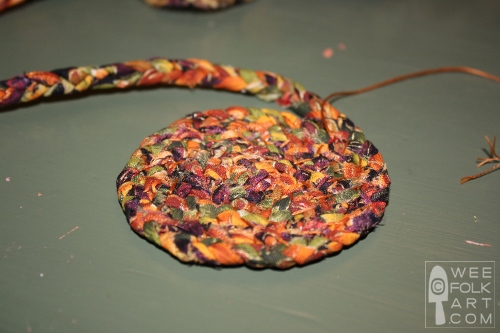
Falls here, and it’s time to help your gnomes or dolls getting their homes ready for the cool months ahead. What could be nicer than a few throw rugs under their feet. Here are directions for turning otherwise unusable scraps of fabric into cherished gnome accessories! Finished size of this rug is slightly large than 5″ diameter. Obviously, to make it smaller, just use smaller lengths of fabric strips. To make it larger, use more. Make sure to make a few!
Materials:
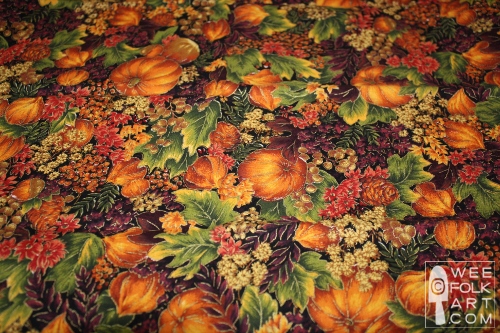
3″ x 2 yard piece of light – medium weight fabric (I used designer prints)
Carpet thread or 3 strands floss (color matching the fabric)
NOTE: If you do not have a 2 yard piece of fabric to rip from, you can splice strips together. Just make sure to stagger where you splice the 3 strips of fabric. If you splice them in the same spot, your rug will have a lump in that area. To splice: put 2 right sides together, and using a small stitch, sew together with a 1/4″ seam.
1] Rip 3 strips of fabric 1″ x 2 yards. Remove obvious loose threads.

2] Lay the fabric strips on top of one another so the right sides are up. Securely tack them together.

3] Holding the end, begin braiding the 3 pieces of fabric.

HINT: I chose to hold the braid in my teeth! If you have a strong gag reflex or find this practice repulsive 🙂 you can secure the end in a drawer or even pin it to the back of an upholstered chair. You just want to make sure you keep the braid taut while you work on it.
HINT: Because the strips are long, they will get tangled. I found if every 3 or 4 twists, I pulled one strip clear of the other 2, I did not have problems with them getting tangled.
HINT: If you begin braiding with the right side of the fabric up, although the strips get crushed, the right side of the fabric should remain on the outside of the braid. Occasionally, you may need to stop or even take out a little of the braid, and realign the fabric so the right side is outside.
4] When you finish braiding, secure the end with a safety pin.
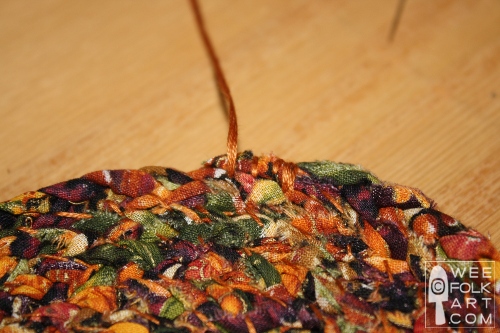
5] Beginning at the top of the braid, begin rolling the braid. You may need to put a couple of stitching in the beginning of the braid get it to lie flat.

HINT: To roll the rug, work on a flat surface. Always work on the back of the rug (determined by the side that is facing you and that you will be stitching on.) The braid should lie flat, so you can see the braiding, not on its side. Although you will need to hold the rug to stitch it together, place it on the flat surface regularly to ensure you are stitching it flat.
6] To stitch the rug together, use matching thread. From the back go back and forth from the edge of the already rolled rug to the loose braid, tacking back and forth. I found making stitches every 1/4″ worked well. Occasionally, knot your thread, but do not cut it. This will strengthen the rug, and if a thread happens to break later, only part of the rug will come undone.

NOTE: You can effectively hide your threads, making the rug reversible, if you slide your needle between the braids. Because I used matching thread, and I seriously question whether or not the gnomes will ever notice there is a right or wrong side to the rug, I wasn’t that careful!

7] Continue in this manner until you are about 3″ from the end. Clip the end on an angle. Continue tacking until you get to the end, making sure to catch all the loose ends.


You are now done! Put it in your gnome or doll house and, well, start another!
Copyright © Wee Folk Art 2008 – 2009. All rights reserved.
All photos, text and patterns are copyright protected. You may not copy, reproduce or redistribute any material found on WeeFolkArt.com without written permission. Wee Folk Art retains all rights.

2 Comments
Sandra :)
This looks like a fun project to work on – thank you for such a great tutorial – I’d like to try this 🙂
busym1
How cute is that? I will really have to try to make some of these! Thank you! Michelle