Braided Jewelry :: Part 1

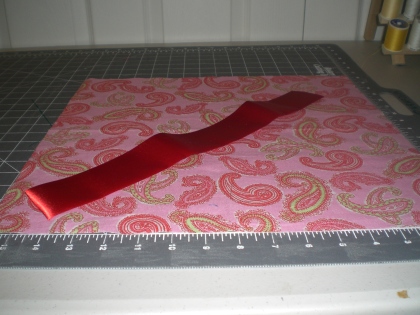
Over the years I’ve probably made 1,457 baby quilts. Yeah, so I might be exaggerating a little bit, but seriously, I’ve made a lot. I have a favorite pattern, which I will be sharing soon, that is a quilt-as-you-go blanket and it is super easy to make. It begins by cutting a stack of strips of fabric 3 inches wide. I can never remember how much I need, so I just start cutting. I always end up with a bunch left over. Over the years I’ve gotten quite a stack of left overs, which I always planned to turn into a bigger quilt. That hasn’t happened yet.
So, I’m looking at all of these, and wondering what I could do with some of them. I played with them for a while. Then, I thought how pretty they would look all braided together. I had no particular end in mind, I just thought I’d braid some. So, I laid them out in a rainbow fashion. Yes, I know, in this pic I have the orange and red reversed, but I fixed that before I started 🙂

Anyway, I kept grabbing three in a row, moving around the circle, until I had 6 stacks.

I then cut each piece lengthwise down the middle. Now, each piece was 1 1/2″ x 42″. Note: if you don’t have fabric cut out, inside of cutting the pieces, you can rip and tear them. You will find directions on how to rip and tear fabric HERE.

I then cut off the selvage on each end.

I grabbed 3 strands from a pile and secured them together with a small thread covered elastic band.

I then taped it to the table so the end wouldn’t flip flop around on me!

And began doing a 3 strip braid. (To do a three strand braid… simply take the right strip, go over the current middle strip, and the right strip in now the middle strip. Then, take the left strip, go over the current middle strip, and the left strip in now the middle strip. Keep repeating these 2 steps until you braid the entire length of the strips.)

When you are braiding something long, if you’re not careful, the bottom pieces of fabric will start braiding themselves!

About every 3 twists, I slide my hand through the remaining length of the strips, to “detangle” the strips.

As you are braiding, try to keep the right side of the fabric visible, but don’t worry if it twists. As you notice below, it still looks pretty and it looks like there are additional colors in your braid.

Finally, when you are done braiding, put another elastic band on the end, and your braid is now ready to be used for any number of projects.


Check back next week to see a tutorial on how to turn your braids into jewelry!