
Drawing Lesson 4 :: The Cube
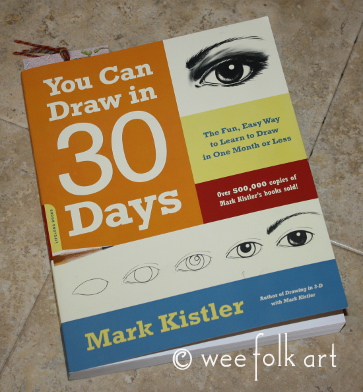
We are continuing our weekly drawing class. We are using Mark Kistler’s book, You Can Draw in 30 Days. Instead of completing the book in 30 days, we plan to take 30 weeks, doing a new lesson each week and then spending time during the week practicing what we have learned. Although I am teaching the class, I am also student and learning every bit as much as the wee ones. Michelle has a degree in fine arts and she adds tons of helpful hints. It is a very exciting time for us all. If you would like to join us, simply pick up the book You Can Draw in 30 Days, and start at Drawing Lesson 1 :: The Sphere, and follow along at your own pace. Each Lesson will be linked to the first Lesson, the previous lesson and the next lesson. Happy Drawing!
Lesson 1 :: The Sphere
Lesson 3 :: Advanced-Level Spheres
Lesson 5 :: Coming soon.
Last week in Lesson 3 :: We discussed how using the element of overlapping could be used to create any number of overlapping spheres. Again, we used placement, size, overlapping, shading, and shadowing. We also added a horizon line. Our homework was to create 4 rows of overlapping spheres. Below is everyone’s favorite drawing from the week.

Pixie’s Advanced-Level Spheres

Fairy’s Advanced-Level Spheres

Bug’s Advanced-Level Spheres

Bug was excited to share his drawing of a Dalek he drew this week. Fortunately, he had not seen one in person, but copied a photo in a book. The light source was right in front of the Dalek. Good job, Bug!

Kimara’s Advanced-Level Spheres
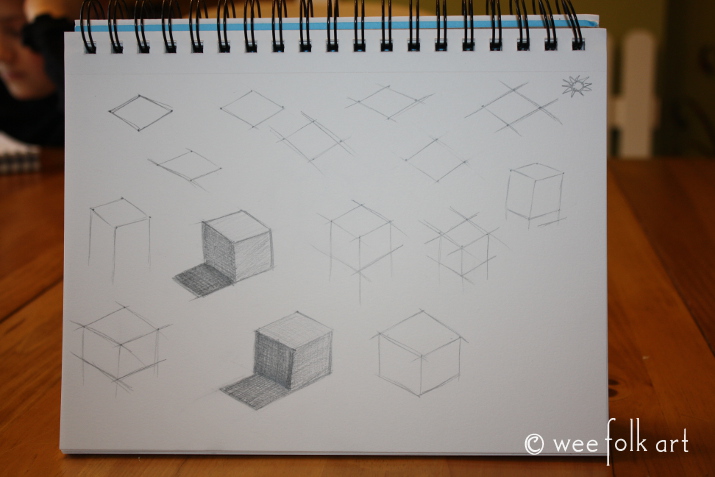
This week we began our study of cubes. The primary law of drawing we discussed was “foreshortening”. We learned to “squish” the top of our cube creating a 3-D affect. We also discussed “point of reference”, using the sides of the paper, and previously drawn lines, as a point of reference when drawing new parallel lines.
The Nine Fundamental Laws of Drawing – from Mark Kistler’s book :: You Can Draw in 30 Days
1. Foreshortening: Distort an object to create the illusion that one part of it is closer to your eye.
2. Placement: Place an object lower on the surface of a picture to make it appear closer to your eye.
3. Size: Draw an object larger to make it appear closer to your eye.
4. Overlapping: Draw an object in front of another object to create the visual illusion that it is closer to your eye.
5. Shading: Draw darkness on an object opposite the positioned light source to create the illusion of depth.
6. Shadow: Draw darkness on the ground next to the object, opposite the positioned light source, to create the illusion of depth.
7. Contour lines: Draw curving lines wrapping around the shape of a round object to give it volume and depth.
8. Horizon line: Draw a horizontal reference line to create the illusion that objects in the picture are varying distances from your eye.
9. Density: Create the illusion of distance by drawing objects lighter and with less detail.
Here is the classwork from today’s lesson.


Pixie’s Cubes


Fairy’s Cube


Bug’s Cube

Kimara’s Cubes

Michelle’s Cubes

Warm Up :: Right slants, left slants, vertical lines, horizontal lines
HOMEWORK ::
Before each drawing session, warm up by practicing slants and lines pictured above.
Practice drawing cubes.
Have a wonderful week drawing and we will see you next week for Lesson 5!
FYI: WFA is an affiliate of Amazon

You May Also Like

Poinsettia Garland

A Child’s Dream Come True Giveaway Winners!
