
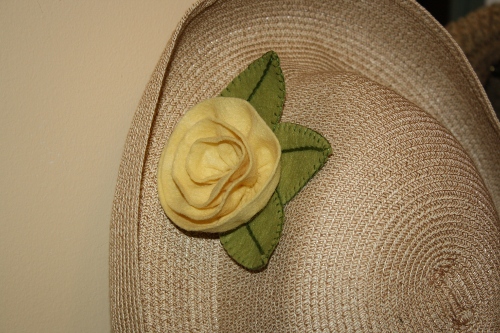
Rolled Felt Flower

As promised, here is the felt version of the Rolled Flower. If you’d like to see it done in calico, and for slightly more in depth pictures, check out the directions for the Rolled Calico Flower. They are constructed the same, with slight difference to make the best use of each material.
Materials:
2″ x 28″ piece of felt for the flower
4″ x 5″ piece of felt for each leaf
embroidery floss
2 copies pattern
(optional: bar pins for brooches or contour barrettes for barrettes)

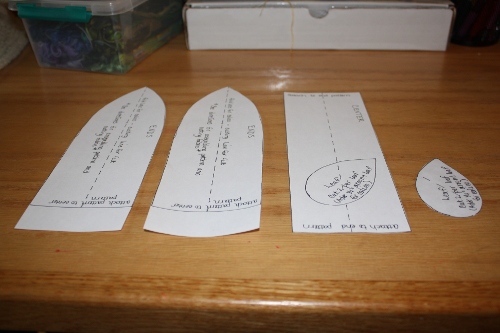
Preparing pattern pieces:
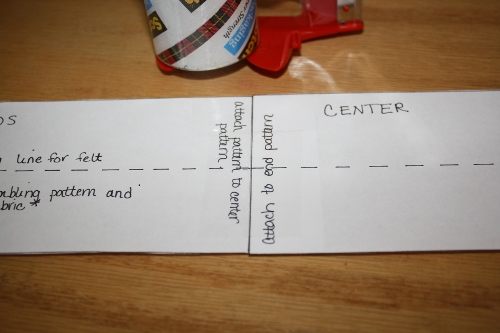
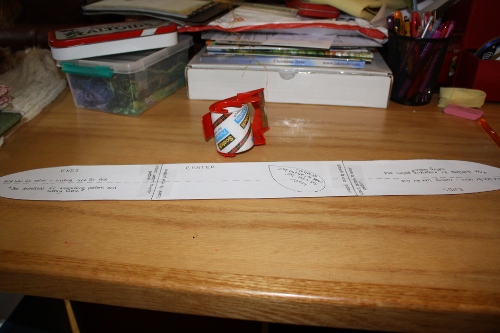
The pattern piece for the flower will require taping together 3 pieces. Make 2 copies of the pattern. Cut out the 2 end pieces. Cut out 1 center piece. Cut the leaf out of the 2nd center piece. Tape the 2 end pieces to the center piece, matching the 3 inch sides. You should now have 1 long piece, measuring 3″ x 25″, with both ends pointy.
Cutting:
Cut 1 flower piece
Cut 2 leaf pieces for each leaf.
Directions:
1] Make 2 copies of the pattern and piece together as explained above.
2] Cut out pieces.
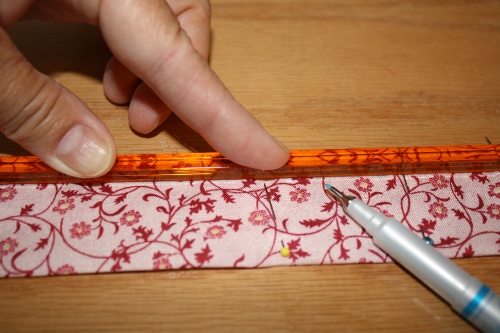
3] Mark a 1/4″ seam allowance along the raw edges using a fading or washable marker. (Example on calico)
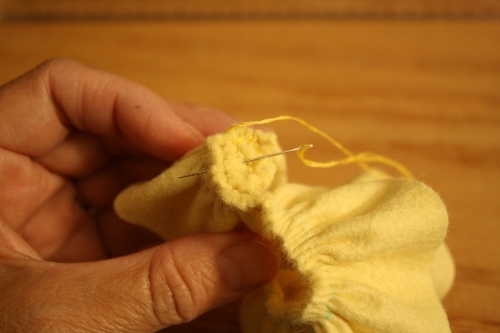
4] Using 2 strands of floss, sew a close running stitch along the 1/4″ line. Leave a long tail.
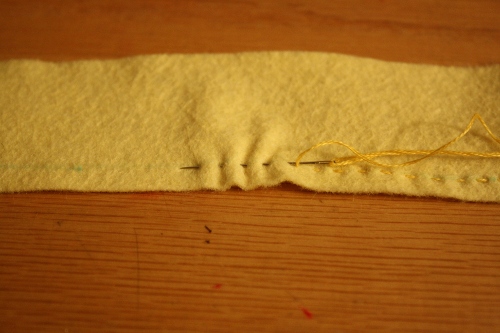
5] Sew a 2nd running stitch an 1/8″ below the first line of stitching. (It will be between the line of stitching and the raw edge.) Leave a long tail.
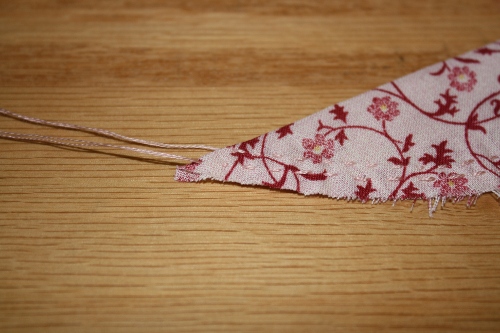
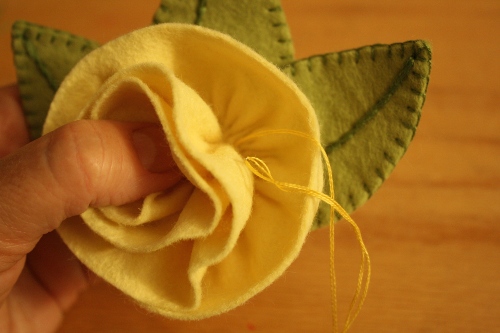
6] Holding both tails, gather the flower until it measures 9″. Secure the end so the gathering does not come loose.
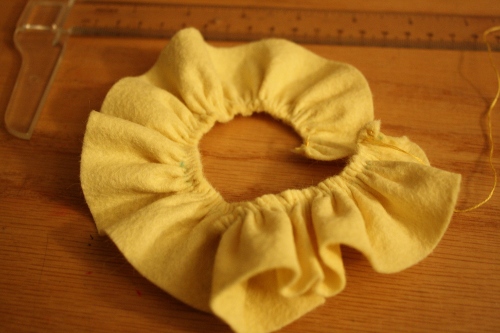
7] Using one of the tails, start rolling the flower, tacking as you roll. You will want to tack about every 1/2″. Make sure you keep the raw edges even.
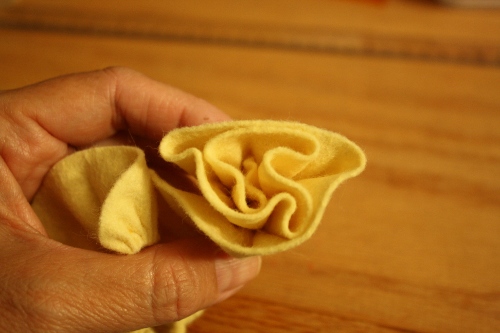
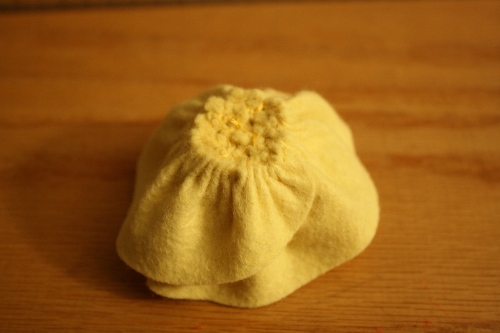
8] When the flower is rolled, secure end.
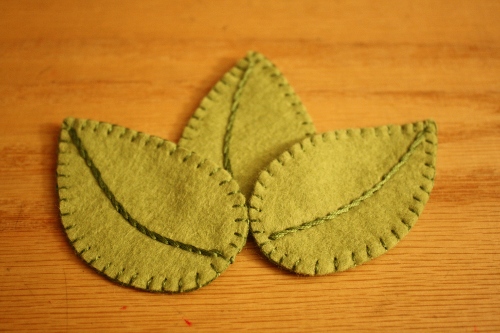
9] To make each leaf, place 2 leaf pieces together. Using 2 strands of embroidery floss, blanket stitch around the leaf edges.Referring to the photo, draw on and stitch a center vine using 6 strands of floss and a stem stitch.
![]()
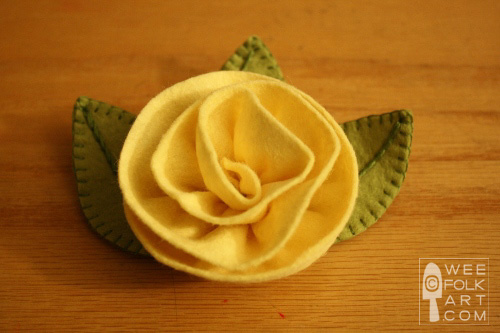
10] Make as many leaves as you would like to surround the flower. My felt flower has 3 leaves. Lay out the leaves, placing the flower on top to check positioning. The leaves should overlap slightly. When you are happy with the position of the leaves, sew the leaves together using a hidden stitch.
11] Sew the flower onto the leaves. To sew the flower on, use thread that matches the color of the flower material. Sew the flower to the leaves by sewing inside the outer ring. If you would like, you can open the flower slightly, and tack it farther out of the leaf.
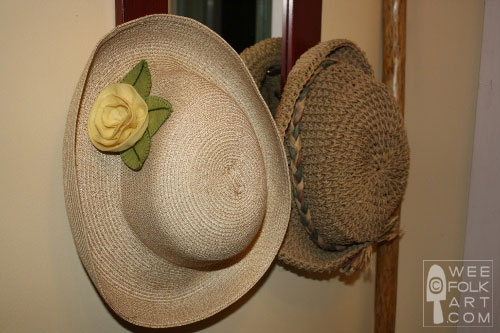
The flower is now done. It can be sewn directly onto a garment, or it can be sewn to a bar pin or a barrette.
Copyright © Wee Folk Art 2008 – 2009. All rights reserved. All photos, text and patterns are copyright protected. You may not copy, reproduce or redistribute any material found on WeeFolkArt.com without written permission. Wee Folk Art retains all rights.


7 Comments
soraya
Gostaria de pedir autorizau00E7u00E3o para postar em meu blog seus tutoriais.Vou linkar em cada um o endereu00E7o de seu site.
Obrigada
Aguardo sua resposta
Soraya
Kimara
Yes. Thank you for asking first. Just be sure to include a link back to us in your post.
Nancy Ward
Hi!
Today I posted an entry on my blog with a link to this tutorial.
I’d appreciate your letting me know if that’s OK.
Thanks,
Nancy Ward
http://paperfriendly.blogspot.com
Kimara
It is definitely okay to link to our designs and tutorials. To answer specific questions, check out our FAQ. There is a tab linking to it on the top of this page. As a matter of fact, we love it when our readers link to us. It’s a lovely way of letting us know you like our projects 🙂 Thanks for sharing our site with YOUR readers!
Kelli Williams
I love these flowers, and just wanted to let you know I “featured” them in my blog post today. Thanks for the great tute!
http://whimsikel.blogspot.com/2010/05/still-preoccupied-with-fabric-flowers.html
Kimara
Thanks for linking to us. We love to meet new friends!
Jill Tacy
Wow! What a wonderful little blog you have. Amazing projects. There are so many I want to try! Thanks for sharing your crafty project know how!