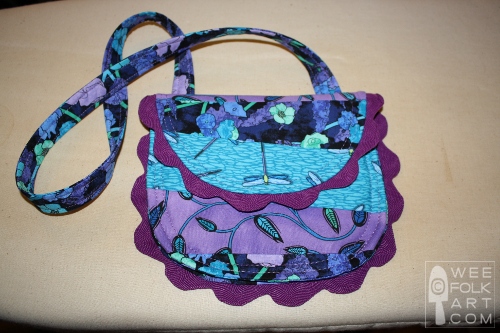
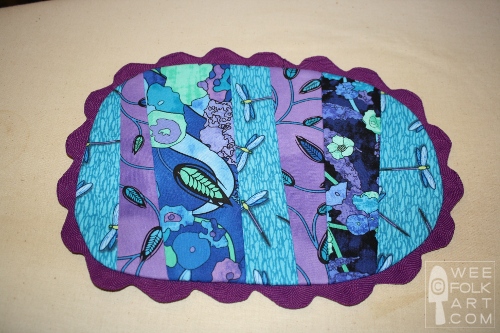
Party Purse Pattern Easy Sewing Project


With a few modifications, I turned our Treasure Pouch Pattern into a Party Purse Pattern that is ready to hit the town! Although I did not add any closure, you could use Velcro, a snap, or the magnetic closers. You could even put in a buttonhole and button. I used the pattern from the Treasure Pouch. Just substitute the word purse and tah dah, it’s good to go! Enjoy this easy to make sewing purse pattern.
Party Purse Pattern Materials:
- light to medium weight fabric for piecing the outside purse and lining
- light weight batting
- 2 3/4″ buttons
- extra wide rick rack – mine was 1″ wide
- pattern
Party Purse Pattern Directions:
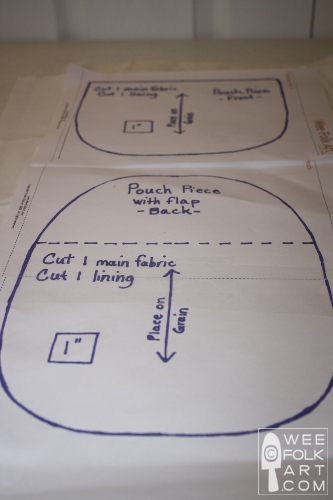
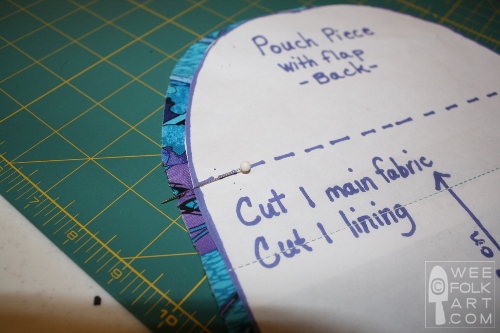
1] Make a copy of the party purse pattern. Tape together the two pieces that make up the purse back.
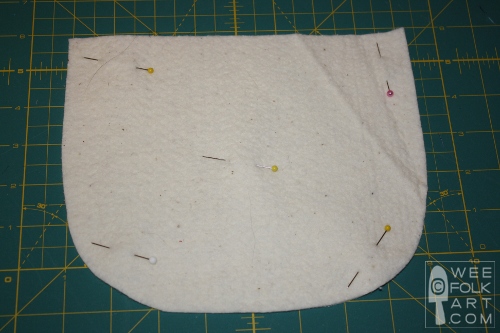
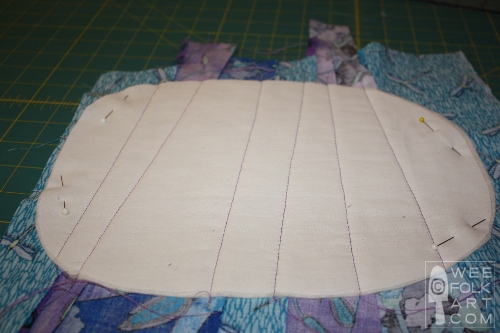
2] Lay a piece of light weight fabric (muslin) over a thin batting. Pin pattern pieces in place and cut out.

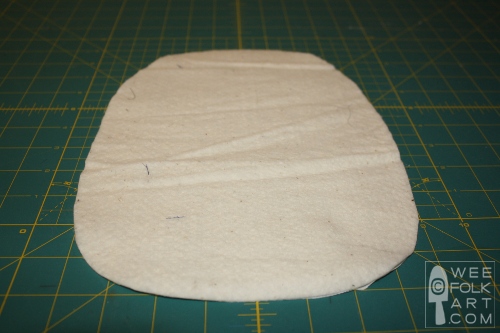
3] Pin the batting and muslin together.
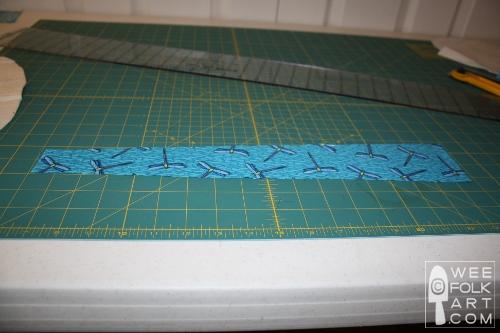
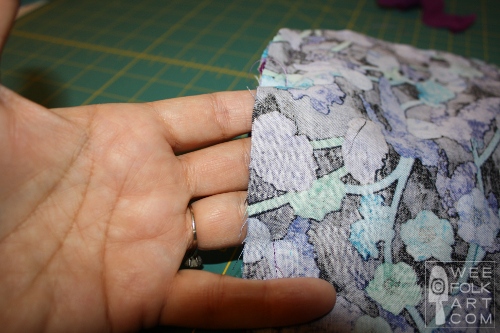
4] The strips of fabric used to cover the batting are purposely cut askew. Although the 2 outer edges must be straight, the strips should be smaller at one end than the other. How different you make them is a matter of choice and should be aesthetically pleasing to you. There is no right or wrong way to do this. NOTE: I cut out one piece at a time and decide with each strip how I want it cut. I use a cutting mat, edge and roller blade but you can mark lines and use scissors to cut your strips.
5] Once you have a strip cut, place it on your purse back. The strip should over hang the purse piece and the wrong side of the fabric should be directly against the batting. DO NOT sew this first piece on.
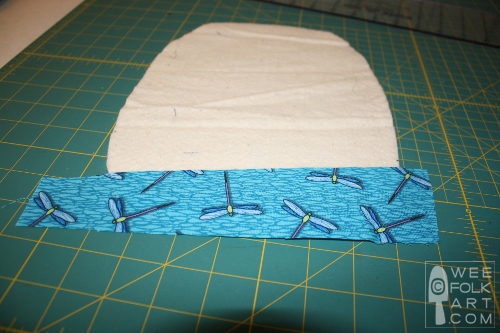
6] Cut a second strip in the same manner. Place is on the purse over the first strip with right sides together and pin in place. Using a 1/4″ seam, sew the strip to the purse back.
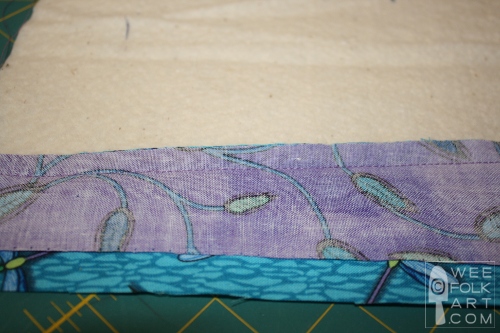
7] Remove pins and finger press the second strip up.
8] Continue cutting and sewing strips to the purse back until the entire piece is covered. NOTE: Remove the pins that hold the batting to the muslin as you go.
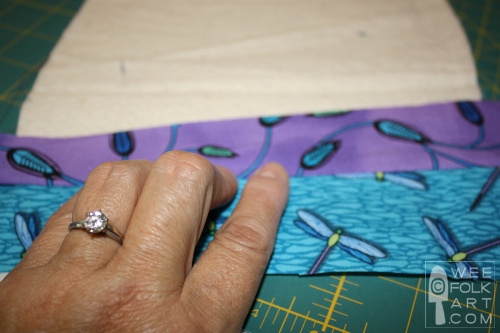
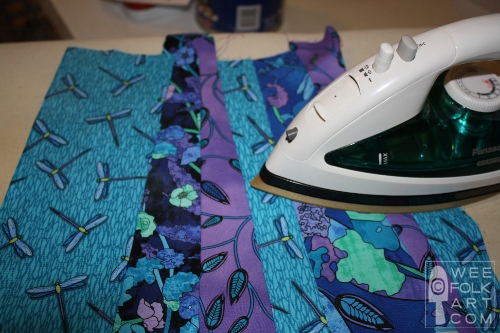
9] Iron the complete quilted piece.
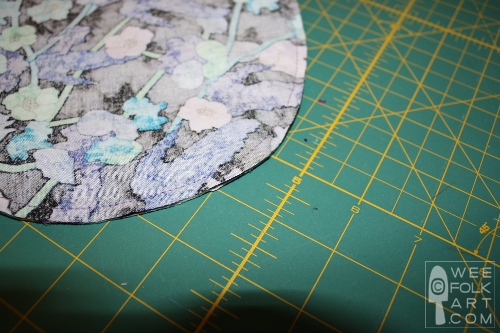
10] Turn the piece over so you see the overhanging strips. Cut away the extra material so it is the same size as the batting and muslin.
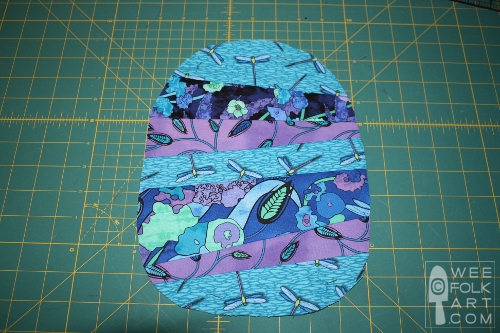
NOTE: If you would like the embellish with any type of embroidery, now is the time to do that. This purse has a crazy quilt look about it. Often people embroider using fancy stitches on or near the stitching lines. I did not have time to do it, plus I think the fabric is busy enough without it, but with certain fabrics it would add a lovely touch!
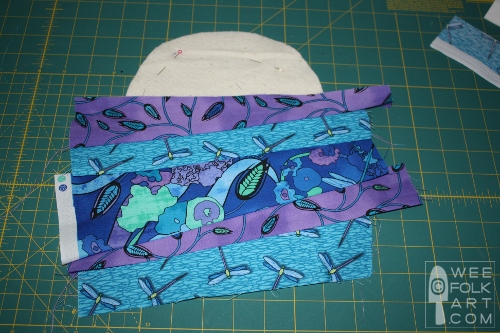
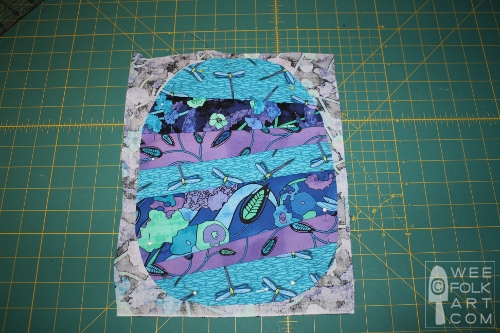
11] To cut out the lining, lay the completed back on top of the lining material, with wrong sides together. Pin in place and cut out the lining. Set aside.
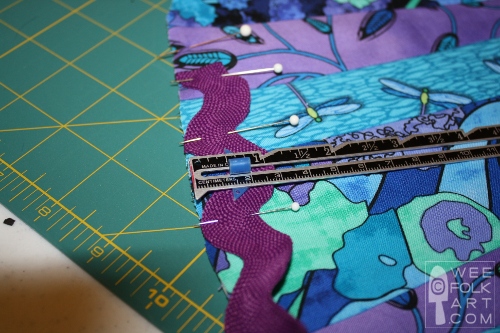
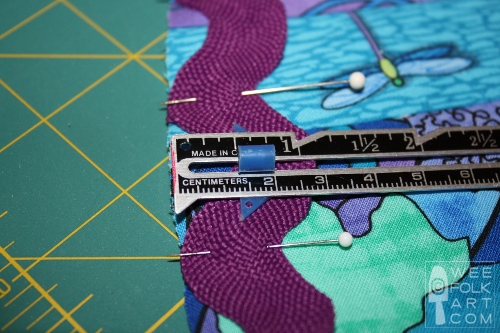
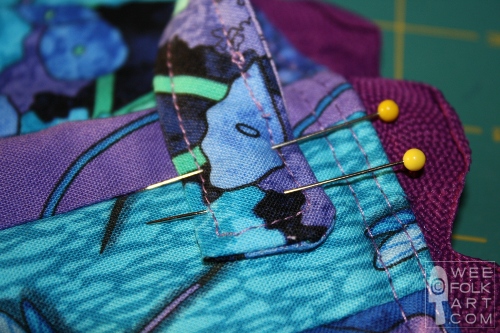
12] To add the rick rack, lay the pattern on the right side of the quilted back. Place a pin at the dotted fold line on the fabric. This is where you should splice the rick rack.
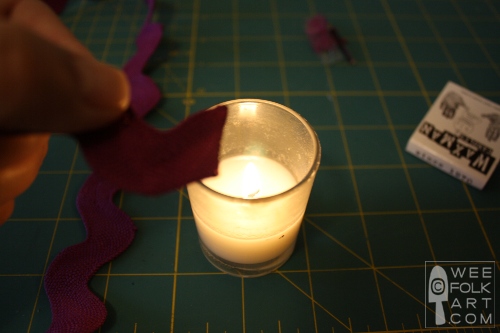
13] Most rick rack is made from man made materials (Polyester, rayon, etc.) that melt much like plastic. To prevent the rick rack from fraying, you can carefully melt the edge of the rick rack. If you prefer you can use Fray Check or sew the edge of the rick rack. If done right, I find melting the edge seems to work the best for me. NOTE: Obviously, be careful when using a flame. You do not need to put the rick rack directly in the flame to melt it. Just holding the edge near the flame will melt it. Practice on piece before using a good piece of rick rack.
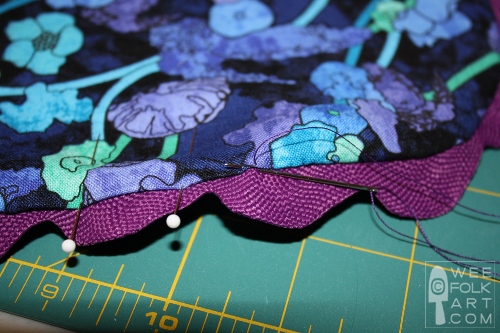
14] Pin the rick rack to the front of the finished back piece. You will be using a 1/2″ seam allowance to sew the lining to the back, so make sure the rick rack center is 1/2″ from the edge. Re-position your rick rack if necessary so 1/2″ is in the middle of the trim.
15] Pin the rick rack all the way around the front of the purse back. Cut the rick rack so it overlaps by at least a quarter of an inch. Carefully melt the edge or add Fray Check or sew the edge. Pin in place. NOTE: Before anyone asks… I do not have any magic formula for making the rick rack line up. The fact that my 2 edges matched almost exactly was pure luck! If you notice that you are close, you can play with the spacing of the rick rack a little, but mostly, it is what it is!
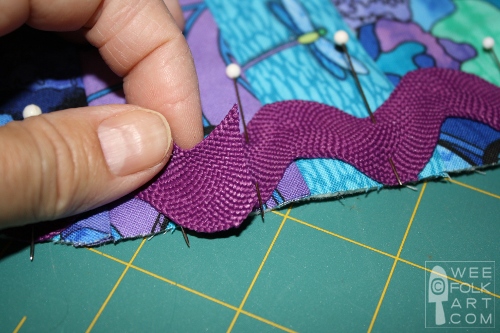
16] Using a 1/4″ seam, sew rick rack to purse back.

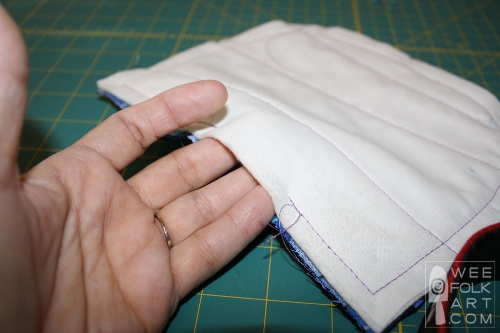
17] Pin the lining to the purse back with right sides together. Using a 1/2″ seam, sew the pieces together, leaving a 2 1/2″ opening on one side.
18] Trim seams to 1/4″. (Do not trim along the open edge.) Turn right side out through the opening and press.
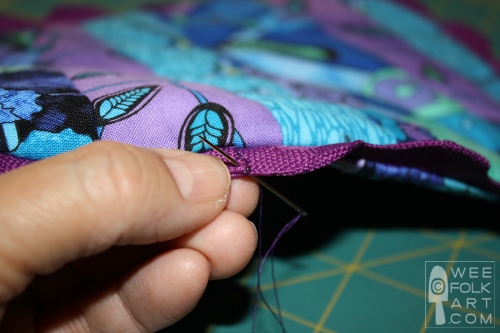
19] Ladder stitch the opening closed. Basically you are sewing to the rick rack. You will need to do this on the quilted side of the back and the lining side. Doing this in two steps helps hide your stitches.
20] Using small stitches, sew the 2 ends of the rick rack together.
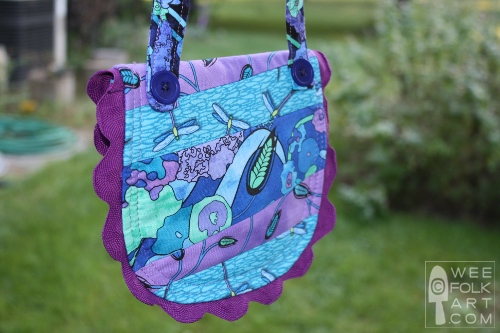
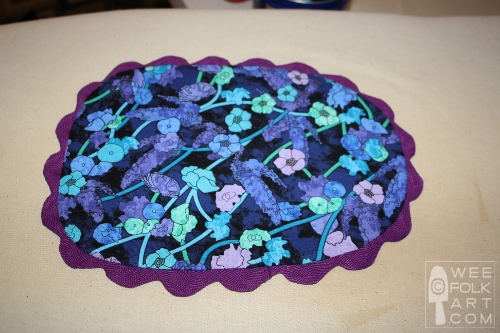
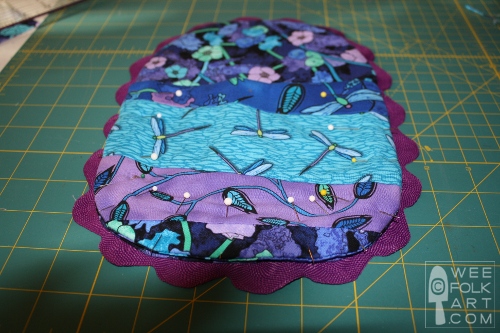
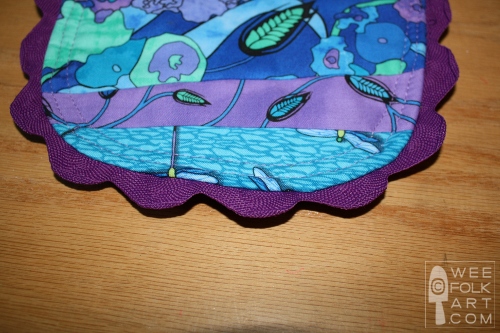
The finished quilted side of the back of the party purse pattern.
The finished lining side of the back.
21] To make the smaller front piece, proceed as you did for the back except you will not be adding rick rack. When you sew the lining to the quilted front, leave the 2 1/2″ opening at the top.
22] Lay the completed front purse piece on top of the back purse piece so the linings are touching. Pin in place. Using the longest stitch on your sewing machine, top stitch an 1/8″ away from the edge of the piece (do not sew on rickrack.) Reinforce at the top straight edge of the front piece. This area will get a lot of wear and tear when you go in and out of your purse. The top stitching should go all the way around the entire edge of the purse, including the top flap. Sew a second line of top stitching 1/4″ away from the first.
23] To make the strap, cut out the strap from the lining fabric. Cut the piece 3″ x 31″. (You can make this shorter or longer to meet your needs. Cut out one piece of batting 1 1/4″ x 31″.
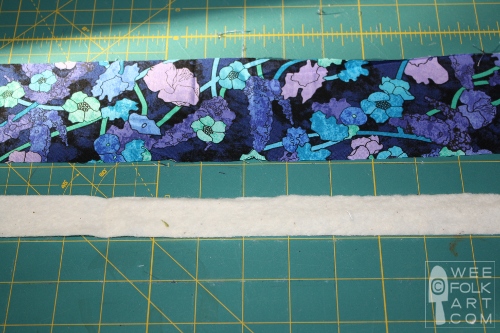
24] Fold the strap in half lengthwise with right sides together. Place the batting over the folding strap, lining the batting up with the folded edge. Pin in place. Using a 1/2″ seam allowance, begin at one end of the strap and sew together. You need to sew the ends shut and do a 90 degree turn at the corners. Leave about a 3″ opening in the middle of the strap. Continue sewing the rest of the way. Make sure to make a 90 degree turn at the other corner and sew the end shut. Trim the seam to 1/4″ (Do not trim along the open edge.)
OPPS!!! There should be a photo here. Seems I missed documenting this step! I think the directions are clear, but if you have any questions, don’t hesitate to contact us!
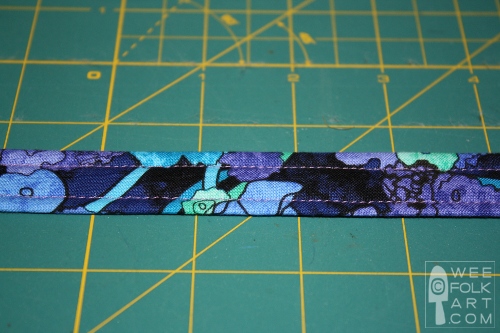
25] Turn the strap right side out and press. (You do not need to sew the opening closed.
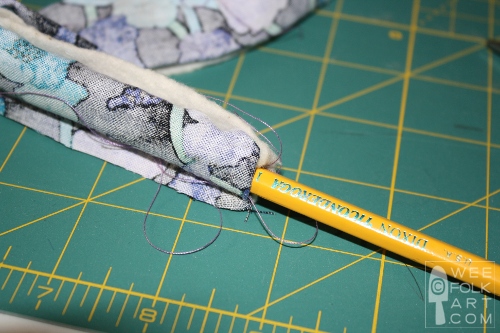
26] Top stitch around the whole strap about 1/8″ from the edge. (This will close up the opening.)
27] To position the strap, close the purse along the fold line. On the back, pin the strap in place so the bottom of the strap is 1″ from the fold, and the outer edge of the strap is 1/2″ away from the purse edge.
28] Secure fasten buttons. This is how the strap is attached to the purse. Make sure the buttons are on tight. If the purse is going to hold a lot of weight, you can use an invisible stitch to sew the strap to the purse along the edge. In most cases, the buttons should suffice.

Your Easy Sewing Party Purse Pattern is now done!