Seaside Gnome House :: Part 4
Learn how to make a Seaside Gnome House for your gnomes! We are sharing directions for how we made ours but get creative when you make your own!

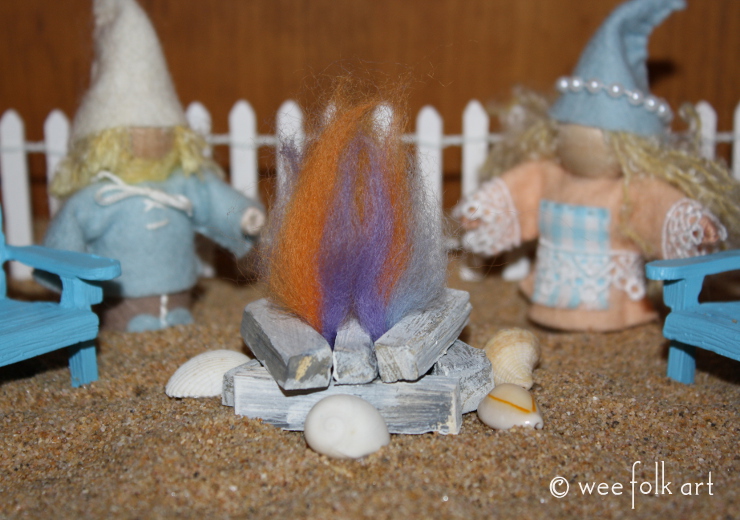
As Kristoff had feared, his talk with Rocco did not go well. Rocco had stormed off and disappeared for a few days. When he did return, every time Kristoff passed him, Rocco looked down at the ground and Kristoff could hear him murmuring things like, “Everything’s changing.”… “Who needs a wife anyway?”… and “Some best friend he turned out to be.”
Kristoff just smile. He had know Rocco his whole life. Right now Rocco was acting very, well… very “Rocco-ish”!
“He’ll come around.” Kristoff told himself, “He always does.”
As Kristoff was finishing the steps to the house he heard a loud grunt.
There stood Rocco, carrying a rather lopsided ladder.
“Here,” he said, dropping the ladder on the sand. “Made it myself. You can’t be expecting that wife of yours to fly up to the roof, now can you?”
“Very thoughtful of you, Rocco.” returned Kristoff. “I know Calleen will really appreciate it.”
Rocco just snorted and pulled out a pipe.
“Hey”, said Kristoff. “There’s a New Moon tonight. Perfect for start gazing. What say you come on over and we will try out the new ladder.”
And all was forgotten and forgiven.
The directions for making your own Seaside Gnome House will be shared in 4 parts:
PART 1 :: Crate and Dry Brush Painting can be found HERE
PART 2 :: Roof and Storage Shelf can be found HERE
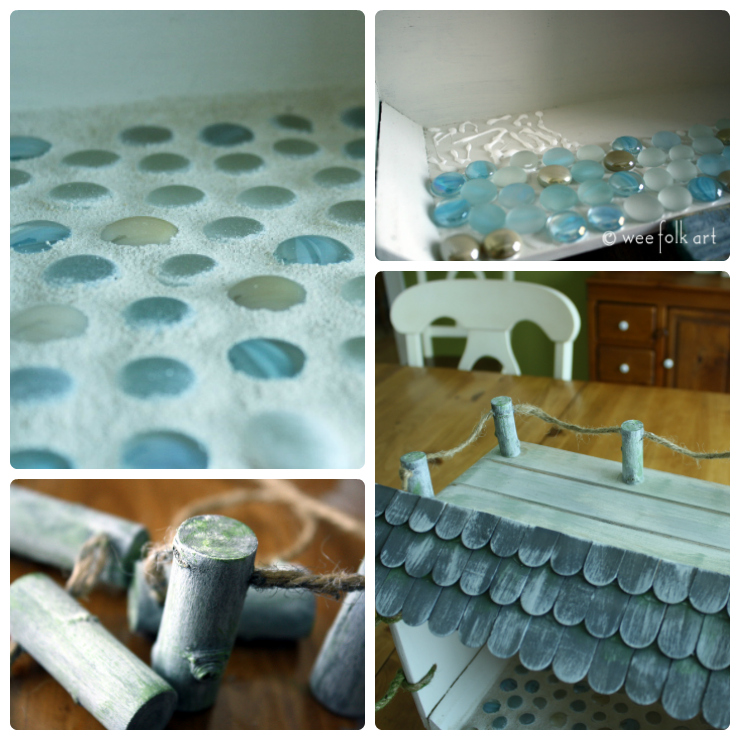
PART 3 :: Flooring and Rope Railing can be found HERE
PART 4 :: Steps and Ladder
GENERAL MATERIALS FOR SEASIDE GNOME HOUSE
- crate or other wooden box (ours was a decorative crate that measures 14″ x 9″ x 6″ that we bought at a local craft shop. It was unfinished and had rope handles which we removed while painting. We tied them back on at the end) You can use or make any size crate you like.
- acrylic, soy or other non-toxic water based paints (save paint from painting crate for other pieces of the house)
- craft glue
- twine
- sea glass or decorative glass pieces
- grout
- twigs and branches for house stilts, ladder and rope railing. I bought a bag of small pieces of decorative driftwood from our craft store which I used for the steps but used branches from our yard for the rest.)
- wide craft sticks
- 3/16″ basswood (found in craft and hobby shops) Our piece was 4″ deep by 36″ wide
- 1″ x 1″ pine the length of your crate plus 4″ for support wedge of roof
- dried moss (optional)
NOTE: We are sharing how we made our seaside gnome house. Hopefully our directions will give you useful ideas that will help you make your own. You will need to make adjustments based on the size and shape of the box you start with.
Seaside Gnome House Steps
For the steps you will need small pieces of wood, I bought a bag a decorative driftwood pieces at our craft store but you can also use any small pieces of wood, craft glue, paint from Part 1 :: Crate and Dry Brushing. Optional: dried moss
Gather together the small driftwood pieces and “dry fit” them together to fit pieces that stack well and will span from the ground and be even with the floor of the house.

When you are satisfied with the height and positioning of your steps glue them together. Use an ample amount of glue on the underside of the pieces.

Carefully prop the steps up until they dry completely.

To glue your steps to your house, begin my cutting a piece of a craft stick that is slightly shorter than the width of your steps. Glue the craft stick UNDER the top step. It should overhang the bottom step by at least 1/2″.


Turn the steps right side up and place glue on top of the craft stick and the back edge of the top step.

Position the steps at the center of the house and allow the glue to dry completely. Paint the steps like you did the railings found in Part 3 :: Flooring and Rope Railings.

If you would like, glue small pieces of moss to your steps.

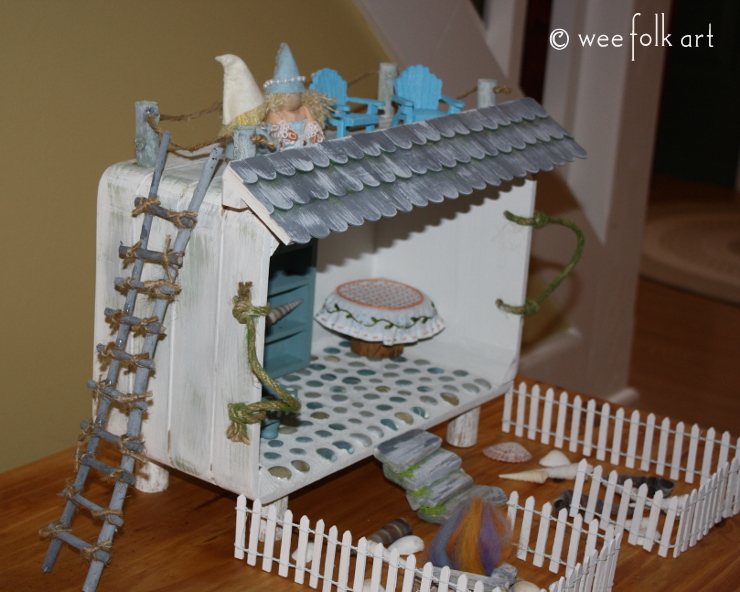
A perfect set of stairs for family and guests!

Seaside Gnome House Ladder
Begin by collecting or cutting fresh twigs. If you are collecting them off the ground make sure they haven’t started decaying. You would hate for a rung of the ladder to break when your gnomes are climbing it! Collect relatively straight pieces that have approximately a 1/4″ diameter. Cut the first side rail about 2 – 3″ longer than the distance from 1 floor to the top of the next floor. We cut ours 12″ long. Cut your rungs. We cut 10 rungs 2 3/4″ long.

Lay your side rails on a protected surface so there is a distance of about 2″ from the outside of the side rails. Lay your rungs on the side rails, overlapping the rails and equal distance apart. Our rungs are space approximately 1″ from the center of one rung to the center of the next. Place a liberal dot of glue every inch on both side rails keeping their top and bottom ends even.

Center the rungs on the side rails and press into the glue. Allow the glue to dry completely.

Cut pieces of twine about 8″ long, 2 for each rung. Tie the rungs to the side rails. Start by placing the twine on the front of the ladder on a diagonal so one end of the twine is above the rung on the inside of the rail and the other end is below the run on the outside of the rail.

Crisscross the twine on the backside of the ladder and bring both ends to the front of the ladder. One end should be on the outside of the side rail and above the rung and the other piece on the inside of the side rail and on the bottom of the rung.

Using a square knot (right over left, left over right) tightly tie the twine together. Leaving 1/2″ tails, cut off the extra twine. Continue tying on each side of the rungs to each side rail.

Now that the house is gone, we will be making many accessories for the house. Stop by often to see what’s new at the Seaside Gnome House!