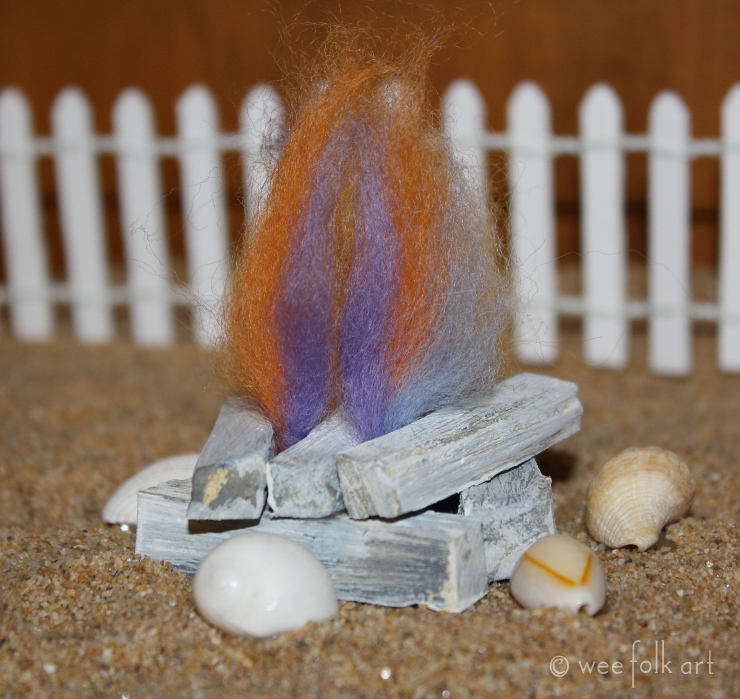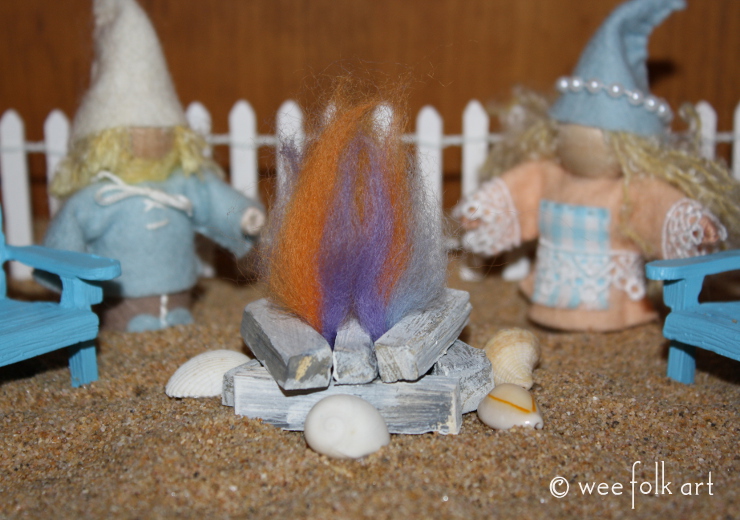
Seaside Gnome Driftwood Campfire
Is there anything more enchanting than a driftwood fire, with flame licks of purple and blue? Our seaside gnomes enjoy a driftwood campfire filled with magic and whimsy.
Kristoff told Caleen to keep her eyes closed and he lead her down the steps of their new home. Hand-in-hand he walked her down the path and to the beach.
“Okay, Luv, open your eyes!” Kristoff instructed.
Caleen opened her eyes and they were filled with awe and wonder! Before her was the most beautiful fire she had ever seen! The dancing flames were purples, blues, oranges and greens.
“Is this magic?” she asked. “I have seen many campfires and none ever looked as enchanting as this!”
Tomorrow, Kristoff would explain how the mineral salts found in driftwood caused the flames to turn blue and purple, but for tonight he simply said, “Yes, Luv, it is magic.”
Note: You can find directions for how to make our seaside gnomes HERE and HERE.
MATERIALS FOR GNOME DRIFTWOOD CAMPFIRE
- 1/4″ Masonite (hardboard) or cardboard
- small pieces of driftwood or campfire wood (I bought a bag of small driftwood pieces at our local craft shop)
- felt
- sand
- small sea shells
- wool roving
- craft glue
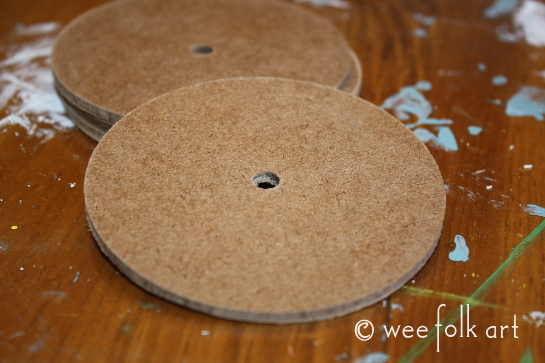
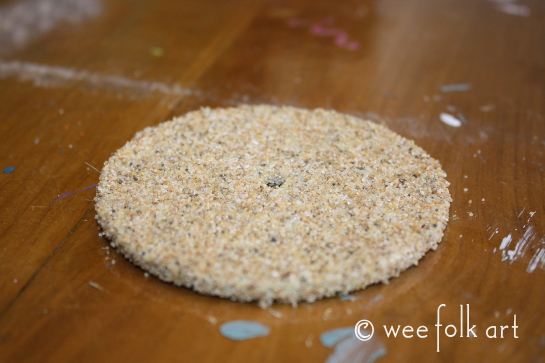
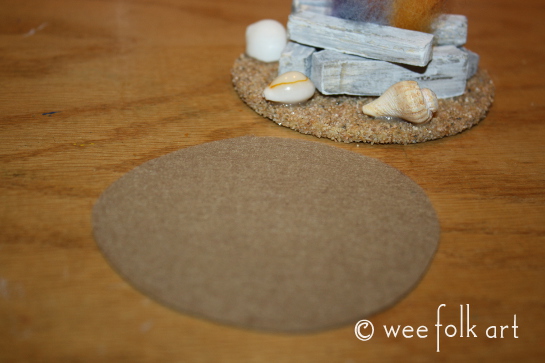
Begin by cutting the Masonite or cardboard into a 3 1/4″ circle. (We used a 3 1/2″ hole saw on a drill to cut our wood.)
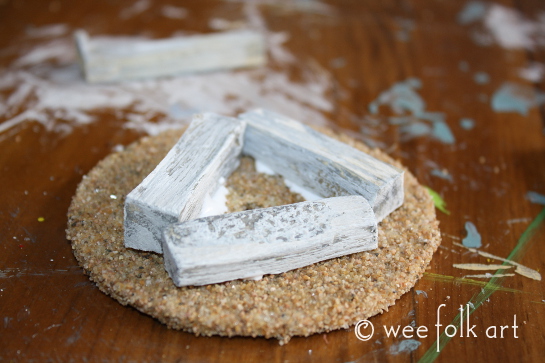
Cut driftwood into 2″ long pieces and split to make them appropriately scaled and look like logs.

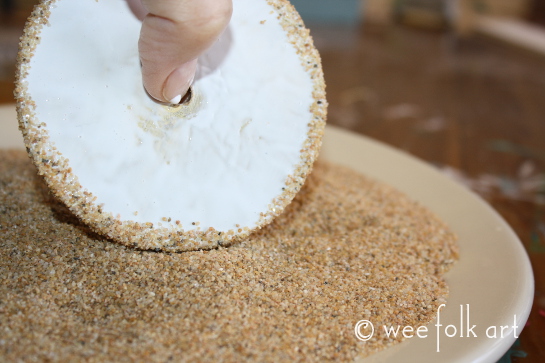
Cover the top and sides of your circle with crafting glue. Dip in sand to cover. Allow to dry completely.
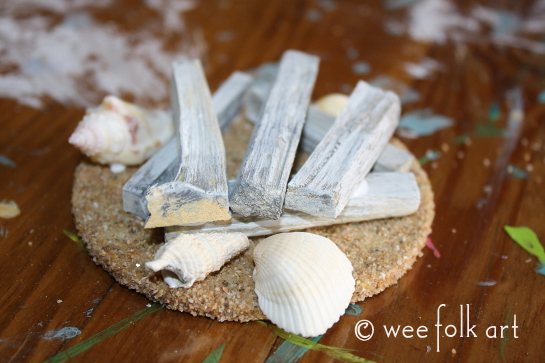
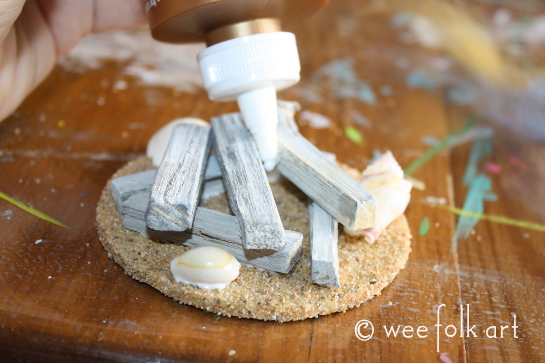
To make the campfire create a triangle in the center of the circle using logs and glue in place. Glue 3 more logs on top of the triangle. Make sure to leave spaces for the “flames”. You can also glue on some small shells. Allow to dry completely.
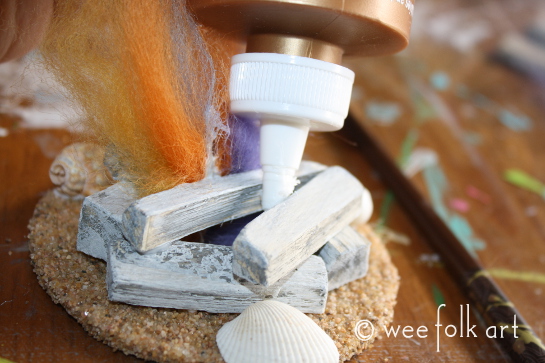
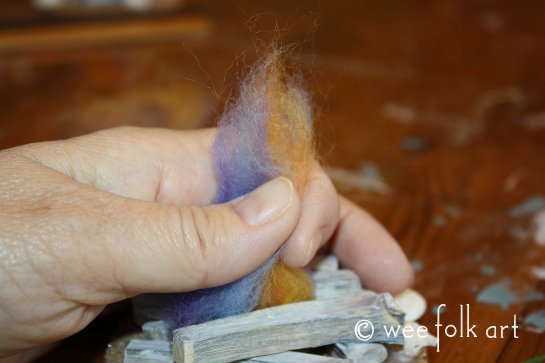
Pull off pieces of different colors of roving. Driftwood is known for having blue and purple flames. Make sure you include some of those colors in your fire.

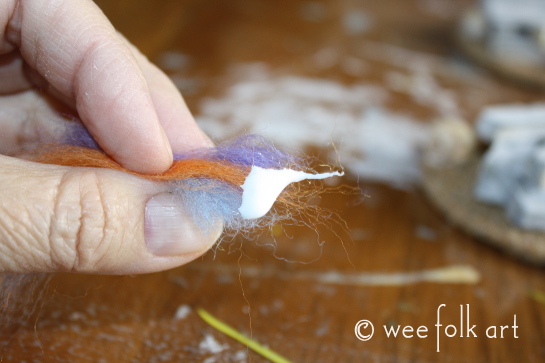
Grab small amounts of different colors of the roving.
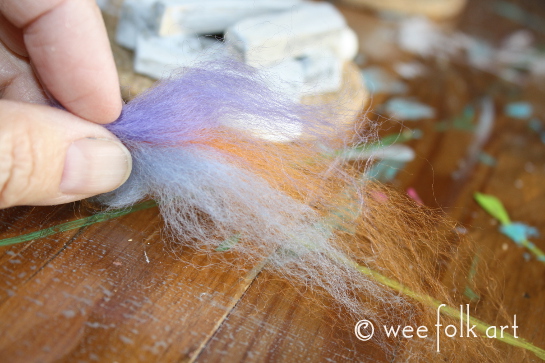
To glue the roving to the campfire you can either put glue on the end of the roving or put glue directly between the logs.
Use a knitting needle or chop sticks to push the roving in place.
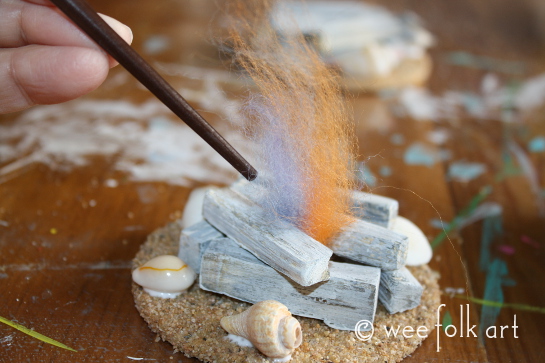
Continue adding roving until it looks like you have a nice, roaring fire. Allow the roving to dry completely.
To clean up your grab the roving tightly and pull off any pieces of roving that are too long.
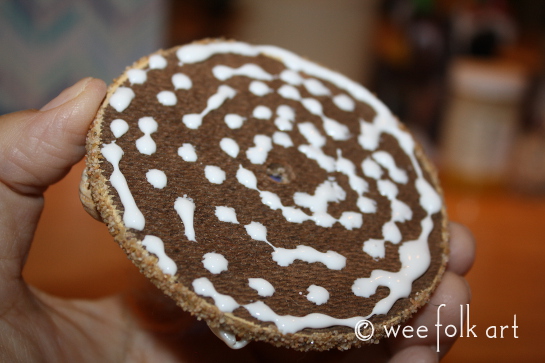
Trace the circle of your completed campfire on felt. I learned from experience to want felt on the bottom so the sand on the edges does not scratch the play surface!
Put s liberal amount of glue on the bottom of the campfire, making sure to place enough around the edges.
Put your piece of felt on the glued surface and allow to dry.
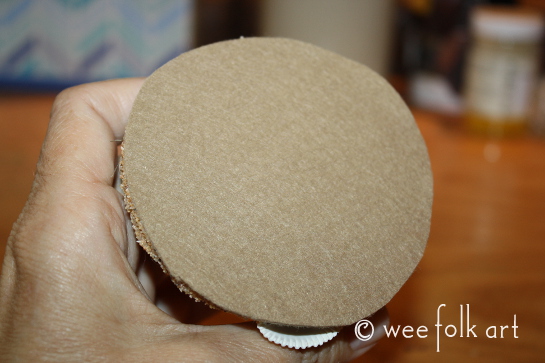
When it is done, your gnomes will have a wonderful fire to cook on and sit around. S’mores, anyone?