
Doll Purse A.K.A. Cell Phone Holder

Please note: This cell phone holder was made for the LG Lotus. IT WILL NOT FIT MOST PHONES! I’ve included the directions because my grandbabies turned it into a doll’s purse, which will fit any doll 🙂
CAUTION: It you are making this as a doll’s purse for children under three years of age do not use a button since it can be a choke hazard. Instead, use snaps or velcro to close the purse and make a felt flower to blanket stitch on.
Materials:
Color A: felt for lining
Color B: felt for outside
Color C: felt for leaves and strap
1” button
5/8” button
Embroidery thread
Pattern

Directions:
1] Copy pattern and cut out felt pieces as follows:
Color A: 1 front, 1 back
Color B: 1 front, 1 back
Color C: 2 leaves, 1 strap
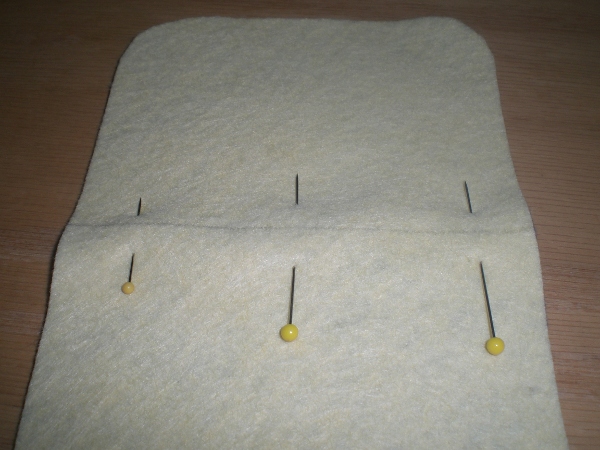
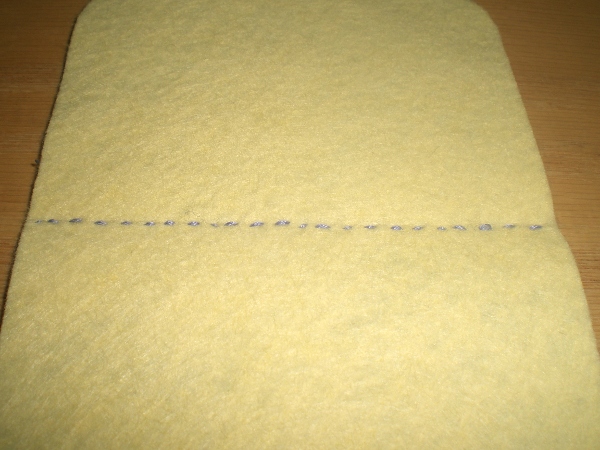
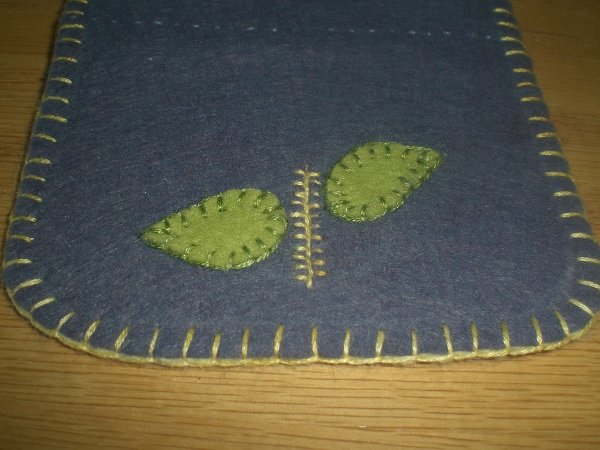
2] Place lining back on outside back. Transfer running stitch line to outside. Pin along line. Using a running stitch and 3 strands of floss sew outside to lining.

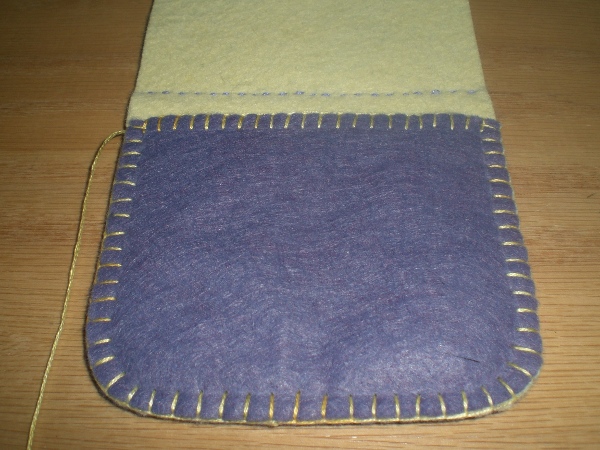
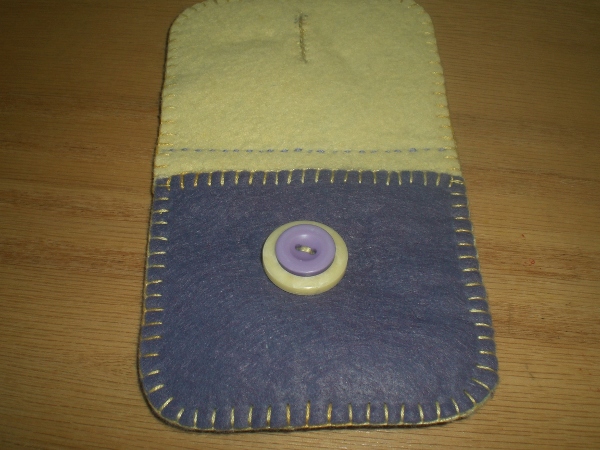
3] Place outside front on lining front. Pin in place and blanket stitch across upper straight edge using 3 strands of floss.
![]()
4] Place the front on top of the back with linings together lining up bottom and sides. Pin in place. Blanket stitch front to back using 3 strands of floss. Go all the way around the whole outside edge. This will attach the front to the back and sew the remaining back outside to the back lining. (At the bottom you will be going through 4 layers of felt. Make sure your needle goes straight down through the material to keep your stitches even on the back. Make sure your stitches are firm but not tight enough to start puckering the material. Also, it’s a good idea to reinforce the last blanket stitch on either side where the front edges attach to the back. (See pattern.) This is a stress point when placing things in the pouch and the reinforced stitch will help keep it together.
5] Using the pattern for placement and sharp scissors, cut a 1” slit (or the size of your largest button) for the button hole. You will be cutting through the outside and the lining together.
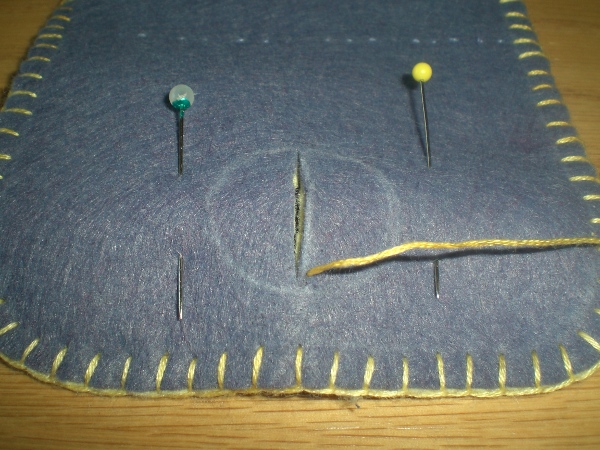
6] Using small and close blanket stitches, stitch around the entire button hole, including 1 stitch at the ends of the hole. Make sure your needle goes straight down through both layers of material so the button hole looks the same on the lining and outside sides.
7] Using the pattern as a guide, pin leaves around the button hole. Use 3 strands of floss to blanket stitch the leaves in place. (Note: Be careful not to sew the pouch together on the inside while adding the leaves.)
8] Mark button placement. Sew buttons on together with the smaller button on top of the larger button. It is a good idea to sew the button on using a shank. Check out the directions for making a shank here.
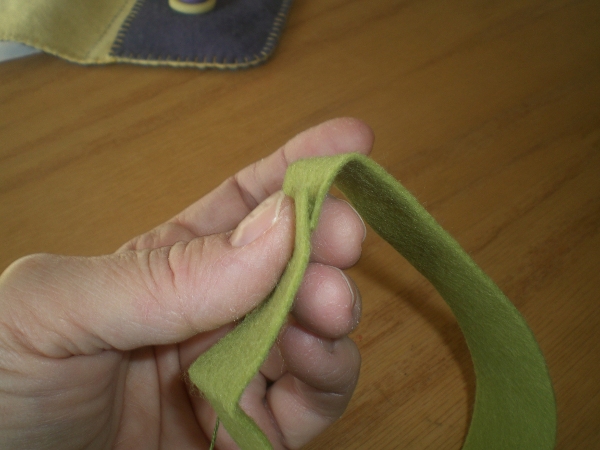
9] To make the handle overlap the 2 ends of the handle into a ring, being careful not to twist the fabric, and using 3 strands of floss blanket stitch the ends together.
10] Fold the handle in thirds with the outer edge running down the center of the handle. Pin. Whip stitch the edge closed.
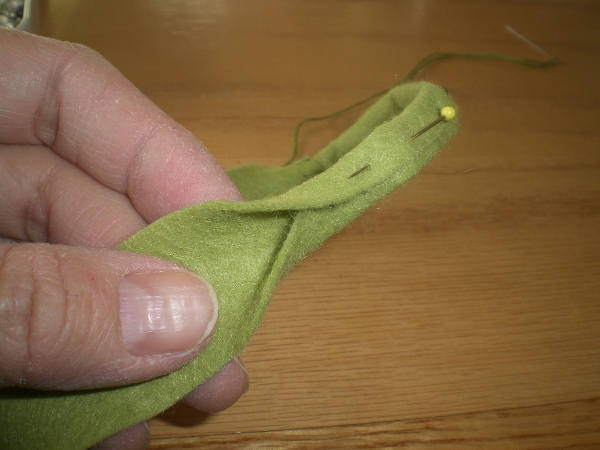
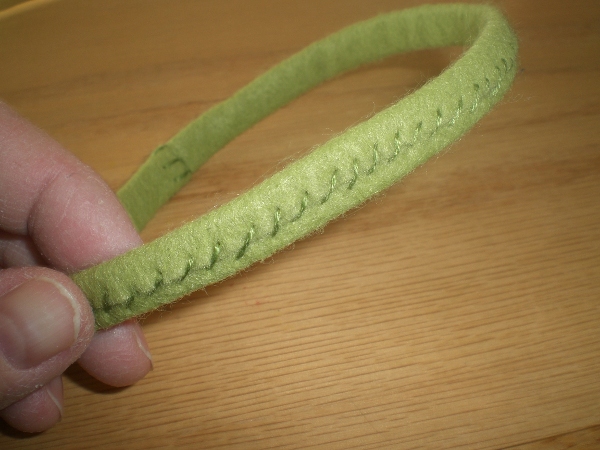
11] Using 3 strands of floss, sew a running stitch around the entire loop.

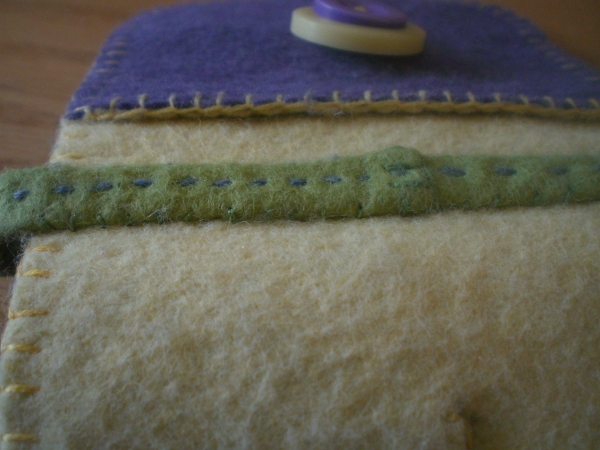
12] Using the pattern as a guide, position the handle on the purse. The handle’s seam should be centered inside the purse. Make sure the whipped stitched side of the handle is against the purse.

13] Using 3 strands of floss, whip stitch or blind stitch the handle to the purse on either side of the handle.
Now you can decide if this is meant for a cell phone or as a doll’s purse!

www.WeeFolkArt.com
Copyright © Wee Folk Art 2008-2009. All rights reserved. All photos, text and patterns are copyright protected. You may not copy, reproduce or redistribute any material found on WeeFolkArt.com without written permission. KM Projects retains all rights. All projects, patterns and directions are meant for your personal use and neither the patterns nor completed projects may be used for personal gain.


One Comment
Sheza
lovely!