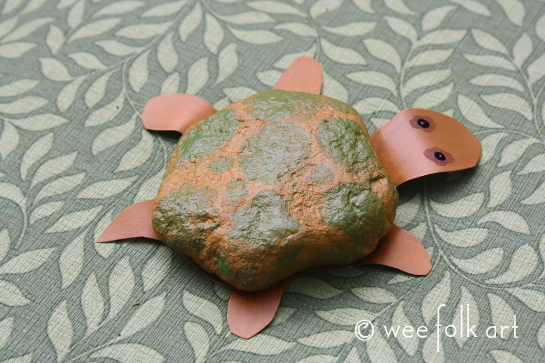
Painted Rock Turtles
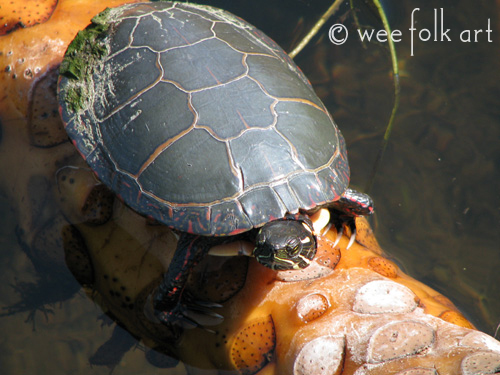
Before beginning this project make sure you check out some real turtles. If you are lucky enough to spy one on a nature walk, make sure to get a photo if the wee creature is willing to stand still long enough. If you don’t happen upon a turtle share books about turtles so children can discover different patterns that can be seen on turtle’s backs. That’s not to say your child’s turtle will be realistic looking. They may decide to have Dr. Seus ish turtles instead!
Today we are sharing our Painted Rock Turtle that will be included in our new edition of Puddles and Ponds Homeschool Companion unit. Check out our entire Simple Seasons Curriculum HERE. Have fun with your wee ones and enjoy your new pet turtle!
Materials:
- rocks
- paints and paint brushes
- card stock paper – instead of paper you can do the same thing with felt
Directions:
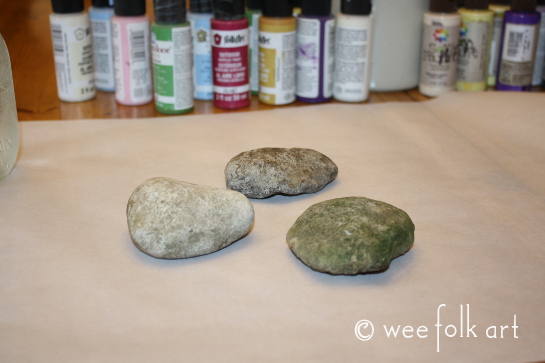
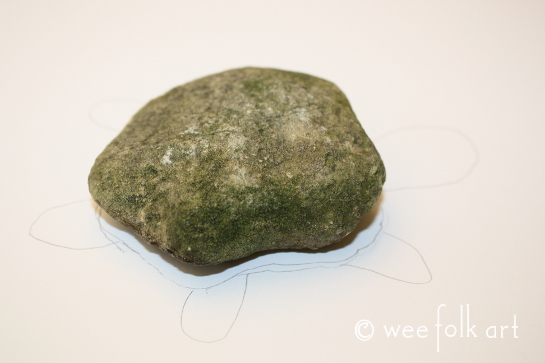
Collect some rocks and wash and dry them.
Set your rock on your card stock paper. Using a pencil trace around the rock. Draw on the tail, 4 legs and head. Let the shape of the rock help guide placement.
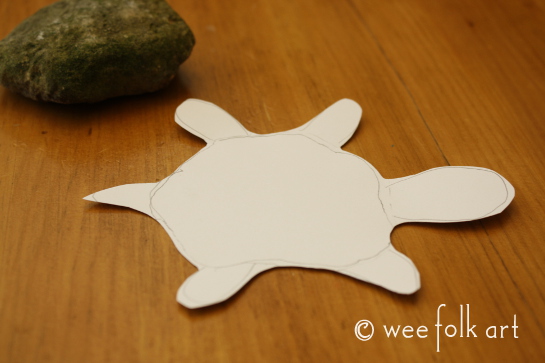
Cut out your card stock turtle.
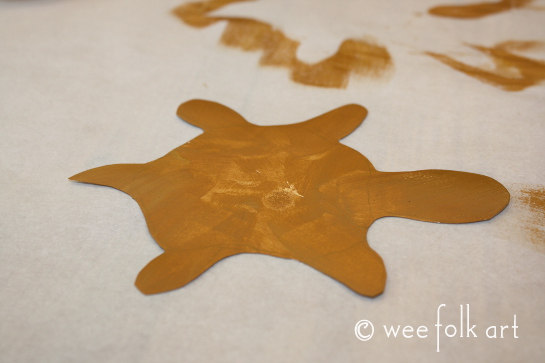
Paint your turtle’s body.
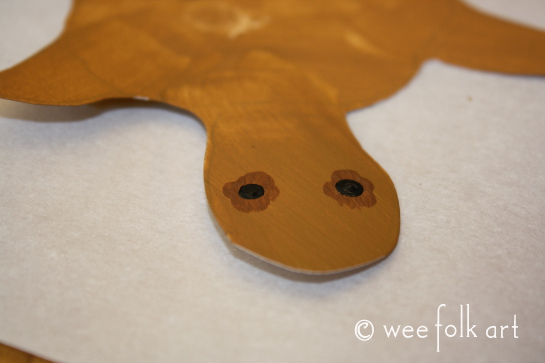
When dry, add eyes.
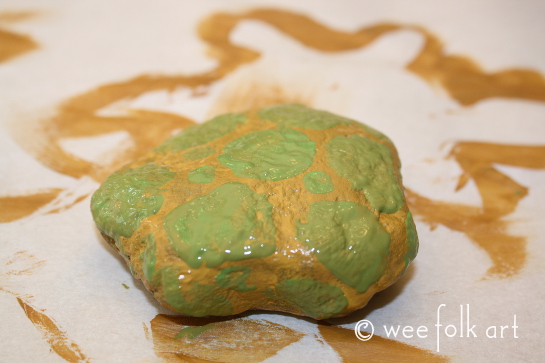
Paint your rock a solid color.

When the paint has dried, add a pattern.
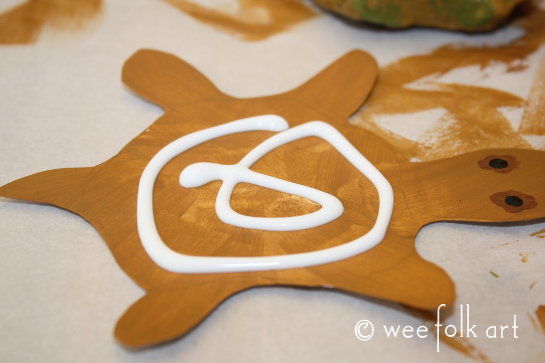
After the rock and body are dry, put craft glue on the turtle where the rock will sit.
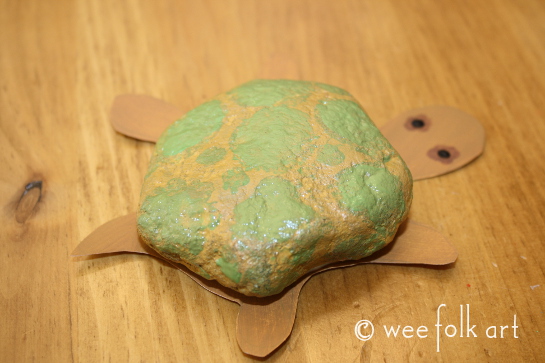
Place the rock on the body and allow the glue to dry completely.
After the turtle is dry, you can roll the head, legs and tail on your finger to give them more dimension.
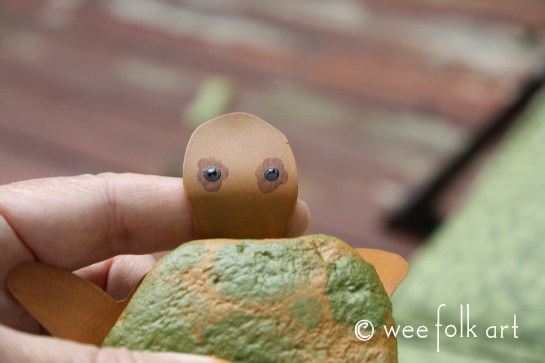
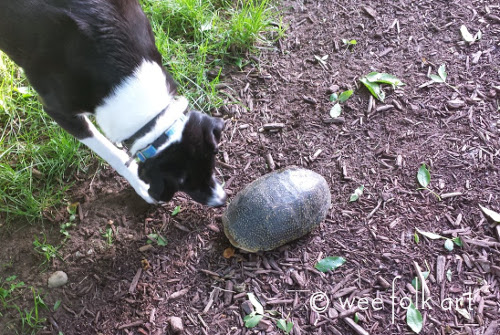
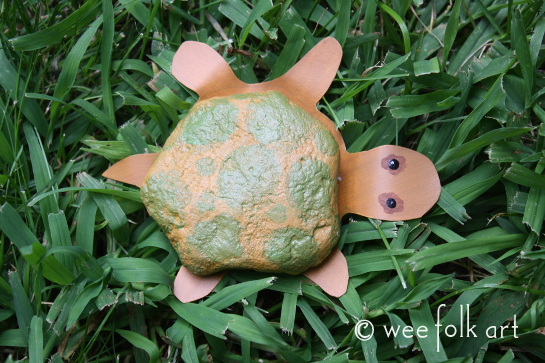
Now take your turtle outside for a photo shoot!!!

You May Also Like
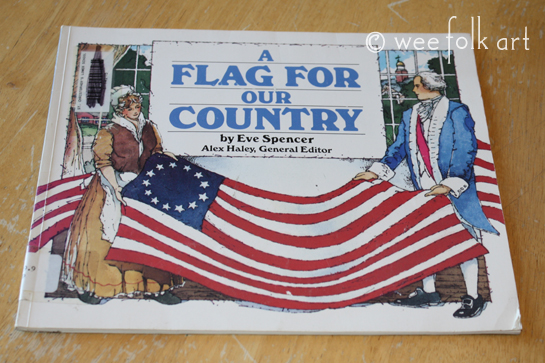
A Flag for Our Country | One Snip Stars Project
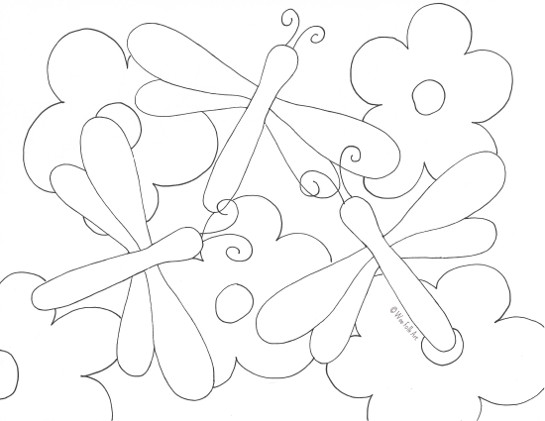
Dragonfly Coloring Page