
Wooden Pig Pull Toy aka Pulled Pork
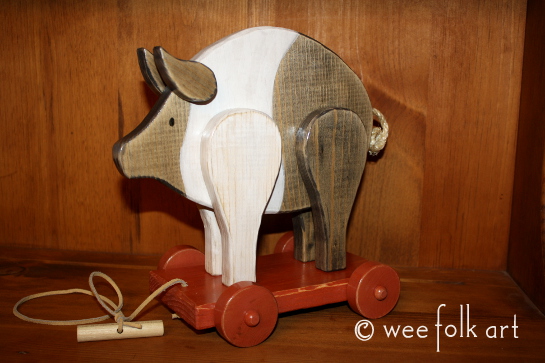
Learn how to make your own old fashioned, folk art inspired Wooden Pig Pull Toy. Pulled Pork makes a great natural gift for a child and doubles as adorable decor when sitting on the shelf.

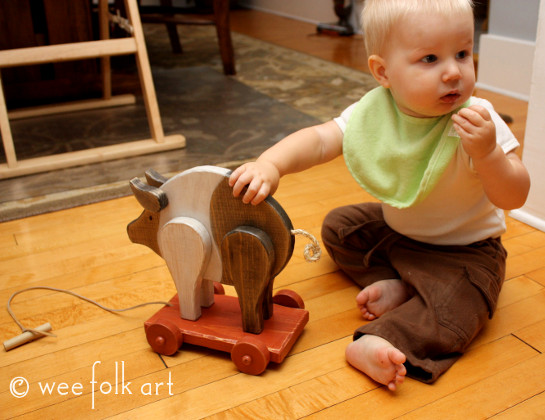
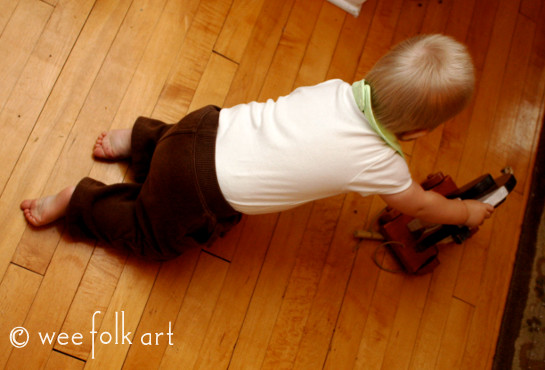
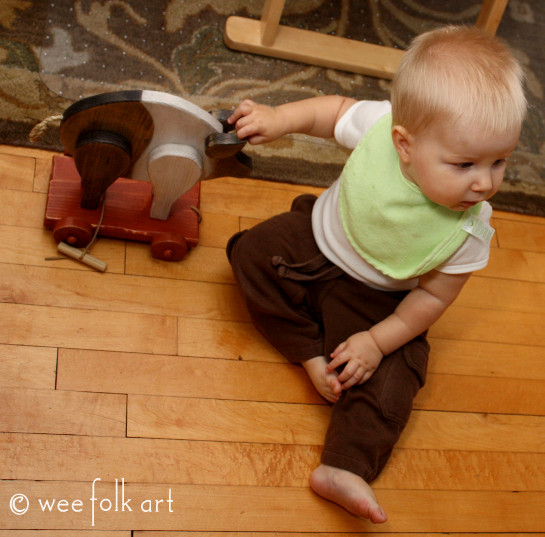
“With an oink, oink, here and an oink, oink there”… sing along… you know the rest! What could be more fun for a new walker than a little piggy to take for a walk? This year, for the Little Guy’s first birthday, we wanted to make him a wooden pull toy. When we decided on a pig, the name “Pulled Pork” seemed self evident! Whether you know of a wee one that would love to run around with this barnyard favorite or you’d like it just to sit on a shelf, keeping you company, this is the pig for you! BTW… that fact that the Little Guy isn’t running down the halls yet doesn’t seem to be a problem… seems that Pulled Pork is just as happy being Pushed Pork!
***IMPORTANT: To read the official federal regulations for cord length in children’s toys, follow this link HERE. Make your own decisions concerning the length of the cord and whether or not you wish to add a handle after reading the article. You can simply leave off the cord and the Wooden Pig Pull Toy can act as a push toy instead.
Wooden Pig Pull Toy Materials:
- wood – Most of our wood projects are cut from 1″ woods. (i.e. 1″ x 8″, etc.) I have used pine, popular, oak and maple. The harder the wood, the more durable the project, but harder it is to cut.
- paint – non toxic – I used milk paint for the pig
- permanent black marker (optional)
- wood finish – non toxic
- wood glue
- 2 5/8″ wooden wheels and 3/8″ axles
- sisal – 5″ of 1/4″
- 1/2″ x 3″ dowel rod for handle (optional)
- leather cording or other suitable material for pull
- pattern
Wooden Pig Pull Toy Tools and equipment:
- scroll saw
- dremel (optional – can sand if you do not have a dremel)
- fine sandpaper – I used a sponge sandpaper block
- safety glasses and face mask (a must if you are using a dremel)
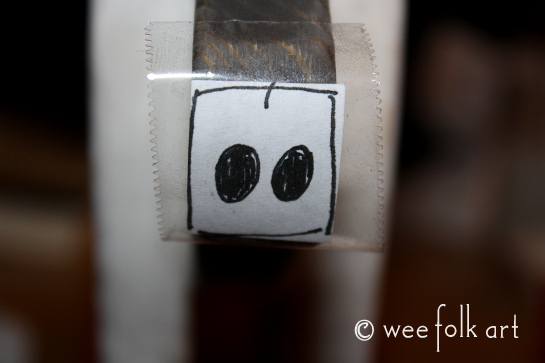
- wide packing tape to reinforce pattern (optional)
Wooden Pig Pull Toy Directions:
Read the general directions for How To Cut Out Wood found HERE.
Make a copy of the pattern.
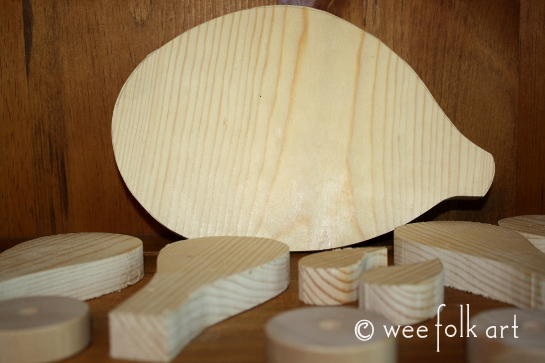
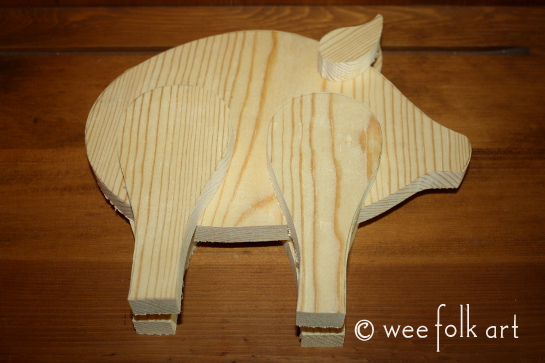
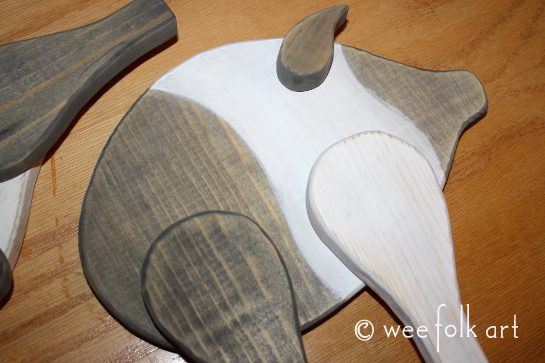
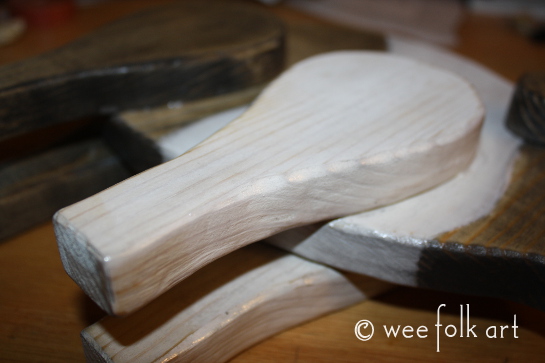
Cut out wood, and sand edges. Follow the grain line on the legs when positioning the leg pattern on the wood. This will give extra strength to the legs. Note: When sanding the legs and ears, lightly sand the edges that will be glued to the body of the pig. DO NOT use the dremel on these edges as you will want them to lie flat against the pig’s body.
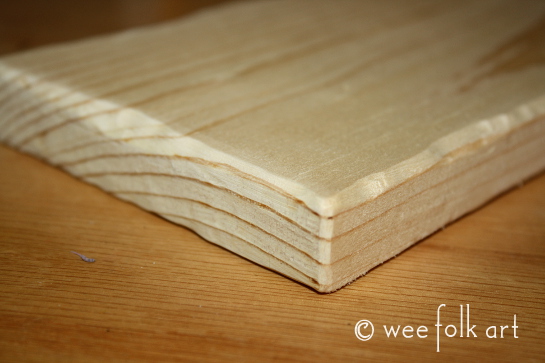
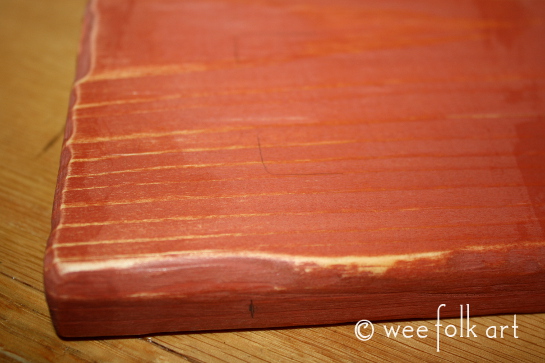
Cut out the base 5″ X 8″. When sanding the base, I purposely made the edges uneven to give a well-used look to the toy.
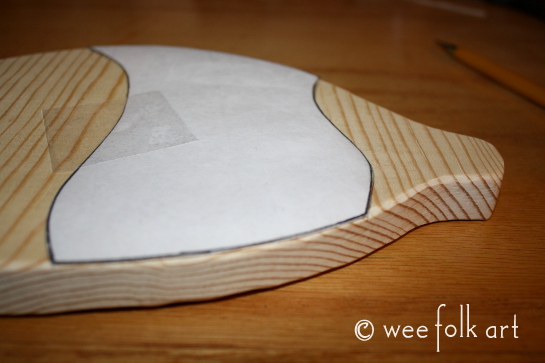
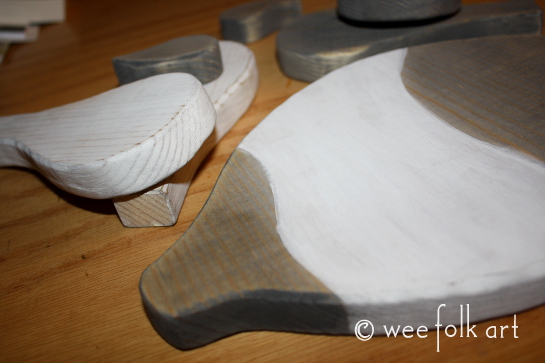
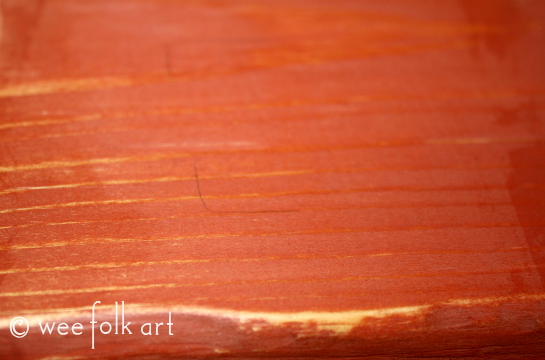
Using the pattern as a guide, paint the pig. I used milk paints. After the paint was dried, I lightly sanded the surface. I wanted to give our pig an old world “aged” look. Do not apply any finish to the pig at this time.
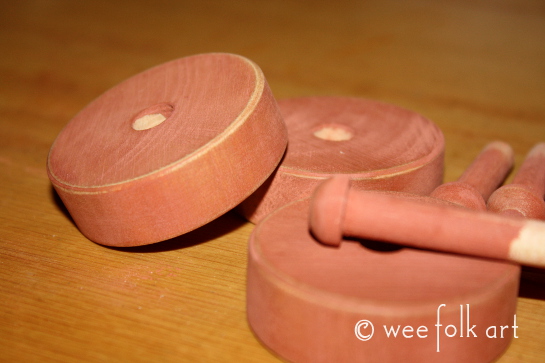
Paint wheels and axles.

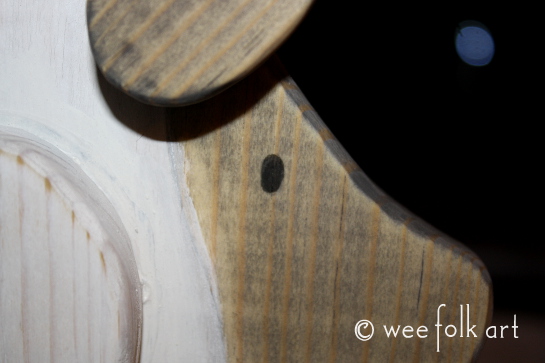
Instead of painting the eyes or snout onto the Wooden Pig Pull Toy, I used a black permanent Sharpie marker. (Note: this is easiest to do BEFORE you glue the pig together. Oops… I forgot so I did mine after I glued it together. Just make sure you do it BEFORE you seal the wood.)
Using the pattern for placement, glue on the ears and legs. Probably the trickiest park of the Wooden Pig Pull Toy project is getting the legs positioned so all 4 legs will touch the ground and be level. After the legs dry, if they are off a little, you can sand them. IT IS VERY IMPORTANT THAT THE PIG STANDS LEVEL BEFORE YOU GLUE THEM TO THE STAND. If the legs aren’t even, they will not make good contact with the base and the pig will not be glued on securely!

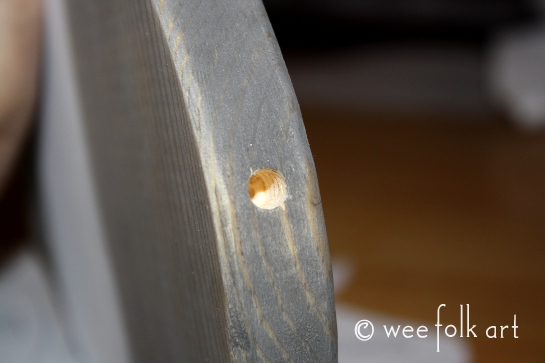
Using the pattern as a guide, drill the hole for the tale 1/2″ deep, using a 1/4″ drill bit.
Using your wood finish, seal the pig BUT DO NOT APPLY SEALER TO THE BOTTOM OF THE LEGS. The wood glue will work better on raw wood. DO NOT SEAL THE BASE YET, either.
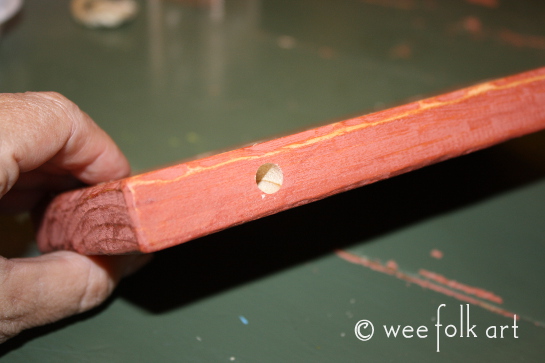
On the base, mark and drill 4 holes for the wheels, 2 on each long side. Use a 3/8″ drill bit and drill the holes 1″ deep. The holes should be 2″ from the front and back of base. (Note: the axles are 3/8″ wide. You may need to make the holes SLIGHTLY bigger, by moving the drill around in the hole, to accommodate the axle and the glue, BUT you want them to fit snug.) Drill one hole on centered on the top of base on one of the short sides, 1″ from the edge. This will be for the pull cord.
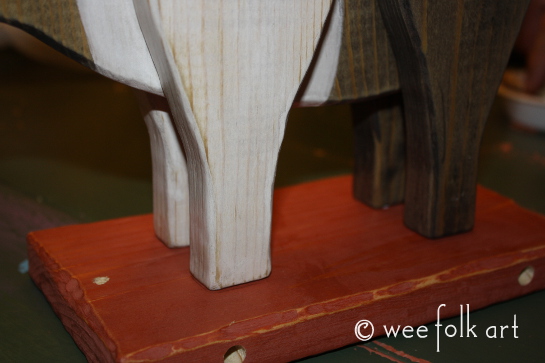
Position the pig on the base. You can use a tape measure to make sure it is centered on the wood. Lightly mark the placement of the legs.
Glue the pig to the base following the position markings you created in the previous step. Allow to dry completely before you continue.
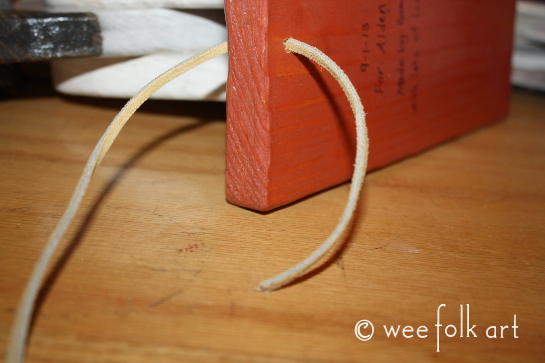
Apply finish to the base. BTW… if you would like, on the bottom of the base, use a permanent marker to write a personalize message or to sign and date. Do this BEFORE you apply a finish.
Apply finish to the wheels and axles.
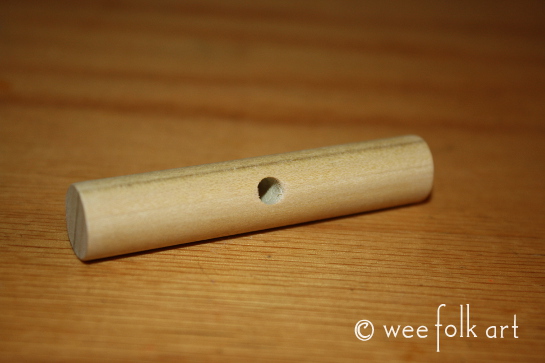
Cut a piece of 1/2″ dowel rod 3″ long. Drill a 1/4″ hole in the center. Lightly sand the rod’s edges and hole. I did not paint or finish the handle. I wanted the oil from wee hands to finish it naturally 🙂
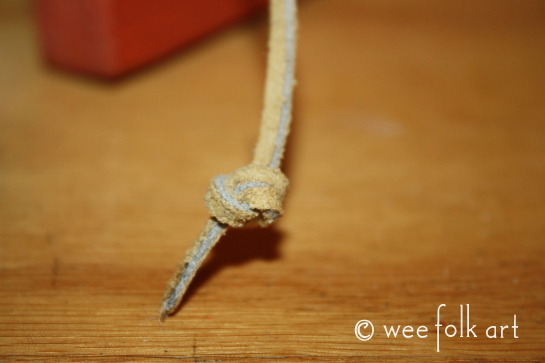
Thread the cording through the front hole, top to bottom, and knot the cord so it will not pull through.
Tie the other end of the cord through the opening on the dowel rod.

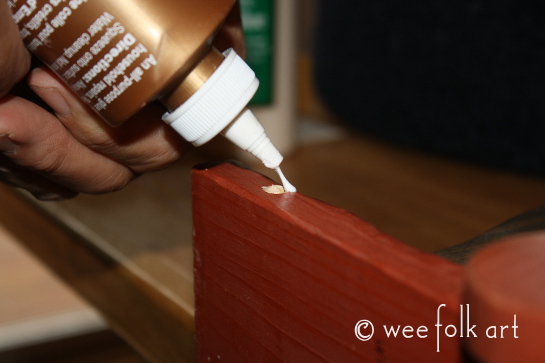
Glue on the wheels. To do this, apply glue inside a hole.
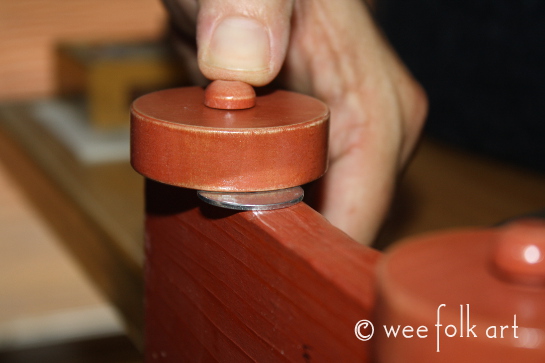
Place spaces, like washers or nickels, on either side of the hole. When you push the axle and wheel into the hole, the spacers will leave just enough turning room to allow the wheel to spin freely.

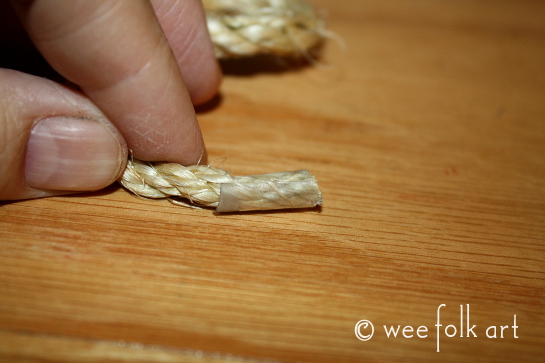
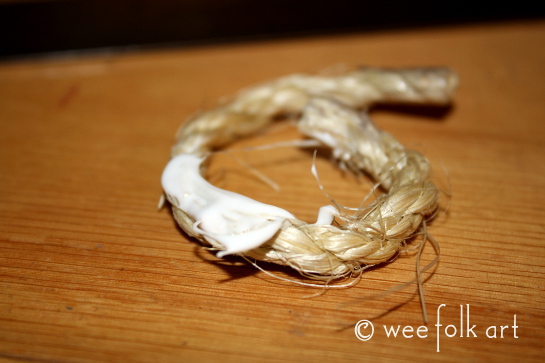
To make the tail, cut the sisal 5″ long. I placed a small amount of tape on the end that I was going to glue to the pig. This stopped it from fraying and made it easier to slide in the hole.
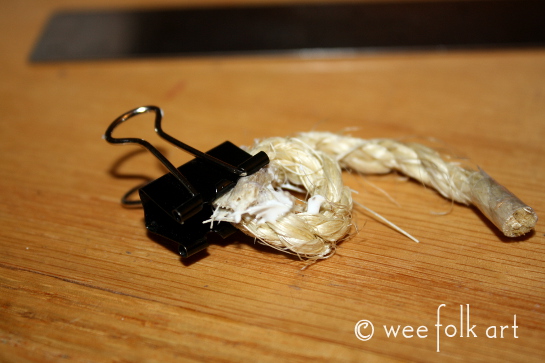
Place a small amount of glue on the other end to stop it from fraying. You are going to curl the tail. Place glue on the sisal, curl the tail around, and use a clip to hold in place until the glue dries.
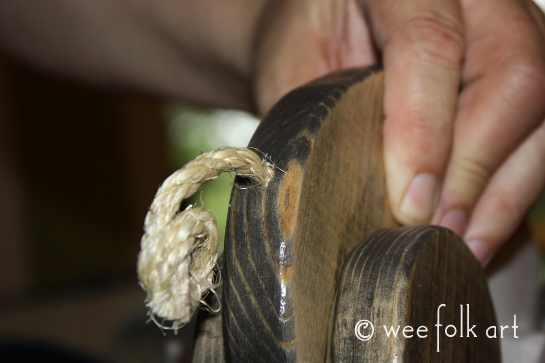
Place glue in the hole and slide the tail in.
Your Wooden Pig Pull Toy is all done and ready to be played with!


3 Comments
Beth
Love it! And what a great name for a pig. Thanks so much for sharing.
Mary Elizabeth
This is FABULOUS! Thank you so much for sharing with such terrific detail! You are, as always, great!
Mama G
Pulled pork!!! HAHAHAHA! That’s great stuff. I’m glad I’m not the only one with a dorky sense of humor 🙂