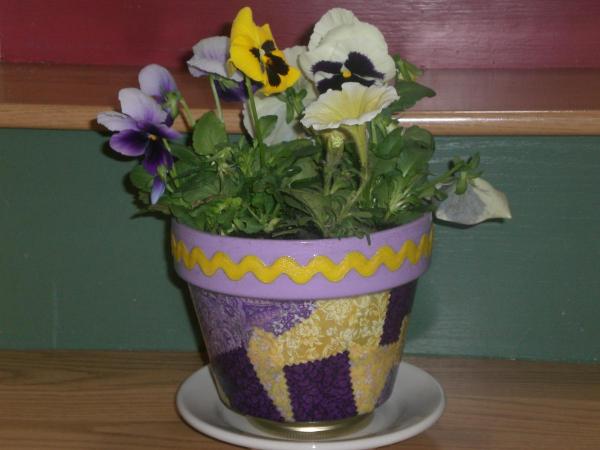
Patchwork Pot

Turn a plain terracotta pot into something lovely enough to give as a gift. You can use old pots, just make sure you give them a good scrubbing and allow them to dry completely before you begin working on them.
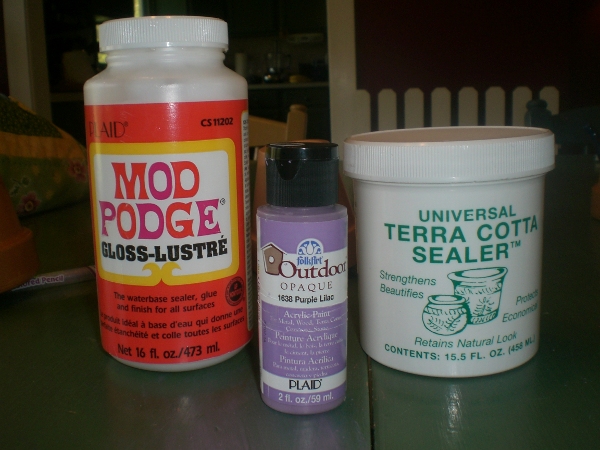
Materials:
Terracotta sealer
Terracotta pots
Mod Podge
Fabric Squares
Rickrack or trim
Pinking Shears (optional)

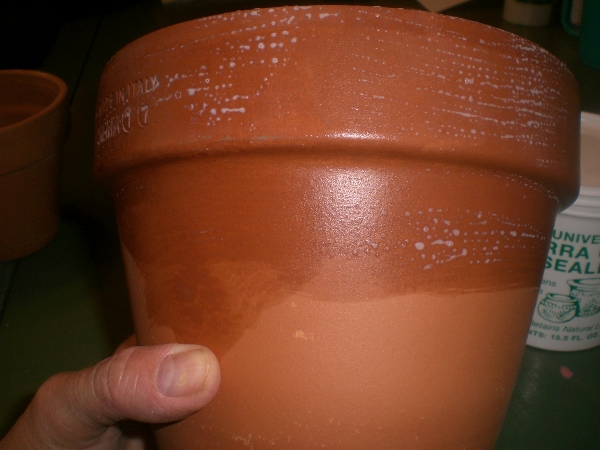
1] Apply 2 coats of a terracotta sealer. It’s okay if there are little bubbles. They will disappear as the sealer dries. The first coat dries very quickly, about 10 minutes. The second coat takes about 20 minutes to dry. Make sure to coat the inside, outside, bottom and rim.

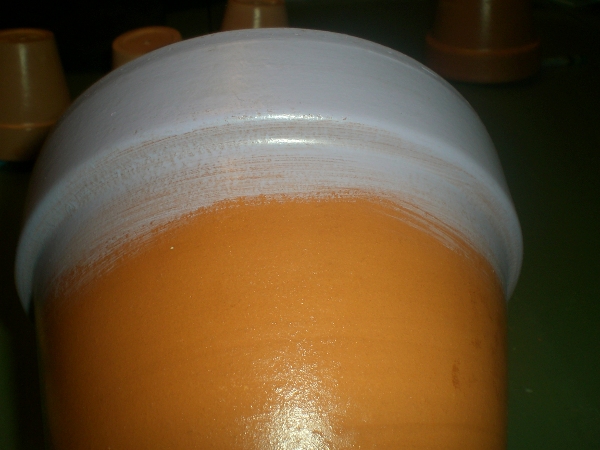
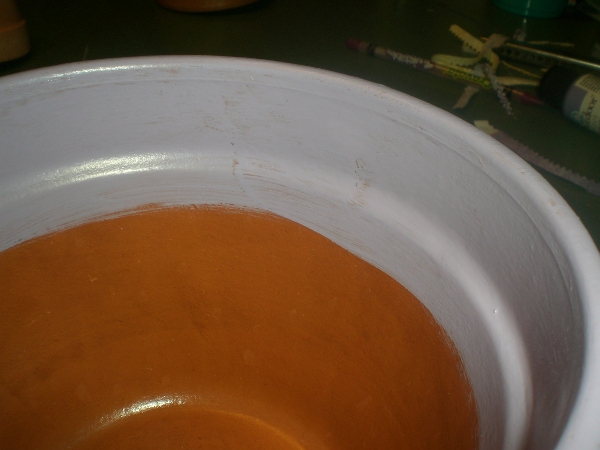
2] When the pots are dried, using an outdoor paint, paint the outside band, plus another inch, and a couple inches down inside the pot. You want the inside paint to go below the soil line. Allow to dry completely. (Outdoor paints dry quite fast. Mine was dry in 15 minutes.) If you would like, apply a second coat and allow to dry.
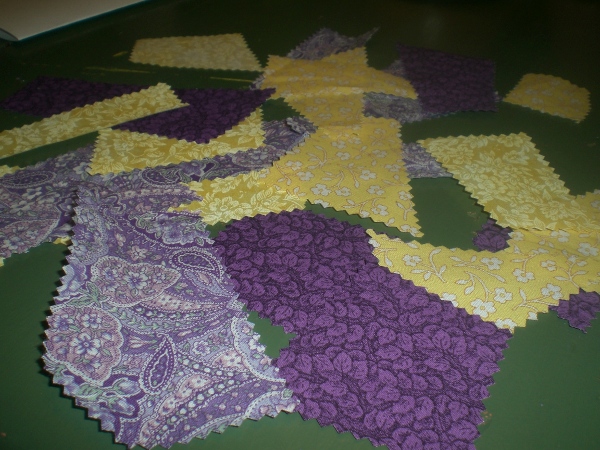
3] Using pinking shears cut random shapes out of 4 – 6 thin cotton fabrics. The size of the shapes depends on the size of your pot; the smaller the pot, the smaller the pieces.
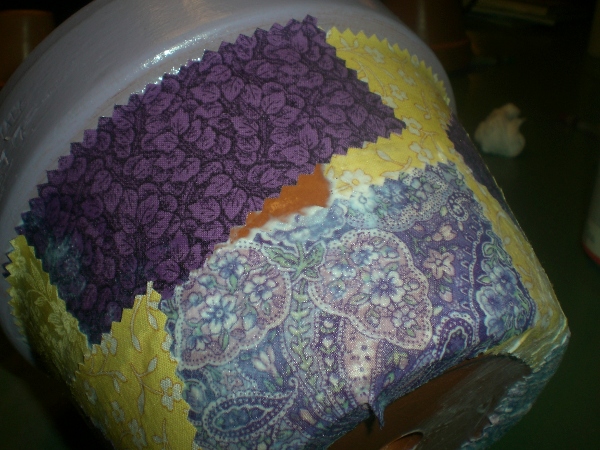
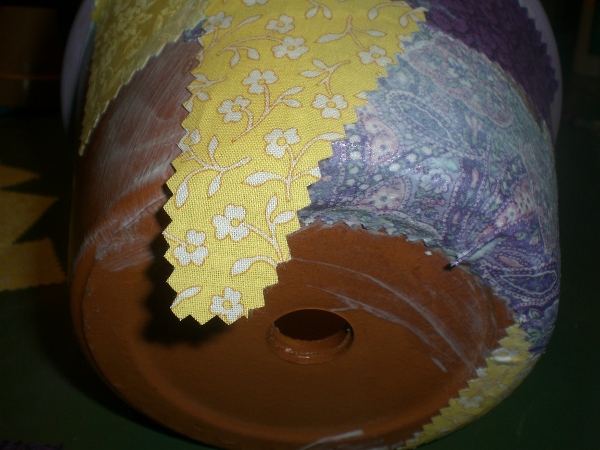
4] Use the Mod Podge to “glue” the material to the pot in a random fashion. Make sure the pieces are placed directly under the rim and that you overlap the bottom of the pot by about 1/2″. Start building the design making sure you always overlap the pieces. Use liberal amounts of the Mod Podge making sure the entire piece of fabric is covered on the wrong side and that the edges are secured.
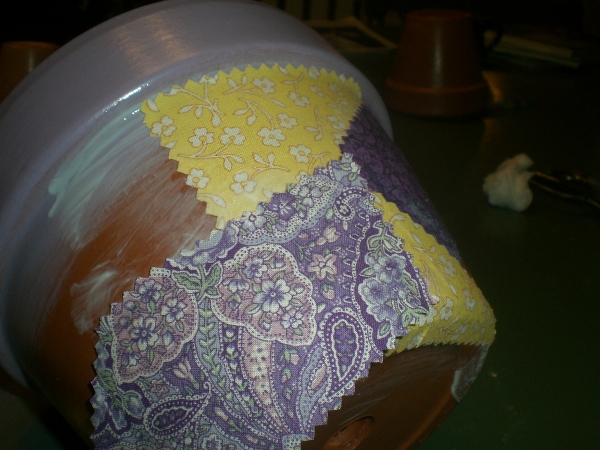
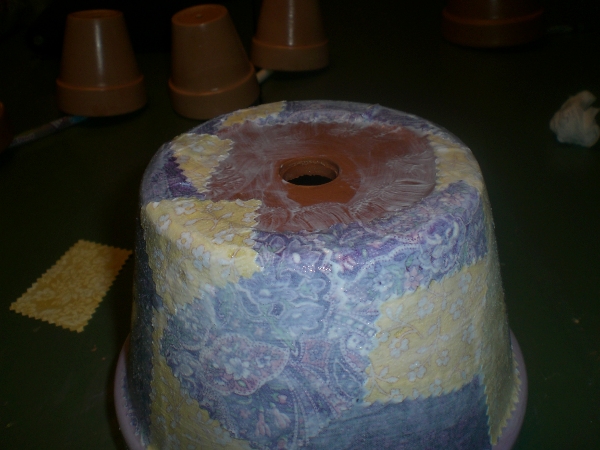
5] Continue working around the pot until it is completely covered. If any area of the terracotta pot is exposed, add another piece over the “bald spot”. If a piece overhangs the bottom too much, simply cut it to the desired size.
6] If adding rickrack or trim to the band on the pot use Mod Podge or craft glue. Allow to dry.

7] Apply 4 – 5 coats of Mod Podge to the completed pot, making sure to cover the material under the pot, and cover the upper rim. Don’t Mod Podge inside the pot. Moisture can make the finish tacky. Take special care to totally enclose the edges of the trim.
8] When the pot is completely dry, add dirt and plant.
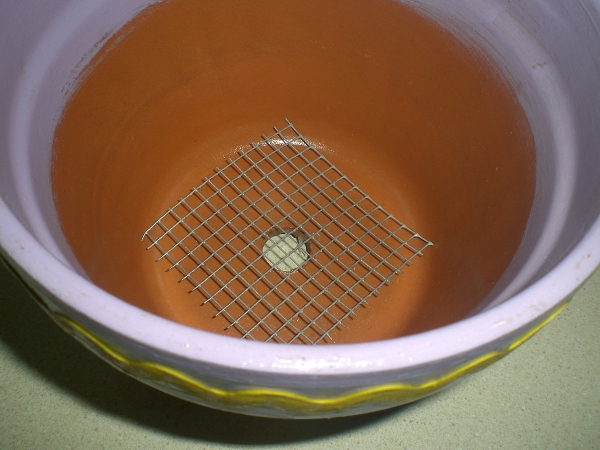
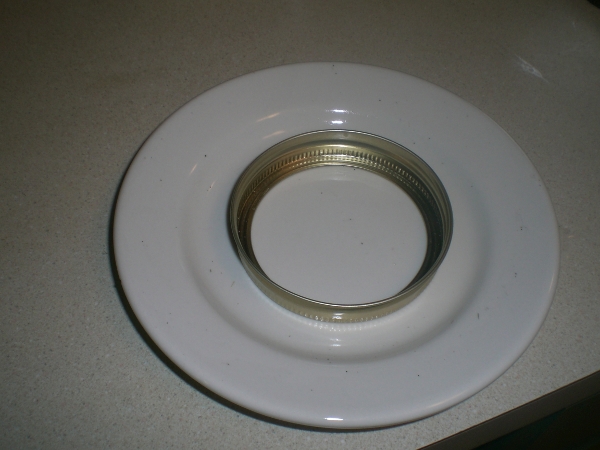
A few planting suggestions. I like to put a piece of screening or garden cloth in the bottom of my pots so moisture can drain without allowing the dirt to fall through the bottom. Also, it is not a good idea for the pot to sit in moisture. Depending on the size of the pot I use the ring from a regular or wide mouthed mason jar to hold my pot above a plate.
Note about patterns: We are sharing patterns we have designed and made for our own children, families and friends. Every effort is made to share information in a clear and accurate manner. We offer preemptive apologies for any mistakes that may be made. Please let us know via comments or emails if you stumble upon a mistake or if you stumble upon a mistake or if you encounter directions that leave you scratching your head! We will rectify the situation as soon as humanly possible!
Copyright © Wee Folk Art 2008 – 2009. All rights reserved.
All photos, text and patterns are copyright protected. You may not copy, reproduce or redistribute any material found on WeeFolkArt.com without written permission. Wee Folk Art retains all rights.