
Hairpin Lace Part 2 of 4 – Crocheting the Strips
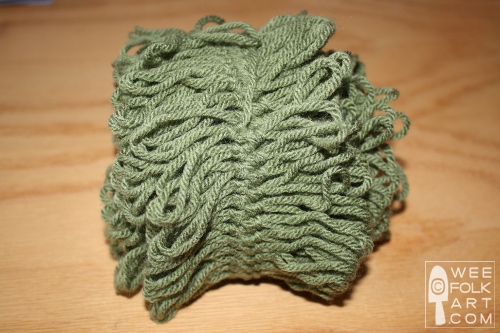
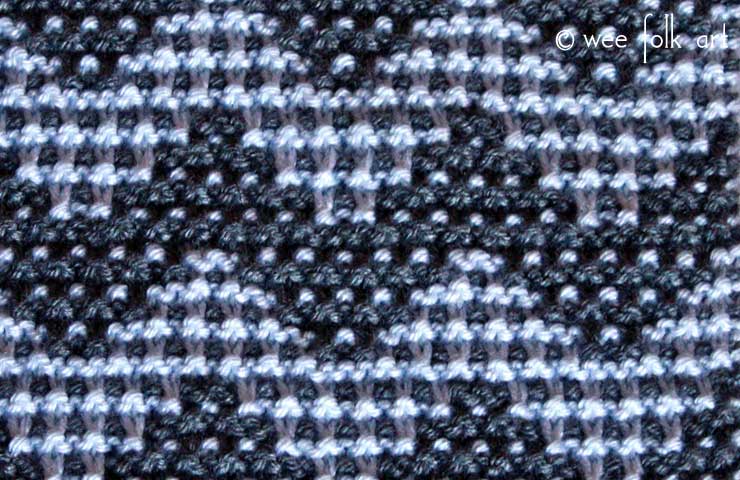
The basic premise behind hairpin lace is that you make a series of individual strips, the width and length is dependent on the project you make. After the strips are made, they are joined together to make your final project. After you learn the basics, have fun experimenting with different weights of yarn and different loom setting. Within a project, you can even have 2 or 3 different strip widths as long as the type of yarn you use remains the same. In making my afghan, I used worsted yarn, set my loom at 4″, and used a size I crochet hook. So, let’s get started.
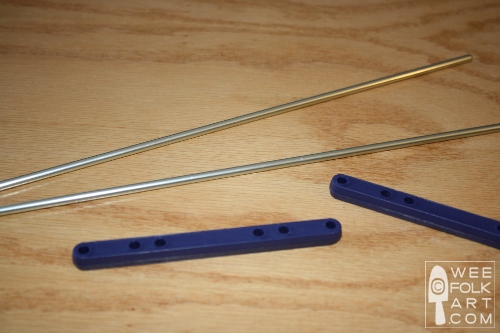
1] Set your loom to the desired width, and set it on the table in front of you.

2] Slide the yarn under the loom with the attached ball of yarn on the right.

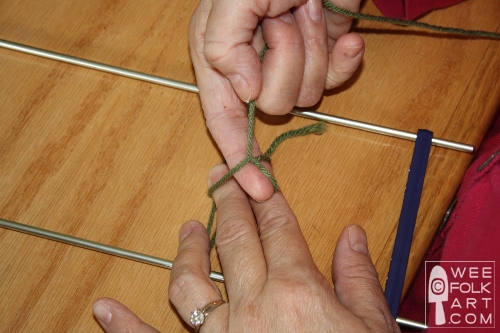
3] Cross the yarns over one another making an “x”. The yarn tail should be over the attached yarn. Leave your yarn tail 8″ – 10″ long.
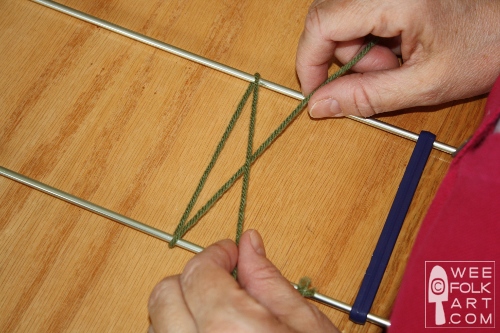
4] From the bottom, slide the yarn tail behind the attached yarn and the straight piece of yarn that spans from rod to rod.
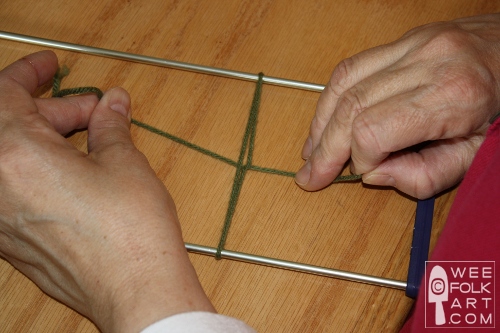
5] Tie a single knot centered on the loom. The yarn tale should now be at the bottom and the attached yarn at the top.
6] Make sure the knot is tight, but do not make the loops so tight that they pull in the side rods on the loom. The rods should always be parallel to one another, not bowing inward.
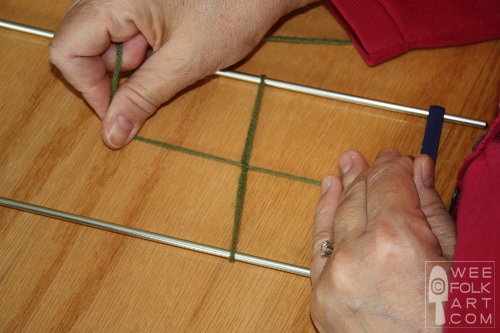
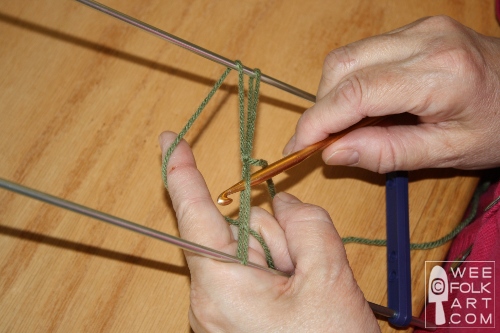
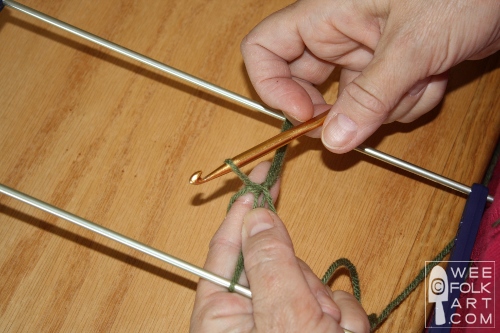
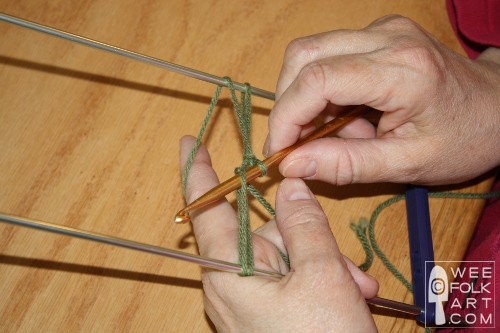
7] Drop the yarn tail to the bottom, and holding on to the attached yarn, cross it over the right loom rod.
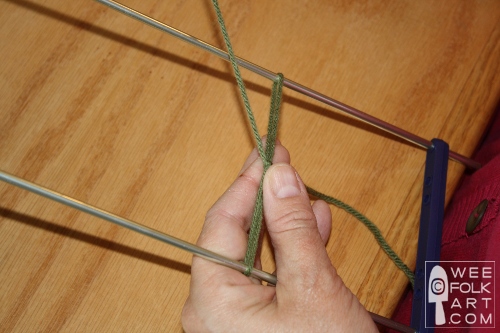
8] Bring the yarn to the back of the loom and hold it with your left hand. Hint: I found the yarn easiest to control if I hold the yarn in my three bottom fingers, and around my index finger. You will be hooking yarn off your index finger. This feels awkward at first, but it helps to control the tension.
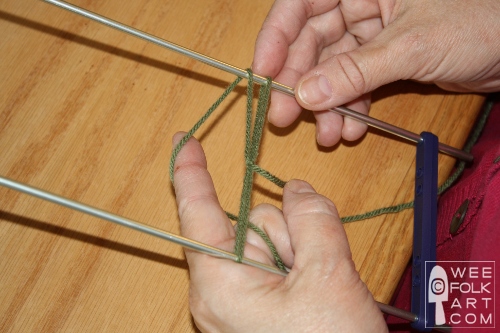
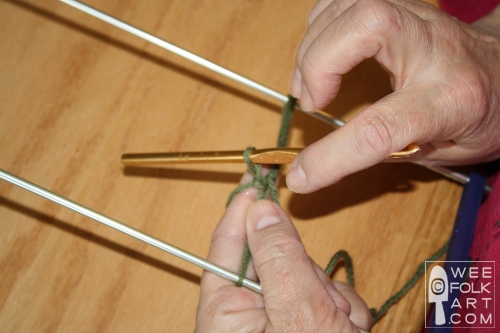
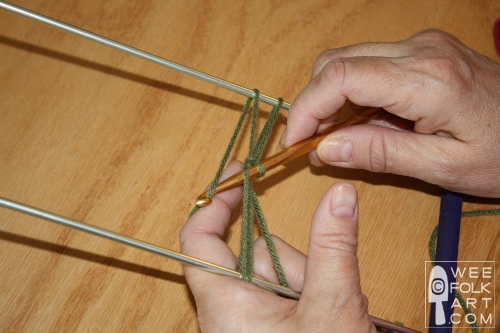
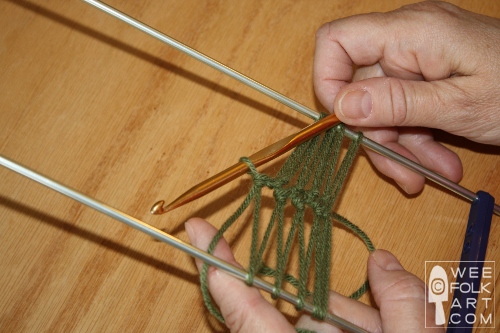
9] Holding the yarn in back with your left hand, slide your crochet hook in the center of the left loop, coming up from the bottom.
10] Grab the yarn off your index finger with the crochet hook.
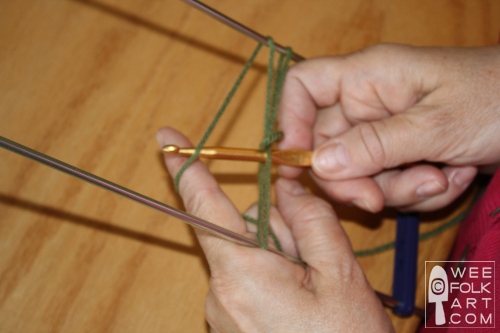
11] Pull the stitch through holding it close the the middle knot.
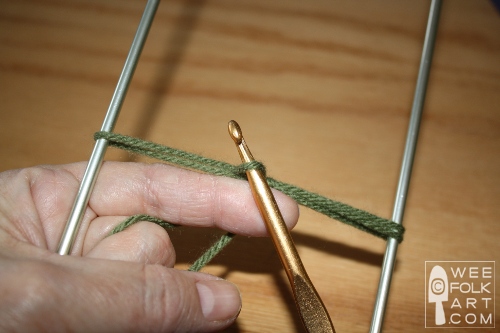
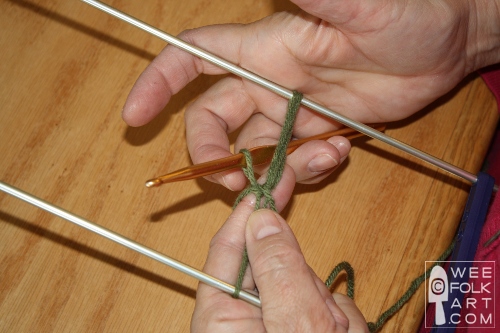
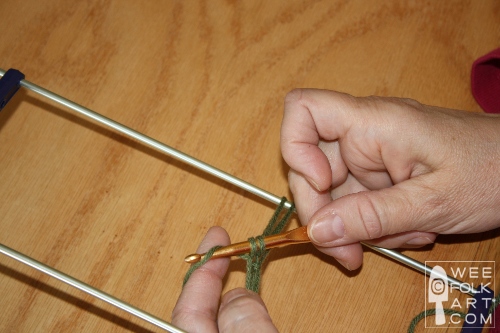
12] Wrap the yarn around the back of the hook,
13] then pull it through the stitch on the hook. Note: It is only on this first set of loops that you will be working with one stitch. All additional loops will have 2 stitches on the crochet hook.
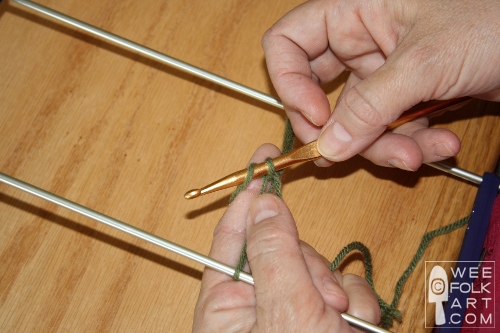
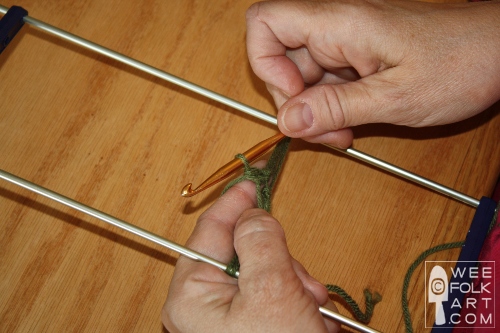
14] While holding your work with your left hand, pass the bottom of the crochet hook to the back of the loom.
15] Grab the crochet hook back in your right hand.
16] Turn the loom over clockwise. Continue to hold the yarn in your left hand and the crochet hook in your right hand. This is going to feel awkward at first, but not to worry, before long you will develop your own rhythm and it will be one smooth continuous action.
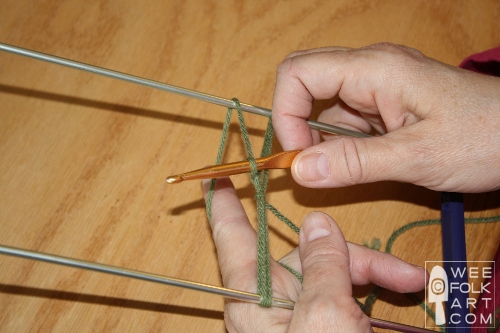
17] Slide your crochet hook in the center of the left loop, coming up from the bottom.
18] Grab the yarn off your index finger with the crochet hook.
19] Pull the stitch through the loop, holding it close the the middle knot. You will now have 2 stitches on your crochet hook.

20] Wrap the yarn around the back of the hook,
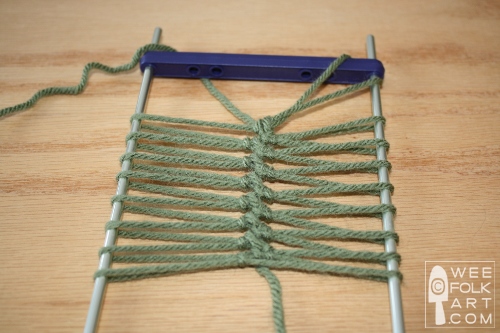
21] then pull it through both stitches on the crochet hook.
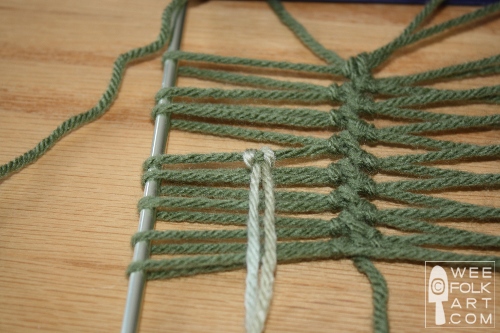
22] Continue steps 14 through 21 until you have the desired number of loops on the loom.
Counting Loops:
Because you will undoubtedly wind up with many loops on your loom (the afghan I’m making requires 348 loops, per side, per strip), you will want some short cuts for counting so you don’t need to count both sides, and so you’re not recounting your loops over and over again.
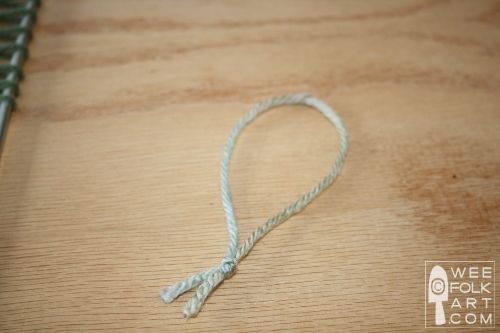
1] Make several counter loops. You will need 1 for each 50 loops you plan to crochet on the loom. To do this, simply cut a length of scrap yarn about 6″ – 8″ and knot the 2 ends together.
2] When you’ve placed about 10 loops on each side of the loom, stop. You should have finished the loop that is facing you. Lay the loom on the table in front of you. Count the loops on each rod. The number should be the same. If you have one more on one side, crochet one more loop, then lay the loom on the table again. The yarn tail, or bottom, should be closest to you.
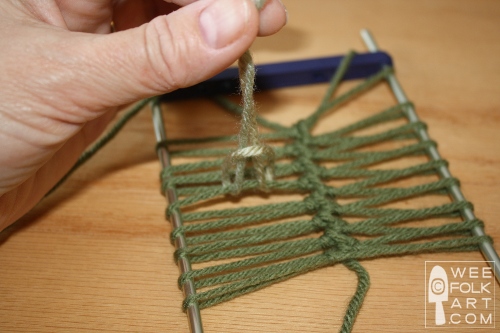
3] Slide the top of a counter loop that you made in step 1 through a loop on the left side of the loom. Bring the ends up through the counter loop, and pull the ends so the loop hugs the loop. Do not make it tight. You will be removing it when you are done with the strip. From now on, you will only need to count the loops on the left side of the loom, as long as this counter loop is visible on the left, and you have completed the stitch at the top of the loom.
4] Place a marker every 50 loops. Remove the first counter loop you placed on the loom in step 3.
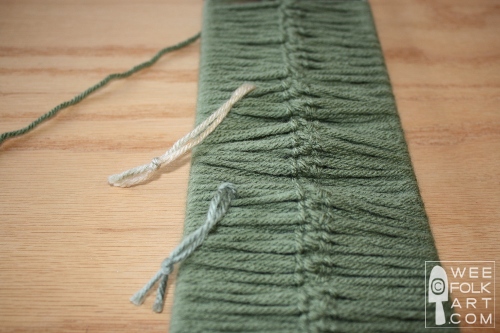
5] When you have crocheted all of your loops, remove the counter loops before proceeding.

Finishing a strip:
1] When you have the desired number of loops on your loom, cut your attached yarn, leaving a 8″ – 10″ tail. Slide the new yarn tail through your last loop that was on your crochet hook.
2] Pull firmly.

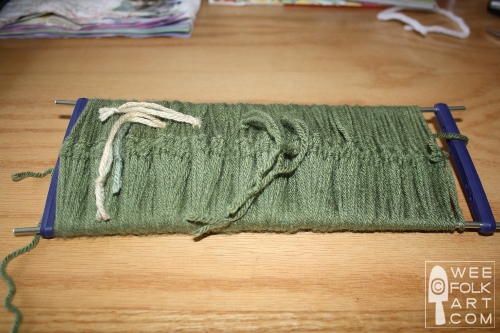
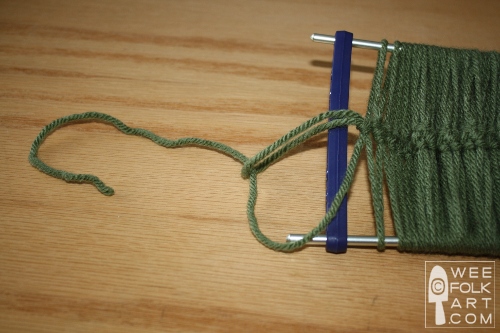
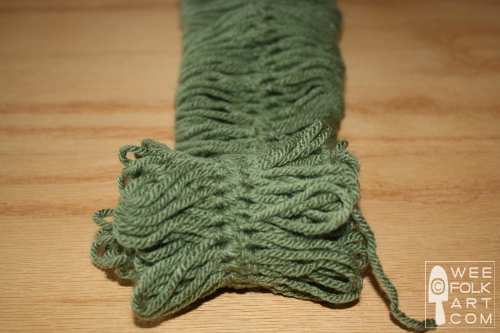
3] Carefully slide the spacer bar off the bottom or top of the loom. Lay the loom on the table with the side with the removed space bar closest to you.
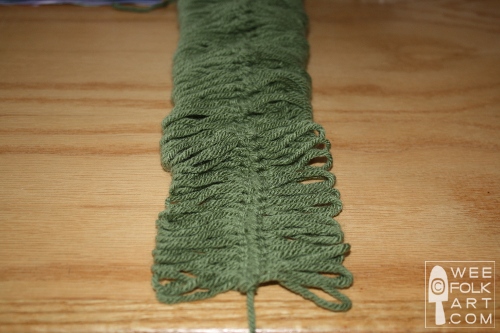
4] Roll up the strip being careful not to twist the strip. Wrap the tail around the strip and set aside until you are ready to start joining the strips.
In part 3, we will learn how to attach the strips and in part 4, how to finish a project.
Part 2 – Crocheting the Strips
Part 4 – Finishing the Project
OUR “DISCLAIMER”! We are sharing patterns we have designed and made for our own children, families and friends. Every effort is made to share information in a clear and accurate manner. DUH, right? But we are only human, although I often long for superhuman powers, and as humans, mistakes will be made. We offer preemptive apologies for any aforementioned mistakes. Please let us know via comments or emails if you stumble upon a mistake or if you encounter directions that leave you scratching your head! We will rectify the situation as soon as humanly possible! Before beginning any of our patterns, think of yourself as a Beta Tester. We do not have a staff, editors or even volunteers that are crafting our projects before we share them. YOU are the first to have a go at them. As such, other than a heartfelt apology, we accept no responsibility for mistakes made, or in an extreme circumstance, for time or supplies wasted. Please tackle our projects in the same manner that we are sharing them, with a spirit of goodwill and global friendship!
Copyright © Wee Folk Art 2008 – 2010. All rights reserved.
All photos, text and patterns are copyright protected. You may not copy, reproduce or redistribute any material found on WeeFolkArt.com without written permission. Wee Folk Art retains all rights.


9 Comments
CrazyMomTats
ooo – I need to get a loom and make some!!!
Guest
Do you know when you will be adding how to join the loops, and thank you for these instructions.
Kimara
If you go to this link
http://weefolkart.com/content/hairpin-lace-instructions
it has the links to parts 1, 2, 3 and 4.
You just got started in the middle 🙂 Enjoy!
Shauna
Oooo girl, you sure are a busy thing. This is Shauna. I meet you in the waiting room today. Well, I called my friend and gave her your website and she called me right back and told me I had to get on line and take a look at your site and she is so right, nothing but goodness here! And I told her how there was smoke coming off that crochet hook of yours you were going so fast. I feared for lives! haha Just wanted to say you were very kind taking the time to help me out. I learned a lot today and my friend says shes gonna help me make one of these for myself. God Bless you. You are a lovely and talented lady.
Jill
I was at Jo-Ann Fabric today and *almost* bought a loom they had there, but it looked too small. Now I’m lamenting the fact that I didn’t snag it! I’m going to stop and get it tomorrow, though. I should have a little time to myself this weekend and am going to follow your wonderful tutorial. Thanks!
Guest
I just spent $12 in supplies at our small town hardware store buying bits & pieces to make a hairpin lace loom. I was not happy with the flimsy, small hairpin lace looms i found on the internets. I bought 1/4 in. steel rod, 1/4 in. tap, 2 flat metal brackets, 10 1/4 nuts, & 10 1/4 in. washers. With some muscle from my husband. (He made the threads on the ends of the 2 halves of the metal rods.) I have the most sturdy & adjustable hairpin lace loom EVER!
Kimara
I too have one that my dad made for me. He used 2 steel rods and hardwood dowels that he drilled holes in. I wrap rubberband around the 4 corners to stop the dowels from sliding. It was cheap to make and works great, too. I agree many of the store bought ones are flimsy. The one in the photo above is purchased, and I have to be careful when I'm halfway up not to pull my rings too tight or I actually can bend the rods. I'm glad you were able to make your own set. I'm sure you'll have it forever!
Pingback:
Becky Thomas
HELP! I made a hair pin lace afghan in the 60’s. it was beautiful. No longer have the pattern or the afghan. Now i want to make an afghan for my “new grandson-in-law” for Christmas. If using 4 ply yarn, how many loops would I need to make an adult afghan. Can you help me?
Thank you
Becky