
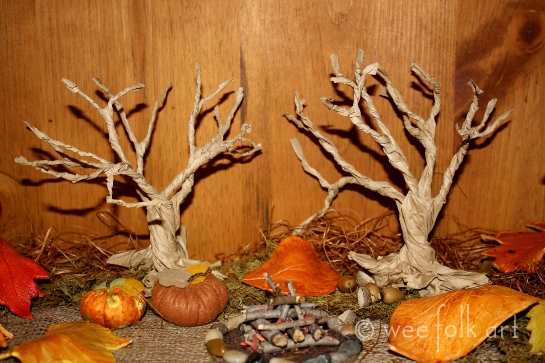
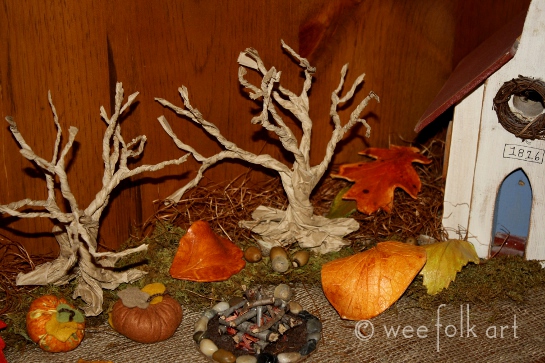
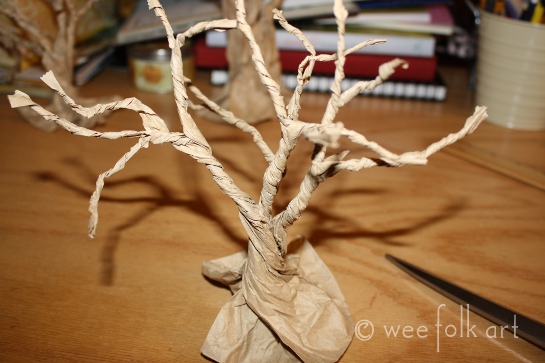
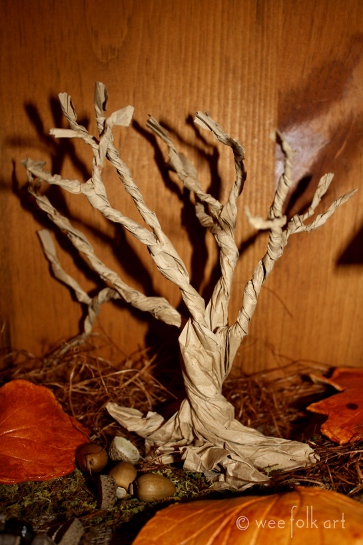
Paper Bag Gnarly Trees
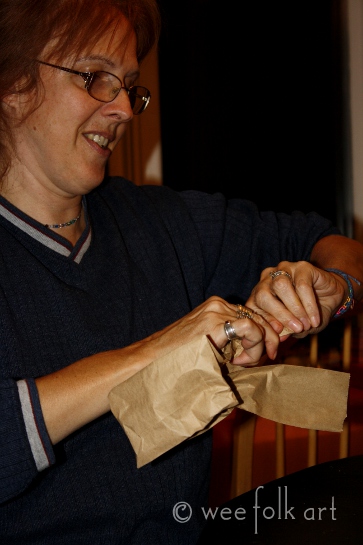
The other night at the Pumpkin Carving Party, my SIL Jennifer, was telling me about these paper bag trees she made with her Brownies. I must have looked like I was lost in the muck and mire because she finally said, “Geeze… just get me a paper bag and I can show you in 5 minutes.” Well, she was true to her word. In a matter of minutes not only did she make a gnarly looking paper bag tree, but I felt confident that I could make one, too.
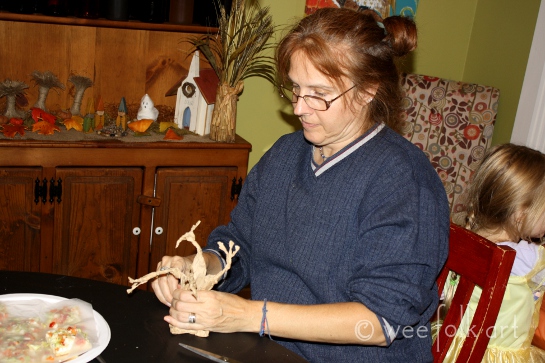
I sat down tonight to try to make one. Sure enough, in a matter of minutes, I made a tree. Out popped the camera, and easy peasy… a tutorial. I love it when things are this easy, although it would be a lot easier if all of you were sitting around my dining room table. We’d have a forest in a matter of minutes!
Basically, you can’t make these wrong, and it is a craft you can do with children. So, go grab a few brown paper bags and pair of scissors, and you’ll be making trees in no time. BTW… for the observant… you’ll notice some blood smudges on the trunks and branches. Took a little nip out of my thumb 🙁 But I didn’t let a little cut stop me, trooper that I am 😉 Ready? Here we go!
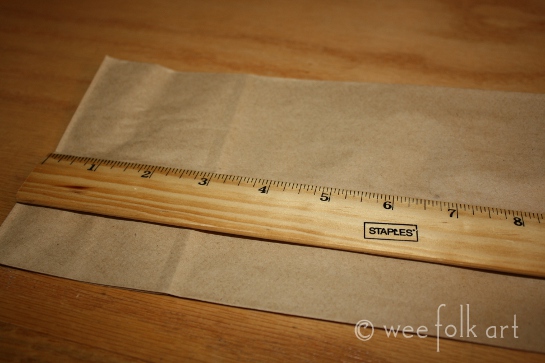
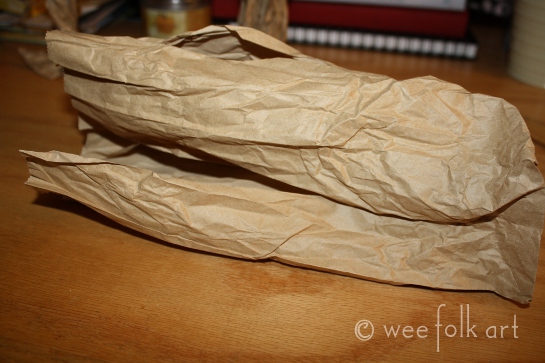
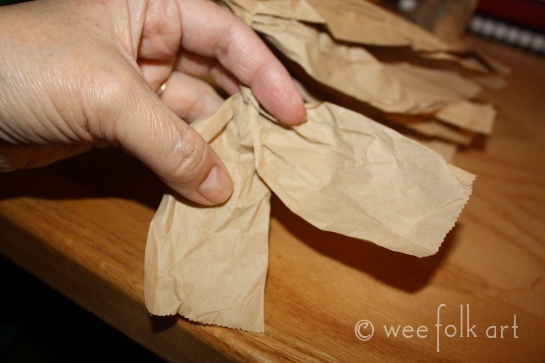
Measure up 4″ from the bottom of the bag.
Cut down the center of the 4 sides of the bag to the 4″ mark.
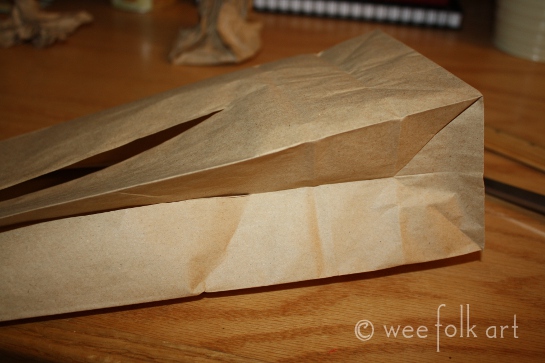
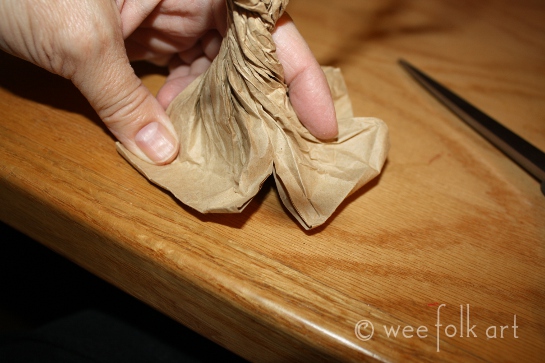
Twist the bag, then untwist.
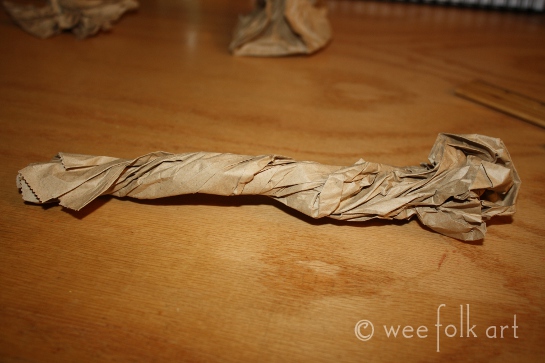
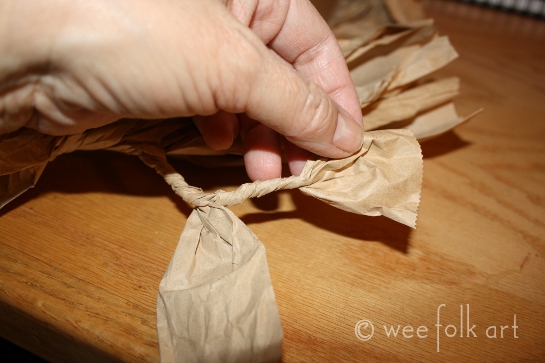
Twist the trunk up 4″ to the cut.
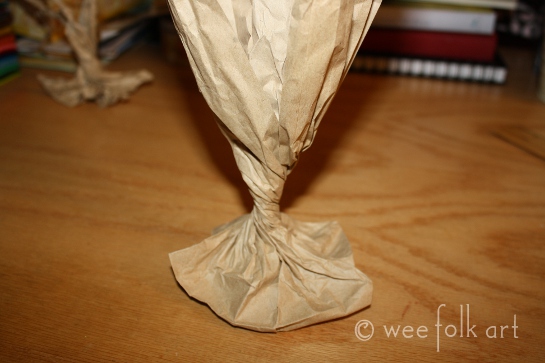
Each of the four sections will become a major branch of the tree.
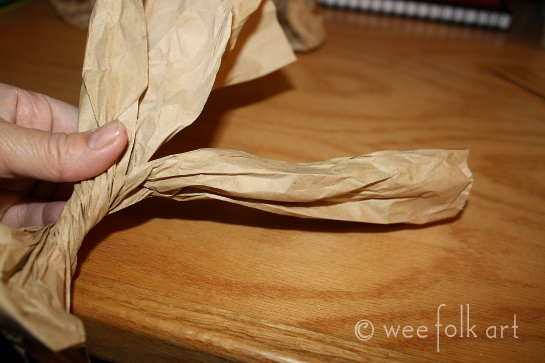
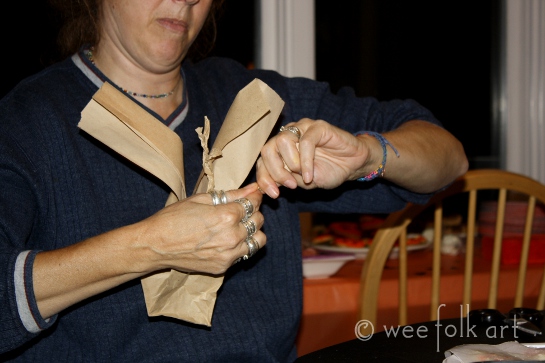
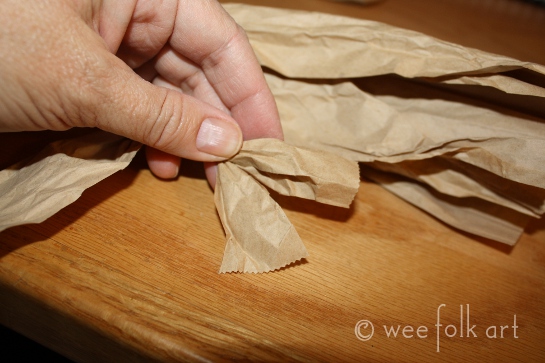
Twist the first branch about halfway up.
Then, cut lengthwise down the bag to where the branch is twisted. You can make 1 or 2 cuts making 2 or 3 sections.
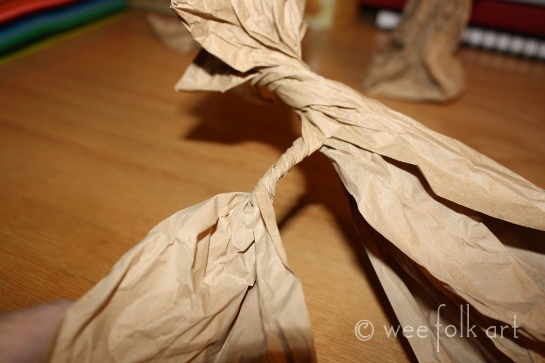
Twist each section. You can twist all the way up, or go halfway and make another cut. Continue cutting and twisting until all pieces of the 1st branch are all twisted.
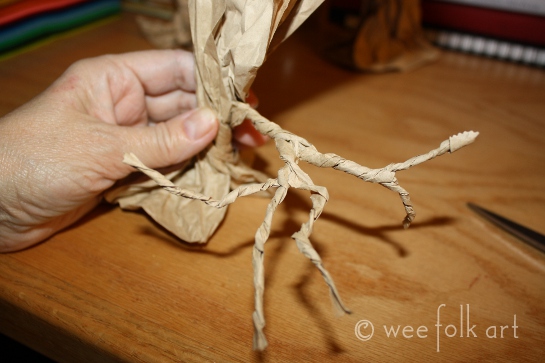
Do the same for the other 3 branches. Make each one slightly different.
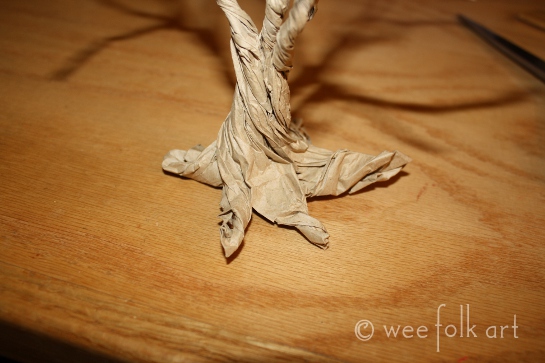
Make 4 or 5 snips at the bottom of the tree. Twist each section to create roots.
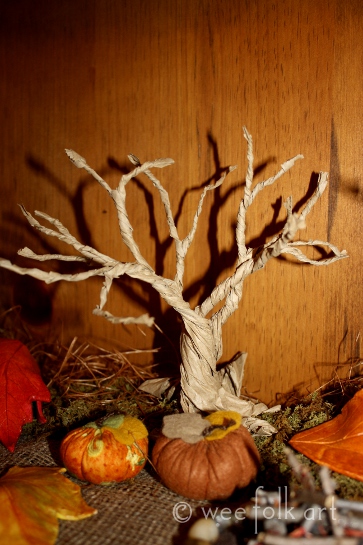
That’s it. You can dink with the branches a bit until you are satisfied with the way they look. Then, tah dah… you are done and ready to make another. Now wasn’t that the fastest and neatest craft you ever made? Thank you, Jenny, for teaching me this fun technique!
Paper Clay Leaves can be found HERE.
Mini Pumpkins can be found HERE.
Campfire can be found HERE.
https://www.weefolkart.com
Copyright © Wee Folk Art 2008 – 2009. All rights reserved.
All photos, text and patterns are copyright protected. You may not copy, reproduce or redistribute any material found on WeeFolkArt.com without written permission. Wee Folk Art retains all rights.


19 Comments
Sunshine Mama
This is so great! I never have paper bags on hand, but I just bought some today for a project I need for my son’s birthday party tomorrow… I guess I know what I’ll be doing with the rest!
Guest
I’ve been making this with my daughter but splitting the branches is not something we thought of doing. It gives it a more natural and realistic look. We also add pretty flower and leaf foam stickers to make it look like a flowering tree. Great as a Mother’s Day craft!
Erica Romeo
I was a brown bag lunch kid, do you know what leaves speckly, dark shapes on brown paper bags? Oil. I sprayed my tree with PAM cooking spray!
Kimara
Brilliant! Next year I'll be needing to make new ones. Ours have gotten pretty beat up. I will definitely remember this idea. I also carried sack lunches to school. Now that you mentioned it, I remember the grease spots, too 🙂
Bobbi
I am making a wish tree for one of my blog posts and could not find anything I wanted to use – so I ended up on your site and WHOO HOO – I found something – I am going to use a large bag- so easy and so wonderfully knarly !!
Crafty Granny
Looing for flower patterns came across your tree page, made one and Loved it thank you for sharing. Easy and fun.
kas
Love these!! They are perfect for my fairy play mat (silver penny patterns) I did one as shown and adapted the pattern for a gnome play matt for the boys
Redrawing the pattern to including a river and felted rocks (also from this site) Wish I had this resource years ago when my kids were little. Keep up the good work.
Kimara
Our wee ones grab the gnarly trees and place them around the gnome home in the Fall. Such a simple project but they are dynamic. My are getting a bit limp from being played with so much. Think I'll need a new batch this Autumn.
Jennie
I just used this project with my daughter’s 1st grade class as our art docent project of the month. First we learned about the Japanese art of bonsai, and then we made these tree sculptures. Next week we’ll observe the shapes and colors in some pictures of blossoming trees and on some real branches, and then we’ll add some tissue paper buds, blossoms, and new spring foliage to our own tree sculptures. Thanks so much for sharing this wonderful project!!
Nicole Shellhorn
https://www.facebook.com/photo.php?fbid=10105634486291225&set=a.595638114405.2342375.12442121&type=3&theater
We used your method/instructions to create my daughter’s first Valentine’s Day mailbox. She is in first grade and LOVED doing this! Thank you!
Kimara
Oh My Stars! That turned out adorable. I never would have thought to use it in this way. I bet it will make quite the sensation when she takes it into school. Thank you so much for sharing the photo with us. ((hugs)) ~Kimara~
Pingback:
Guest
This was great, however, my branches kept unraveling and are limp, any solutions?
Kimara
Make sure your twist them really tight. Also, not all brown paper is created equal. Some paper bags are much thinner than others, however, most lunch bags should work fine. We have not had any problems with ours being limp, and they were highly bendable. I’m going to guess that unless you have a really thin bag, you probably just didn’t twist them tight enough.
When we made these I figured we would need to throw them out after one year, believing they would become misshapen and start unraveling. We’ve had them for 4 years now, and set them up every year, and they look as good as the first year we made them.
Don’t give up on them. They are a fast, inexpensive, easy and long lasting project. Play with them a bit and if need be, try a different bag. Good luck! ~Kimara~
Denise
This is a great idea! I’m going to adapt it for my velvet pumpkin project and add a little modgepodge to help my pumpkin “stems” hold their shape.
Kimara
They make very realistic stems with the twists. If you use Facebook, share a photo of your finished project. Would love to see them! ~Kimara~
Angela
Wow, really great!!! I’ll try it this evening!!!!
Kimara
Have fun! I thought I would have to redo them every year but I just “fluff” them up when I get them out of my fall decorations and they are good to go 🙂 ~Kimara~
Pingback: