Festival Gnome :: Part 2
This is the second and final part of our Festival Gnome.
Part 1 of our Festival Gnome can be found HERE.
IMPORTANT: Do not cut out the hat until you have added the hair. Then, cut the hat out of paper first and “try it on” for size. You may have to make the hat slightly larger if you have lots of hair 🙂
The tutorial on How to Cut Out Felt can be found HERE.
The Stitching Glossary can be found HERE.
DIRECTIONS:
Do all the steps in Part 1.
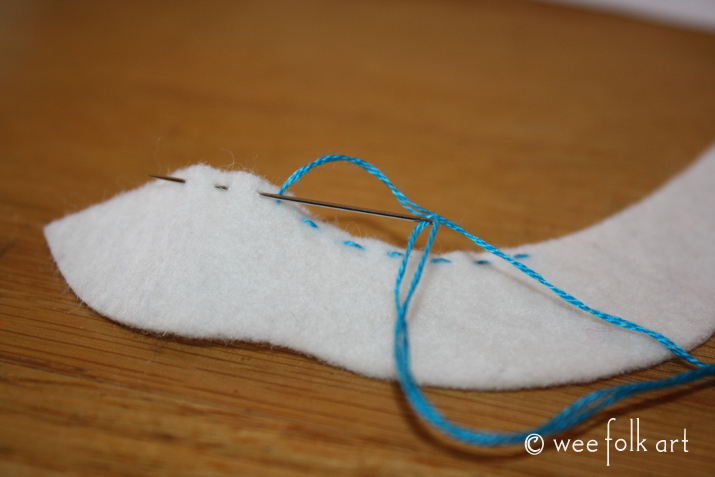
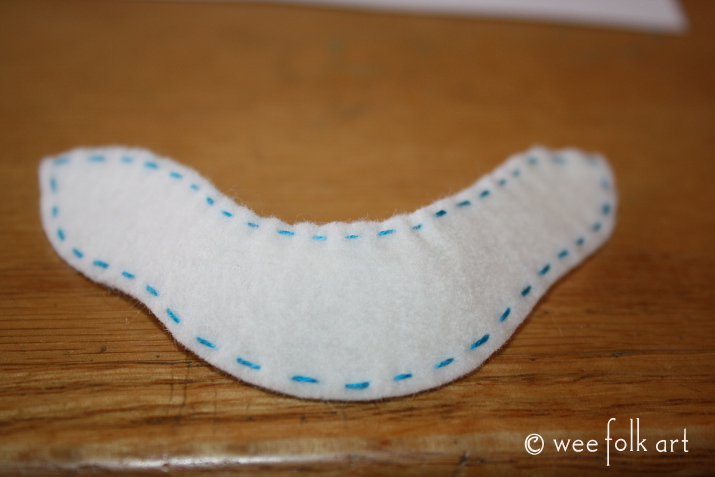
Check the pattern piece for the area of the shawl that will be gathered. Begin just to the side of the gathering line. Using one strand of floss and a running stitch, sew around the shawl and continue sewing over the gathered section. DO NOT tie off the end.

Gently pull on the thread to gather the center back. Make sure the rest of the shawl remains flat. You just want to create a gentle curve that will lie flat on the gnome’s back. Tie off your thread.
Overlap the front of the shawl and pin in place. Only pin through the 2 pieces of the shawl. Do not grab the dress.
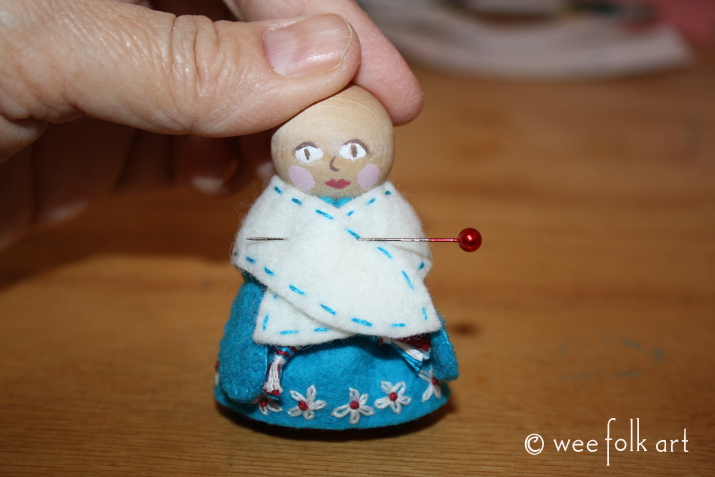
Note how the shawl lies flat on the gnomes back with a gap.

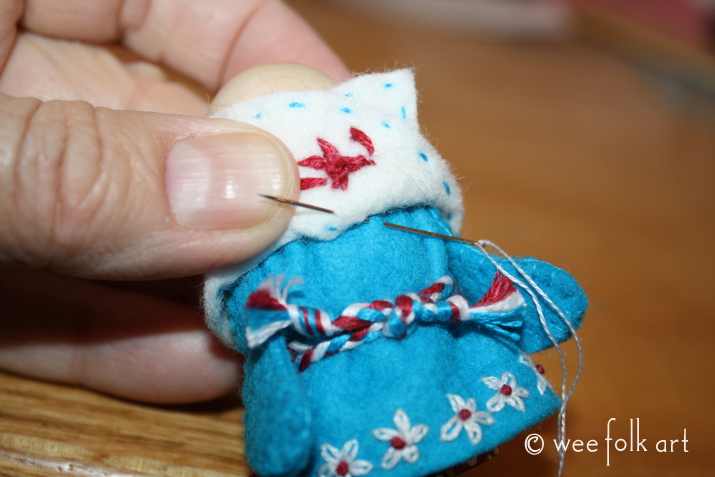
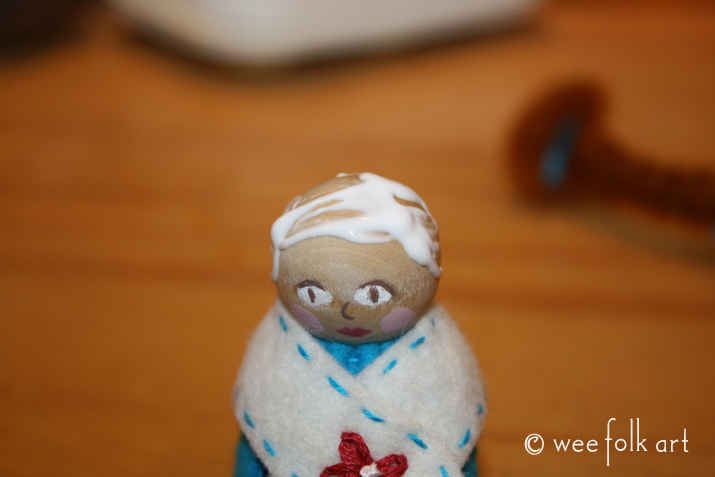
Using the pattern as a guide, sew the 2 ends of the shawl together by adding a flower using 6 strands of floss and a lazy daisy stitch. Add a French knot to the center of the flower using 6 strands of floss.
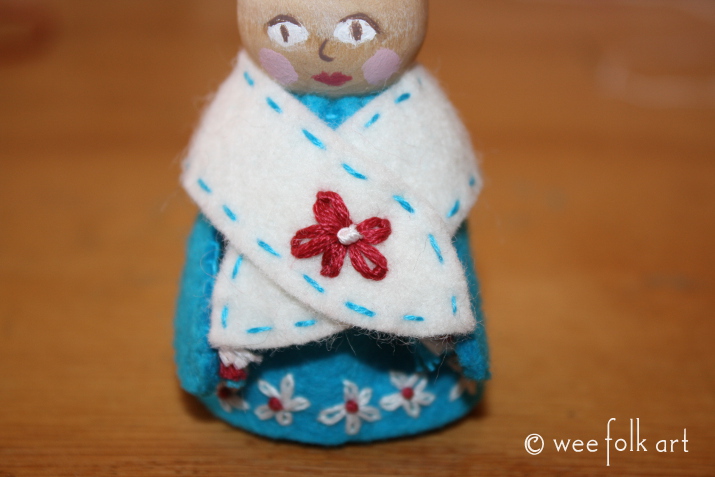
Make sure the shawl is centered on the gnome. Lift the front of the shawl and tack it to the dress. Make sure you only go through the piece of the shawl so the stitching is not visible on the outside of the shawl.
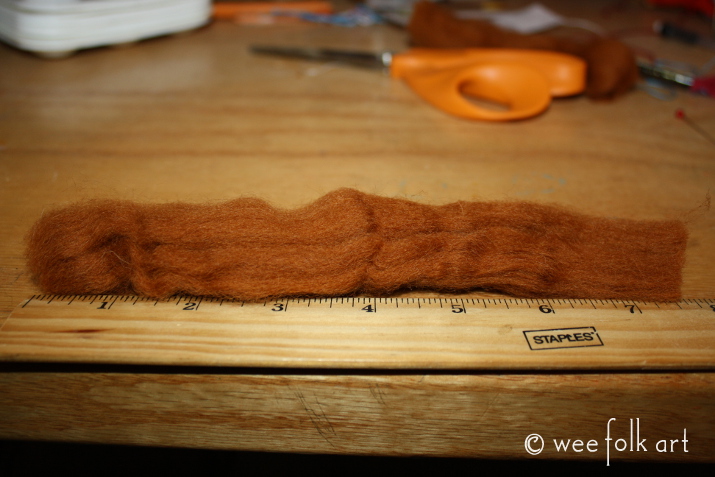
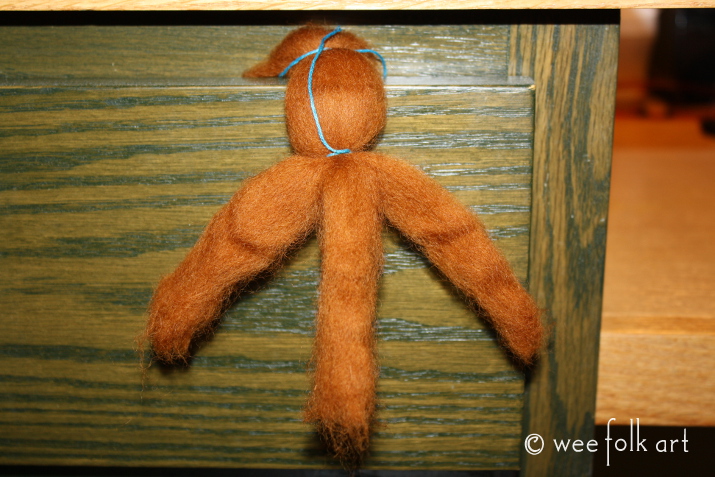
Cut a length of wool roving about 7″ long.
Center it on the gnome’s head. Tie off both side sections ponytail fashion, making sure to form the hair around the head.
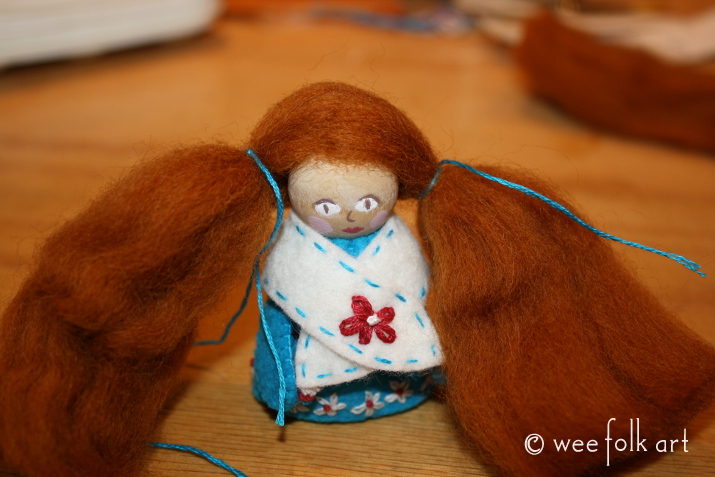
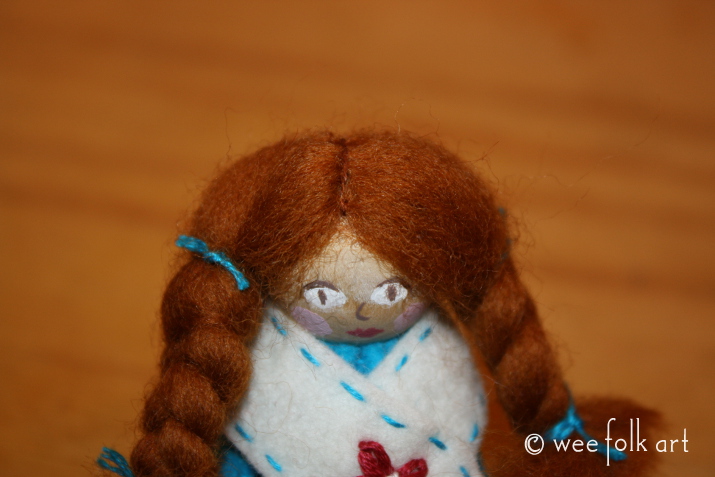
Divide each ponytail into 3 sections and tightly braid. (I use a drawer to hold the hair while I am braiding.)
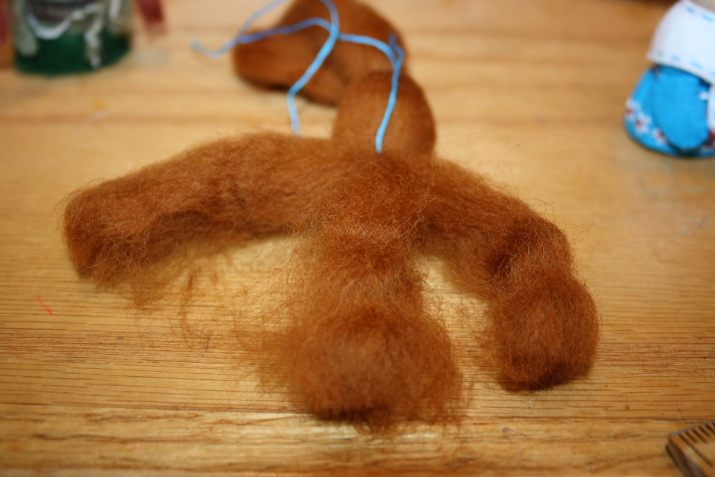
Tie off the end of the braids.

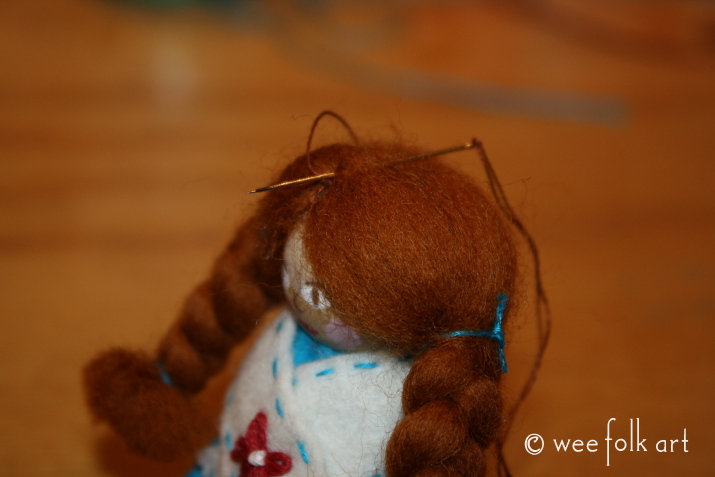
Dry fit the hair on the gnome. When satisfied with the fit, place glue on head where you want the hair to stick. And glue on the hair.
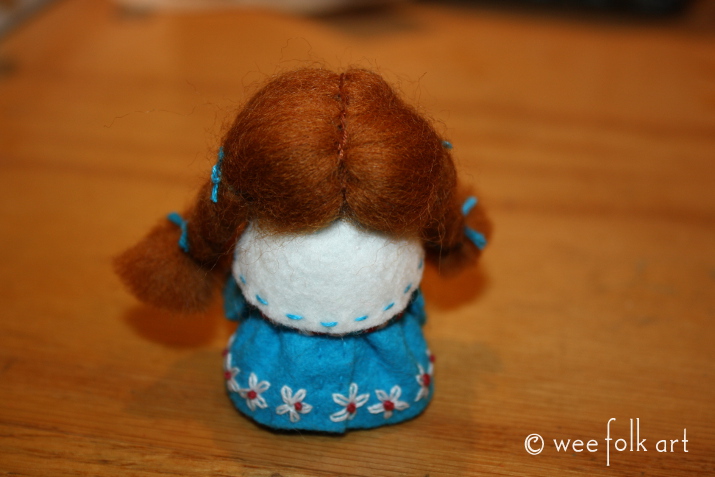
After the hair is dried, using a backstitch, sew a part through the center of the hair .
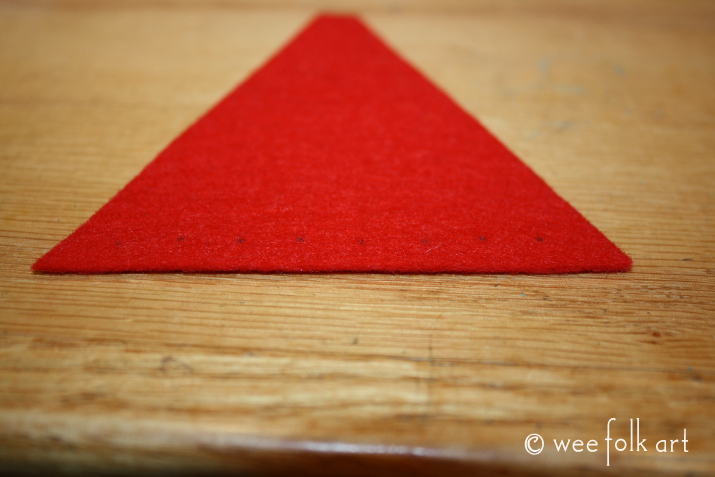
Cut the hat out of paper and try it one the gnome. It should fit snuggly but make sure it can be pulled over the hair. If need be, enlarge or reduce the hat slightly out of paper until you get a good fit. (Note: Sometimes when you do the embroidery, it can pull in the fabric. Be careful to keep your embroidery loose or add a little extra size to the hat.) Then cut it out of felt. Mark the overlap line and the flower placement.
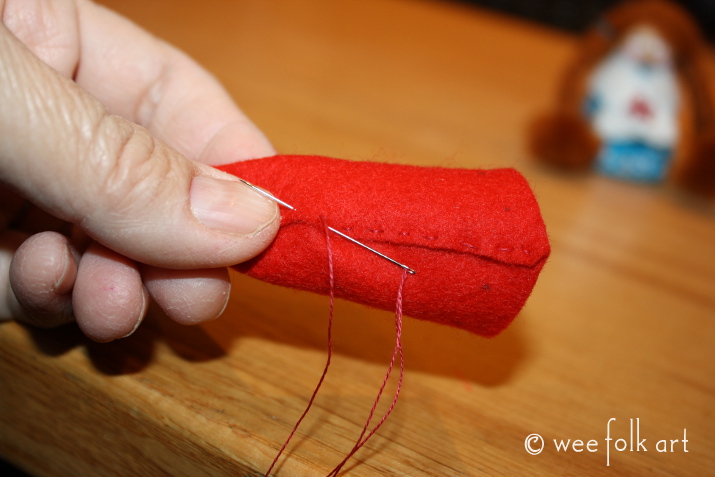
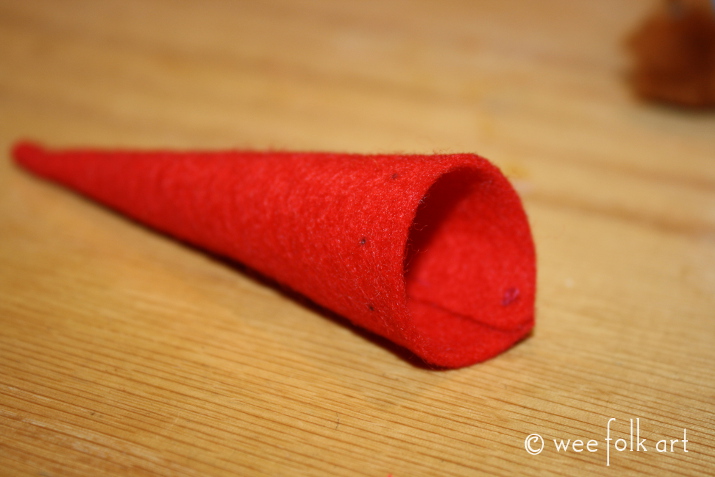
Using 1 strand of floss and a running stitch, sew up hat.
Add flowers. Using a lazy daisy stitch, add

Try the hat on. If slightly snug, you can stretch the opening slightly. Play with placement. When you know where you want the hat to go, please a line of glue on the inside of the hat near the rim. (Not pictured.) Place the hat and the gnome and apply pressure to make sure all edges are glued to the hair.
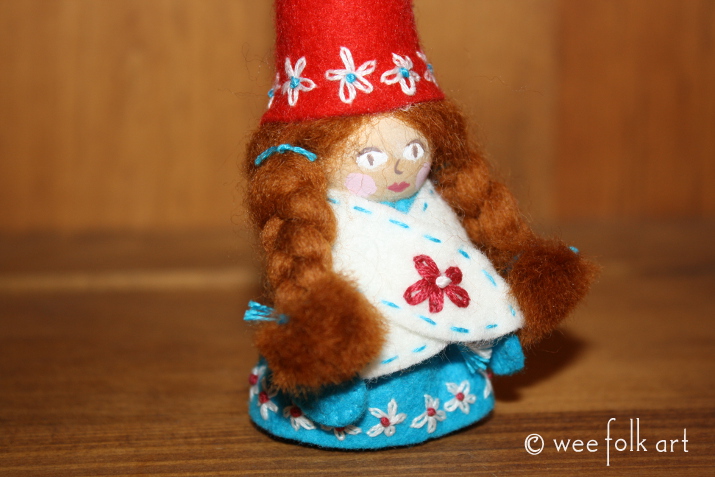

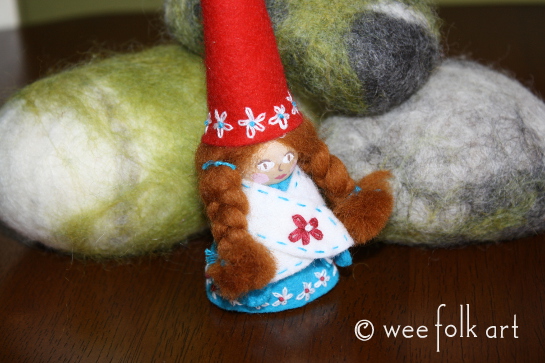
Your gnome is now dressed in her finest and ready to attend her favorite festival or celebration!