
Making Pom Poms
Newbie Knitting Lesson Four : Making Pom-Poms
If you are following along with our Newbie Knitting series you will need to make two pom-poms to complete your Block-Work Hat.
There are a couple different ways you can make pom-poms. I’ve included a pattern and directions for using a cardboard homemade pom-pom maker or using the Susan Bates Easy Pom-pom tool. The homemade, cardboard version works ok if you just need to make one or two, if you want to make a lot of pom-poms I would suggest buying a tool.
Cardboard Pom-Pom Maker Directions
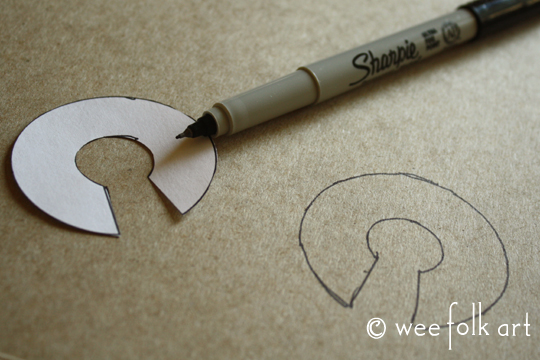
First print out the Pom-pom pattern (I used the medium template) or draw a circle about 1/2″ to 3/4″ larger than your desired Pom-pom. Draw a 3/4″ circle in the middle and create a cut-away notch. Cut out two matching disks in cardboard. I used a cereal box but if you want to make several pom-poms you might want to use a more durable cardboard. (If you use corrugated cardboard, you can get away with using only one disk).
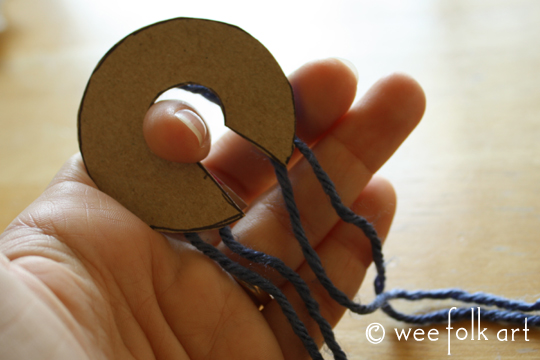
Cut out two yarn pieces about 12″ long and center them between the two disks.
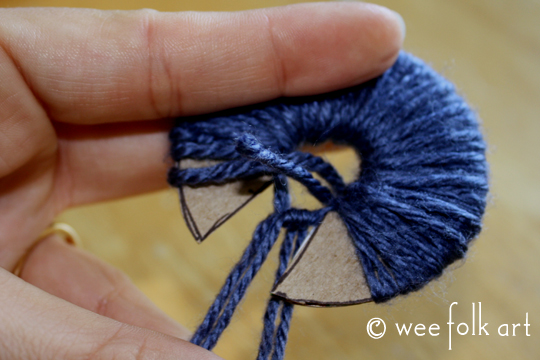
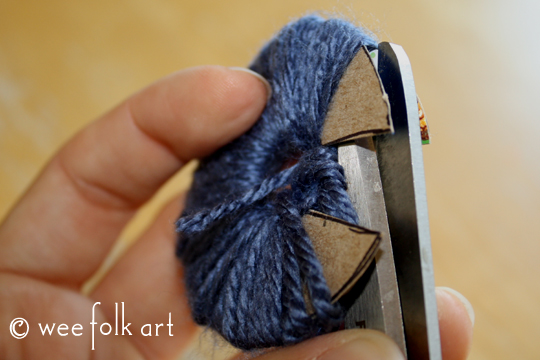
Holding everything together start wrapping the disks with your yarn at one end. A little triangle of cardboard at each end will not be covered. Wrap the whole thing tightly… I like to wrap about 3 layers… at this size, with worsted weight yarn approximately 140 times.

Once it is completely wrapped, trim the wrapping yarn even with the outside edge of the disks. Then tie the center yarn pieces into a loose knot.
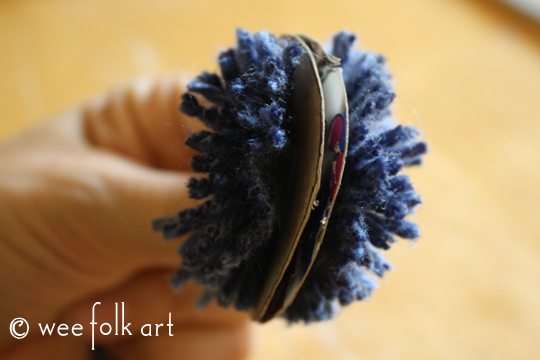
Carefully slide the tip of your scissors in between the two disks and snip the wrapped yarn. Go all the way around. Be careful not to trim you cardboard. Tighten and double knot the center pull yarns
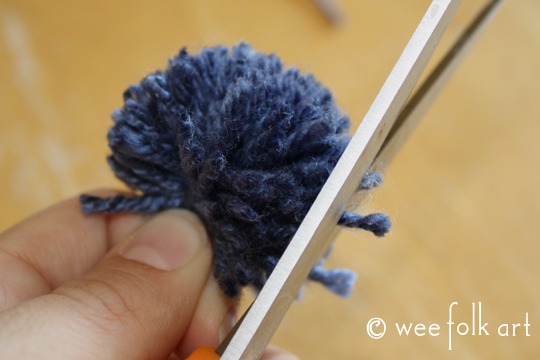
Carefully remove the cardboard disks.
Trim up any yarn strands that are sticking out further than the rest.
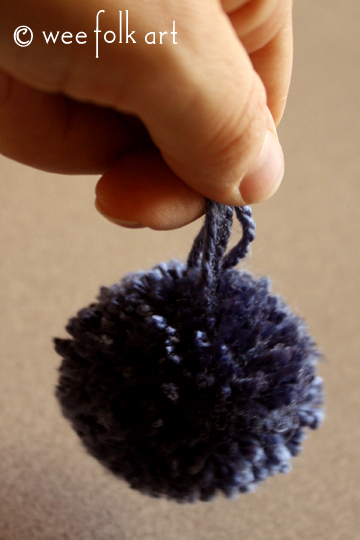
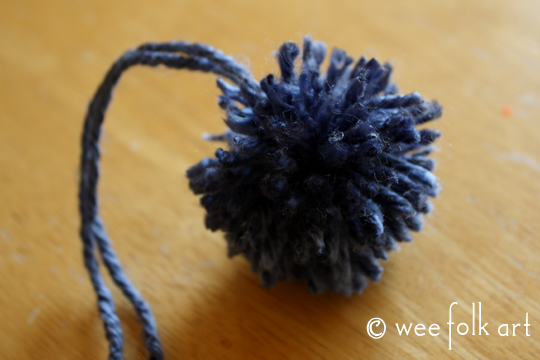
You can use the center pull yarn strands to attach your pom-pom to your knitwear. (Note my pom-pom below is a little anemic… I should have wrapped it a bit more but I was more worried about taking photos than counting my wraps. But you get the idea).
Pom-Pom Maker Tool Directions
These directions go with the Susan Bates Easy Wrap Pom-pom Maker set.
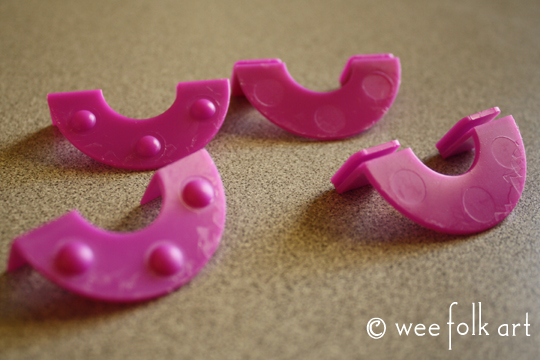
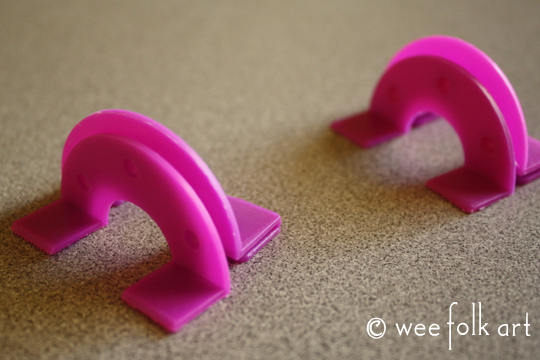
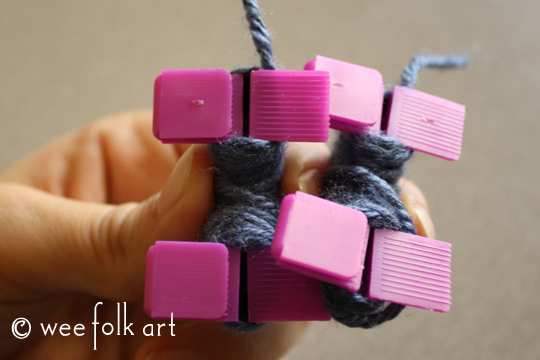
Obviously, I’m using the pinkish colored disks. What you need to do is take them apart so you have 4 pieces and then set them up so that you have two facing sets… bumps to smooth side with the feet sticking out as pictured below.
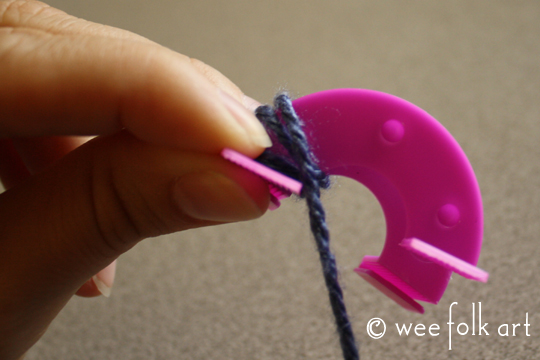
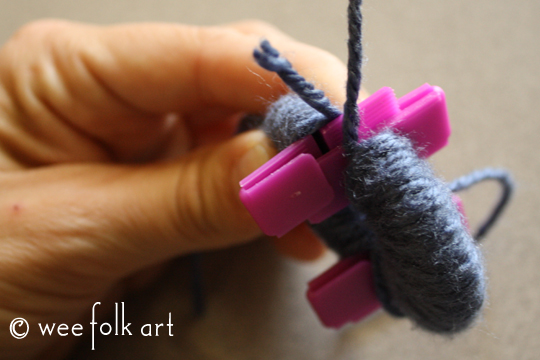
Hold one pair together and start wrapping the yarn around. It is awkward at first, but gets easier after a few times around. For this size I like to wrap the yarn around about 70 times.
When you have completely wrapped the first set, cut the yarn and do the same for the second.
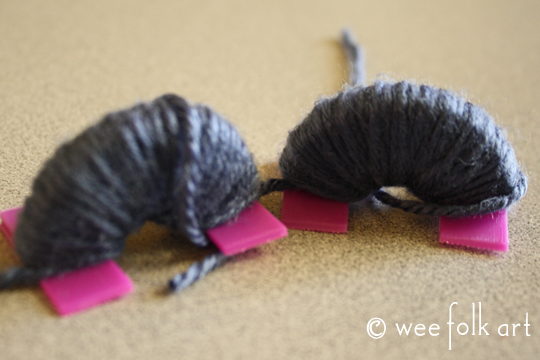
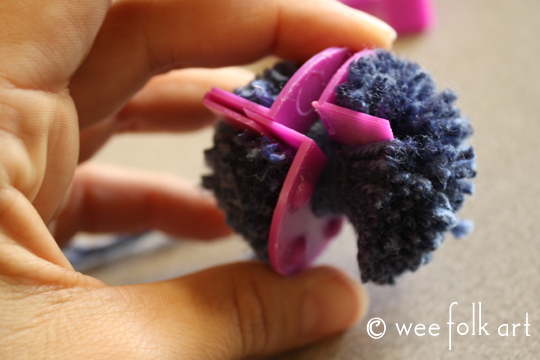
Once you have both sides ready, flip them over and look at the feet.
You need to slide one set of feet into the other to make a complete circle. One side will slip into the folded opposite side as seen below. (Note mine is pictured off centered just so you can see how they fit together better. You will want yours to line up straight).
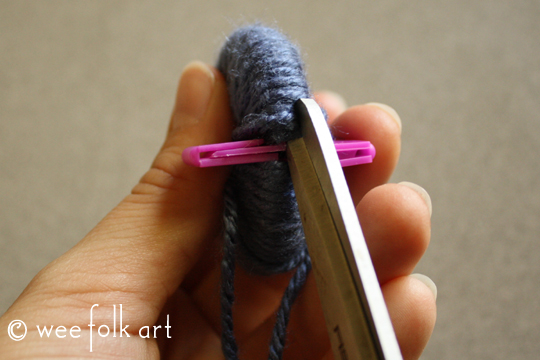
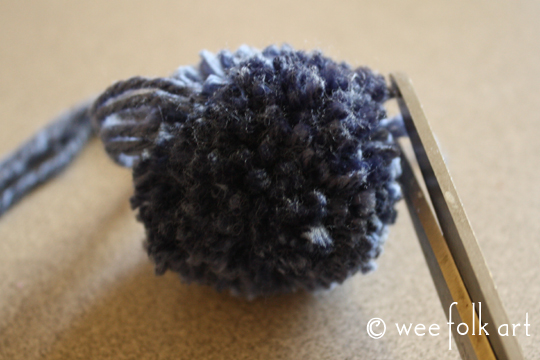
Carefully slide you scissors in the grove between the disks and cut the yarn.
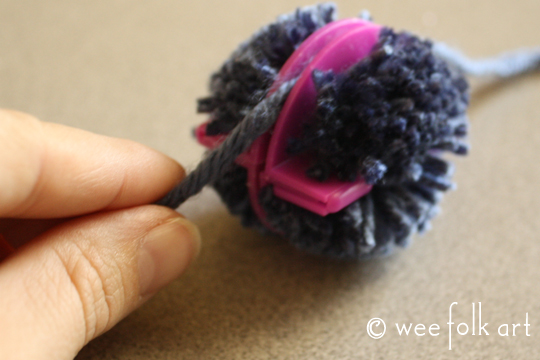
Once you have gone all the way around, slide two 12″ pieces of yarn in between the disks and tie them tightly with a double knot.
Carefully removed the plastic pieces.
Trim up any bits that are sticking out too far.
2 Comments
Janie Hacker
Ah, at long last, the mystery of the pom pom has been discovered. I’ve always wondered how people made them. I don’t have a pressing NEED for a pom pom at this moment but now I have a pressing DESIRE to make some. Yarn stash, here I come!
Melissa Jacobs
Ha! Perfect timing. My daughter just got a scarf as a birthday gift and asked if I could Jazz it up. I can now see a row of pom poms instead of a regular fringe. Thanks for the inspiration!