Needle Felted Dragonfly

I know I’ve shared many times my love and fascination with the dragonfly. They are my “fairy bugs” flitting about in my gardens, shy, yet not elusive. Sometimes, I catch them out of the corner of my eye, but when I turn, they are gone. Other times, they allow me to sit among them, almost unobserved as they participate in their graceful folk dances. I love butterflies, and do everything I can to invite them in our gardens, but my dragonflies need no coaxing. If I plant a flower, any flower, and give them a little still water from which to take a sip, they will come.
Yesterday, I needle felted my own dragonfly. He is sitting on top of my monitor as I write. Now, I can bring a few of these lovely creatures inside with me. He was easy and fun to make. A good beginning needle felt project for yourself or your older children. Hope they bring you much joy 🙂
Materials:
- wool roving
- needle felting needle and holder
- foam
- small twig, with a curve for the tail
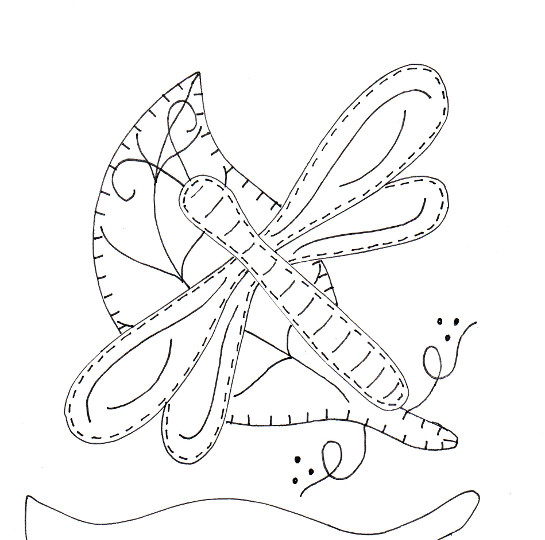
- copy of Dragonfly Applique Block (optional)
EDIT: It was very accurately pointed out to me that dragonflies do not have antenna. DOH! You would think with all the time I spend with them in the garden, it would have been obvious when I sat down to make one, but put me at the craft table and anything is possible! I don’t think I have the heart to pull the antenna off my dragonfly now! So… if you do make these… they do not have antenna… but I leave that to you! BTW… thanks Anne, I count on you guys to keep me on my toes! ~Kimara~
Collect all your supplies.
If you’d like to use our Dragonfly Applique Block download it HERE. Otherwise, follow your whim!
Begin by pulling off 2 pieces of roving for the wings. I made mine slightly longer than the applique pattern to allow for tying.

Tie one piece to the twig.If your twig has a curve, curve it down while you work on the front.

Needle felt the lower wings, shaping the wing tips.

When you are happy with the shape, slowly add color to your wings. Add small amount of color, overlapping the colors. I used green, blue and purple.


When you are satisfied with the lower wings, tie on the upper wings and continue as you did for the lower wings. Make sure to overlap the upper wings over the lower wings slightly.

When you are all done adding color, needle felt the two knots together to stop them from seperating.

To make the body, rip off a piece of roving. Center it under the tail, crisscross it over the front, take the pieces to the back and tie. Lightly needle felt the ends to the back of the dragonfly to hold them down.


To make the antenna, rip off a piece of roving and roll it in your palms or between your fingers. I moisten it slightly.


Determine the length you want for the antenna and tie knots at either end.

Fold the antenna in half and glue to the back of the head of the dragonfly.

Your dragonfly is now ready to visit your gardens. Make sure you keep a close eye on him. Lots of woodland critters would enjoy a tasty dragonfly 🙂