
Painted Wooden Leaves Fall Decoration
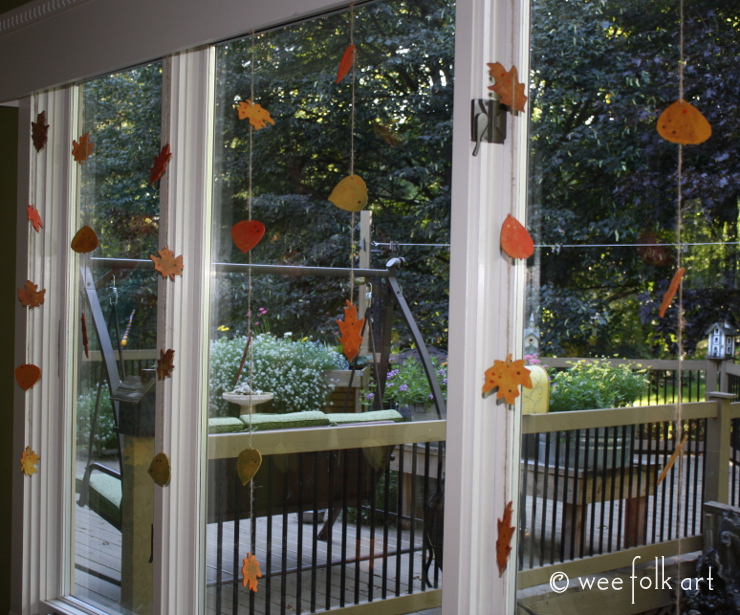
Although our trees are just beginning to turn colors, I’m speeding the season along by hanging painted wooden leaves in my windows. They will look extra special beautiful when the trees in the background begin to turn colors!
I’m ready for fall even if my trees aren’t! Until my trees decide to change colors, I already have a bounty of painted wooden leaves falling inside the house. This is a great project to do with wee ones because you can’t do them wrong. Just provide a variety of autumn colors and I guarantee you the leaves will be beautiful. Besides looking lovely, we have another motive for hanging things in our windows. We feed the birds, the squirrels, the chipmunks, the raccoons, the deer and any other animal clever enough to find our yard! Hanging things in our windows helps prevent our birds from flying into them. Throughout the year I hang snowflakes, stars, leaves, and flowers. Something for every season!
Materials for Painted Wooden Leaves
Pre cut wooden leaves – I purchased the following leaves from Casey’s Wood Products: Oak Leaves, Maple Leaves, and Aspen Leaves.
Twine
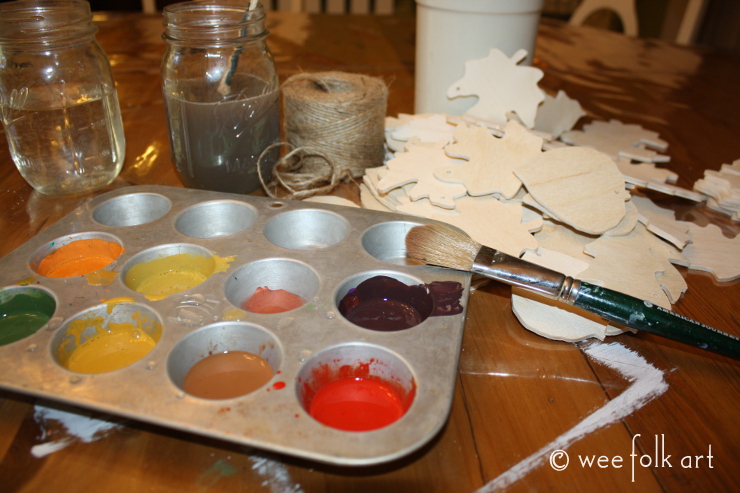
Paint – acrylic, soy, milk paint
Directions for Painted Wooden Leaves
Gather your supplies.
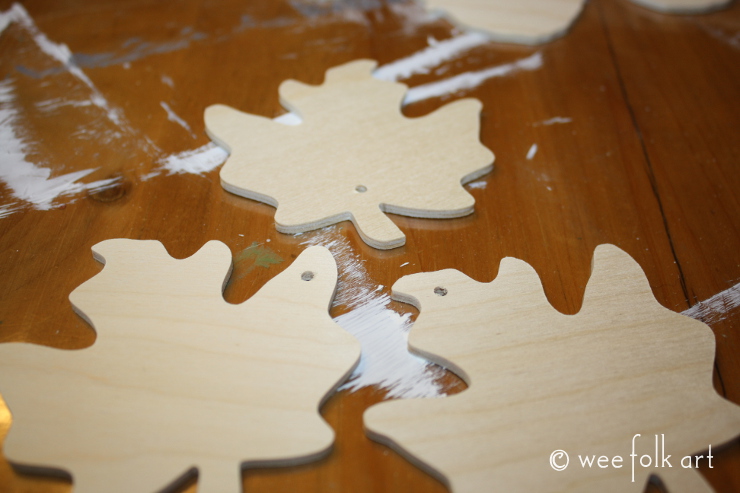
Drill holes in leaves slightly larger than the width of your twine. Because I wanted to give the look of leaves a randomly falling from trees, we drilled our holes in various parts of the leaves.
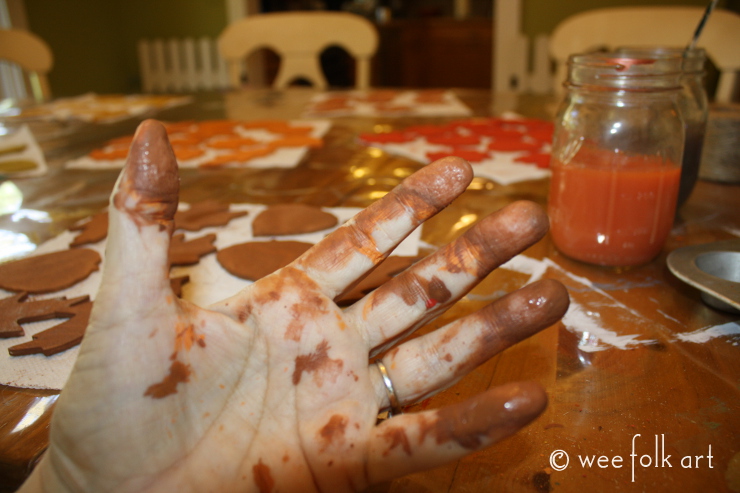
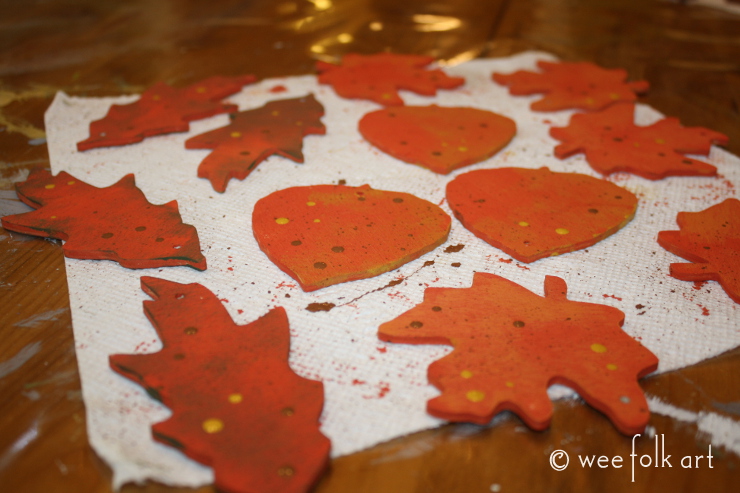
I put on a first coat of paint. I watered down the paints so the color wasn’t heavy and you could make out the wood underneath. You do not need to be careful and even if you miss a spot here and there it is okay. There will be more painted added. After I painted the edges and one side, I turned it over and immediately painted the other side. I set them on paper towel to dry. Because you use so little paint they dry very fast!

As you can see, I got as much paint on me as I did on the leaves! I love to paint with total abandonment!
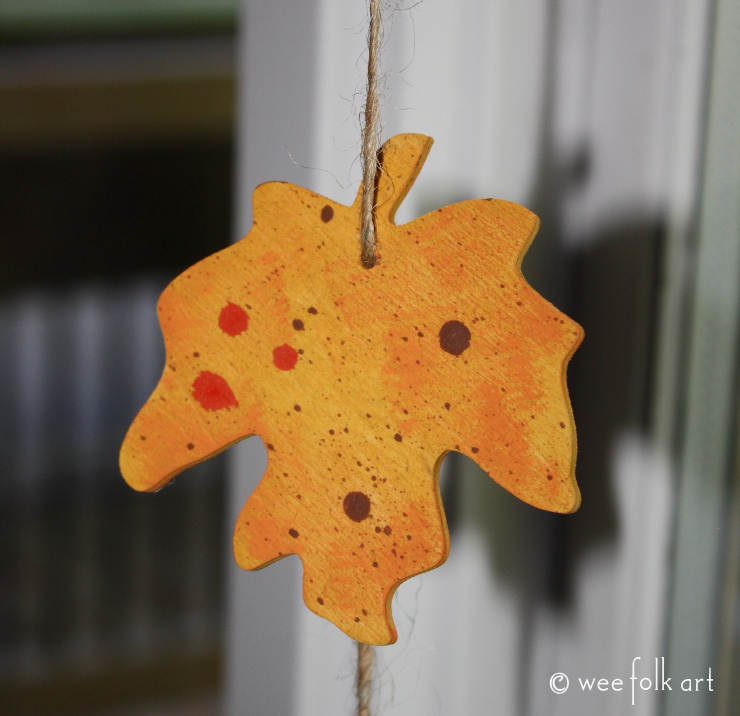
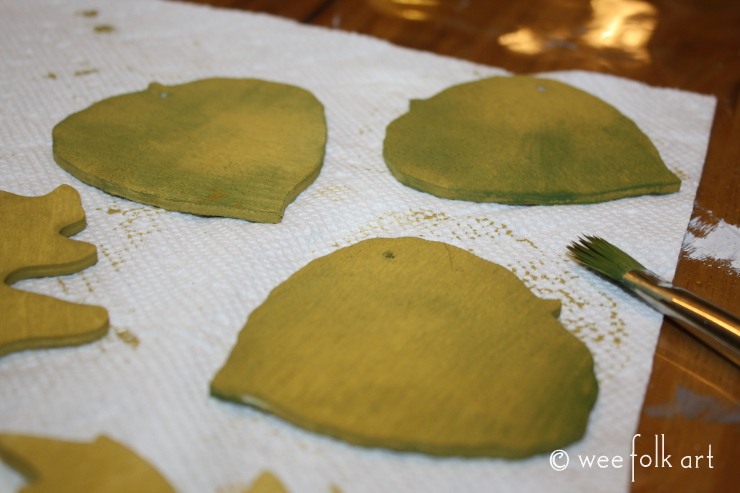
After the paint dried, I “dry brushed” the leaves to add accent colors. To dry brush, after gingerly dipping your brush in paint, dab the brush on a cloth before starting, then brush very small amounts of paint on the leaf for shading.
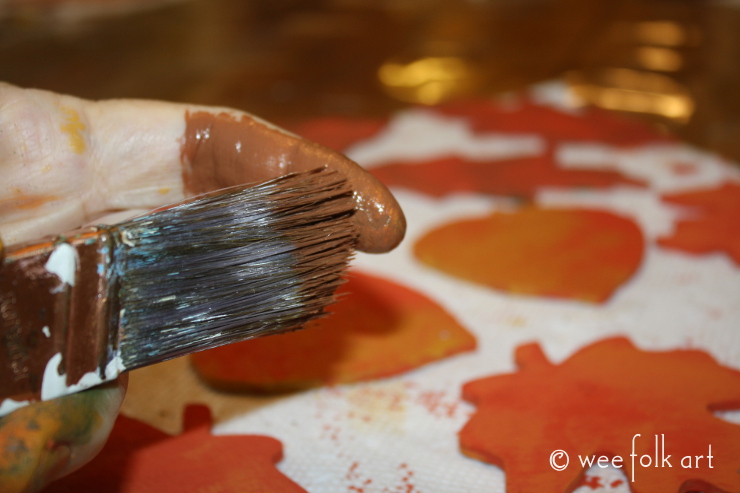
Dip a heavy bristle brush in brown paint and using your finger, fan the bristles over your leaves. This will give them little spots.
Finally, using a brush end dipped in paint, add dots here and there to show imperfections. All leaves have them!
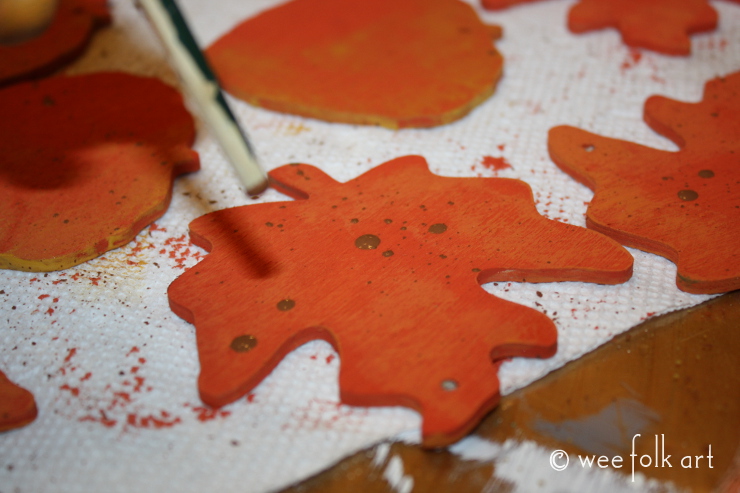
Since the dots have heavier paint, you will need one side of the leaf to dry completely before you turn it over and put dots on the other side.
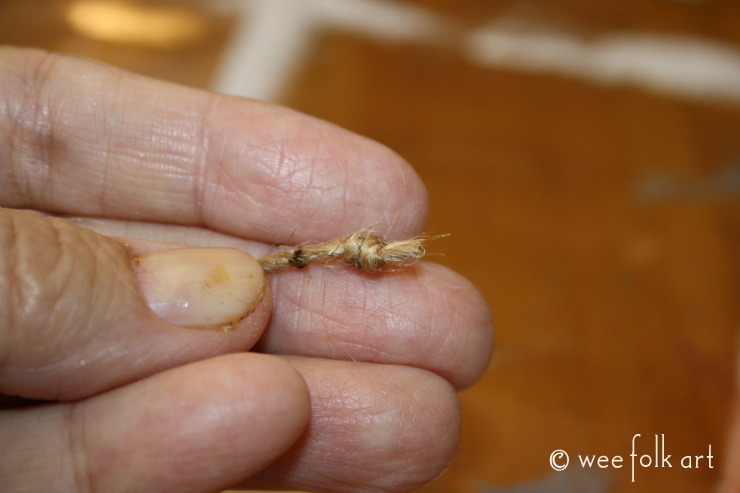
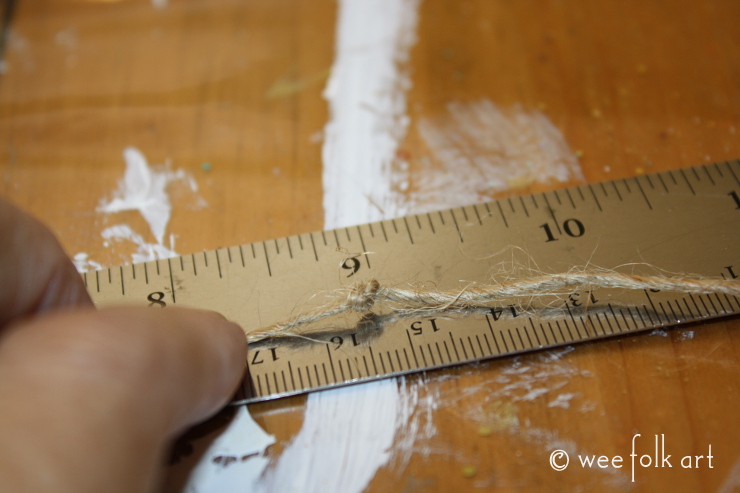
When the paint has dried you will be ready to string your painted wooden leaves. Decide on how long you want your strings of leaves, and how close together you want them to be. I started by cutting all the pieces of twine 60″ long. Knot one end.
Randomly select leaves. Slide on your first leave.
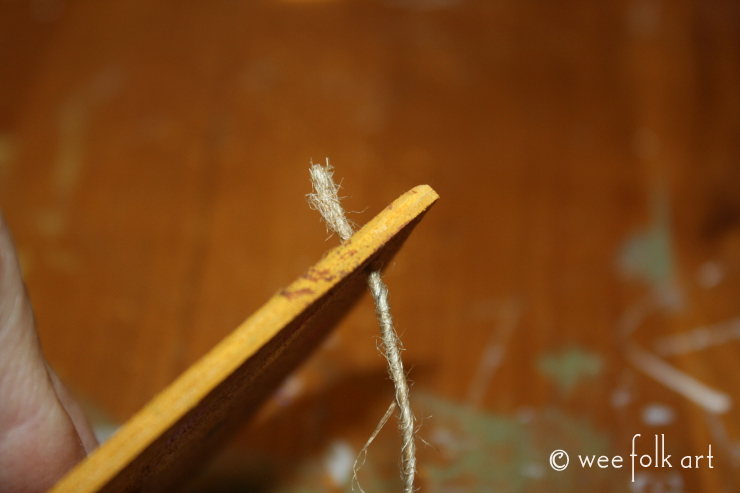
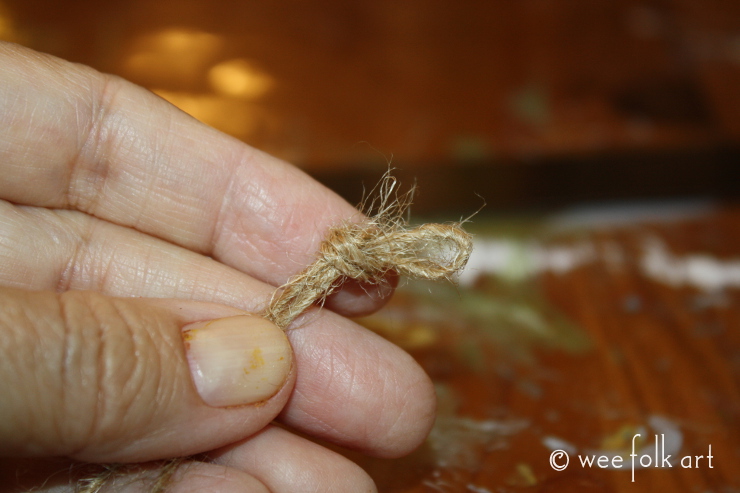
Make sure it is resting on the bottom knot.
Measure 9″ from the first leaf and knot the twine.
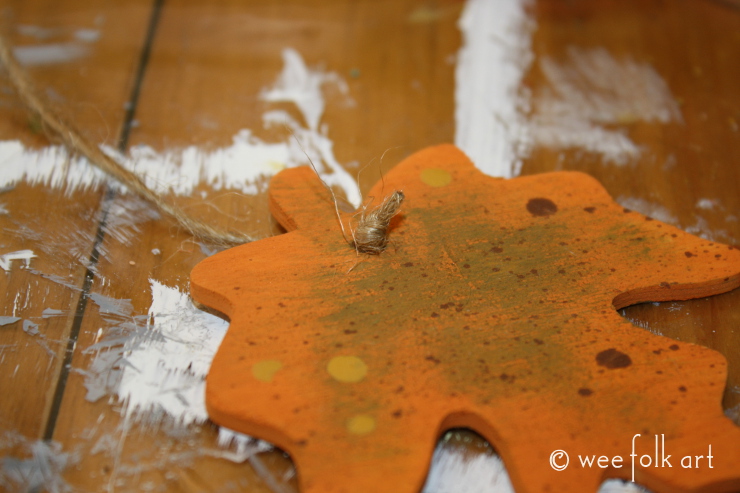
Slide the next leave on the twine and continue until your string of leaves is long enough for your purpose. I have the leaves hanging in several places in my house. I wanted the length of the strings to vary. Each line has 2 to 6 leaves.
When you have as many leaves as you want strung, leave 9″ of twine and make a small loop at the top of the twine for hanging.
That’s all there is to it. I hang mine using thumb tacks, tape and small stick-on hooks. I also made several single ones and made small loops with the twine like a Christmas ornament. I hang these on roping.
2 Comments
Lindsay Ashford
This is really handy. I#, waiting on an order of some autumn shapes so we can add a bit of colour to our hall. It’ll be my first attempt at decorating wooden shapes. At least I know to water the paint down now 🙂
Thanks!
Kimara
They are so much fun to do. Each one turns out unique. You might want to check out our post on Paper Clay Leaves, too. https://weefolkart.com/paperclay-leaves-part-1/ Have fun! ~Kimara~