
Stamp Making
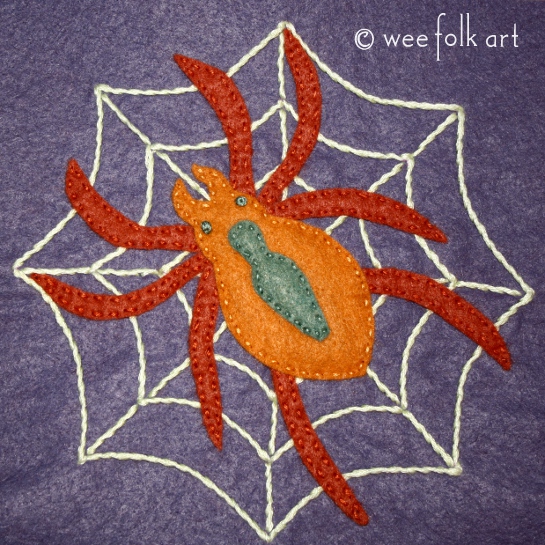
So, we’ve been talking quite a bit about letterboxing lately. If you’ve had a chance to get out and give it a try then you may have run across some fun… even amazing… homemade stamps. You can use any stamp as a signature stamp… but of course it would be even more fun to make your own. Here is a basic run down of how to make your own stamp using our spider applique block as inspiration.
NOTE: The most important thing to remember when making a stamp is that the image will print in reverse! So if you are incorporating any text into your design, the letters must read backwards on your stamp face. Don’t forget.
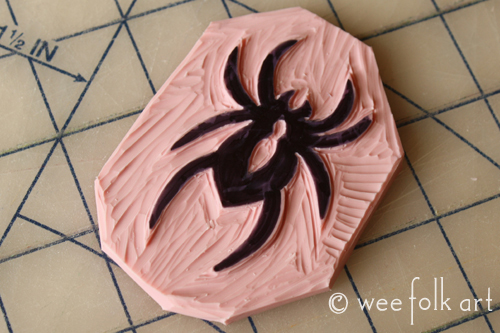
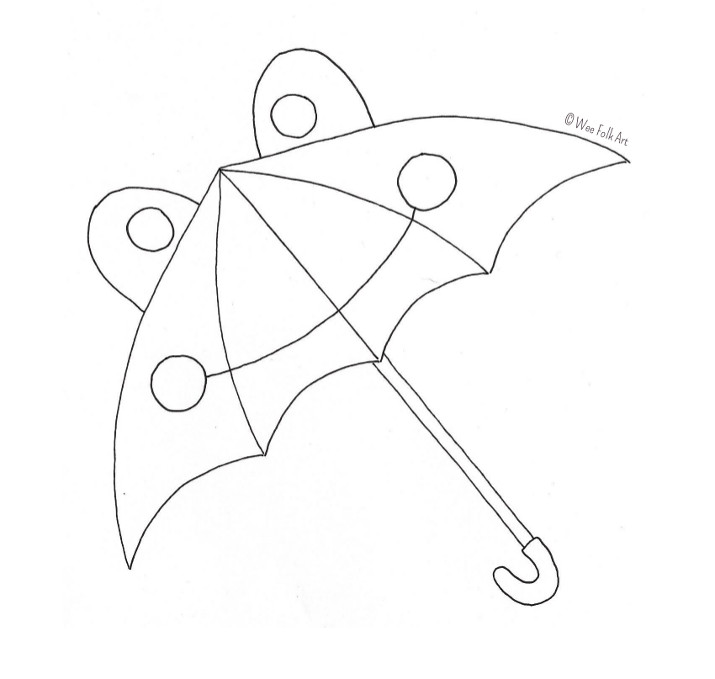
Ok, on to stamp making. What you need is a sheet of linoleum (or an eraser), carving tools and a razor. You can buy a basic Stamp Making kit for around ten-twelve dollars. The stamp in this tutorial was made using a kit. Optionally you may want a piece of 1-1.5” thick wood and super glue. You will also need a pattern or image scaled to the size of stamp you would like to make. For our project today, I scaled the spider image down to 50%. This is a good size stamp to use for letter boxing. Any smaller and it would be hard to carve, much larger and it may not fit in some of the journals that you find.
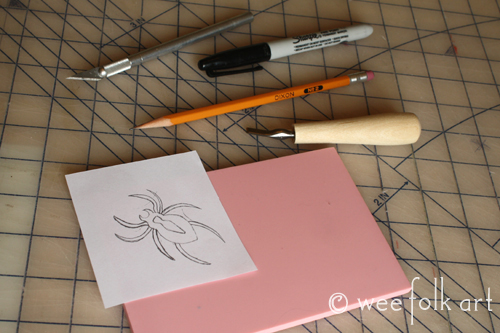
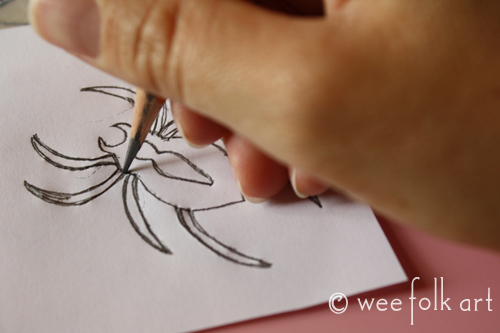
Transfer the image to your stamp material. I did this by rubbing pencil lead all over the back of the image and then traced it hard onto the stamp material (remember it will turn out backwards… but that is not an issue with just the little spider he can face either way).
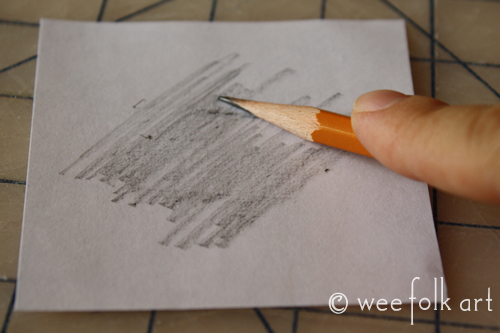
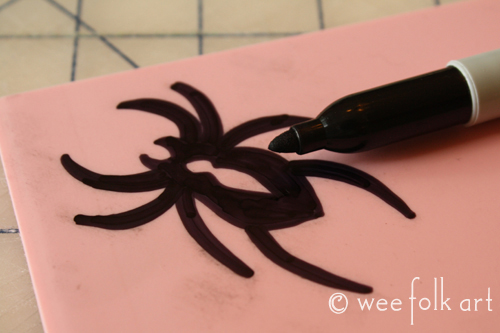
Trace the faint lines with a permanent marker. You want nice thick lines. If your image is very detailed you will want to simplify somewhat. Fill in with the marker any part of the image that you want to show up on your stamp.
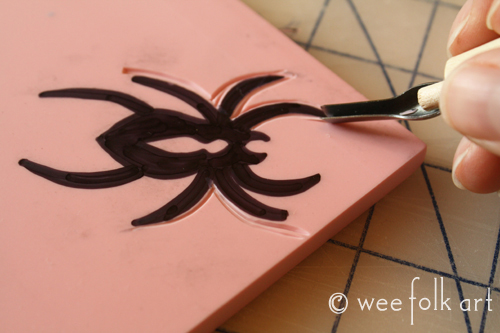
If you have a large sheet of linoleum, use a razor to cut out the image leaving at least a ½” boarder around your image. Using your carving tools, carefully shave away the non marker portion of the stamp face. I find that holding the carving tool still and moving the linoleum around was the easiest way to carve the initial outline of the shape.

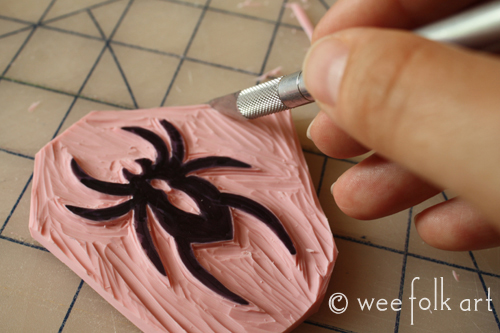
You may want to trim up your stamp with the razor even more now.
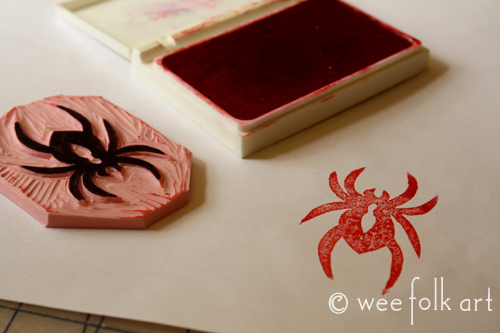
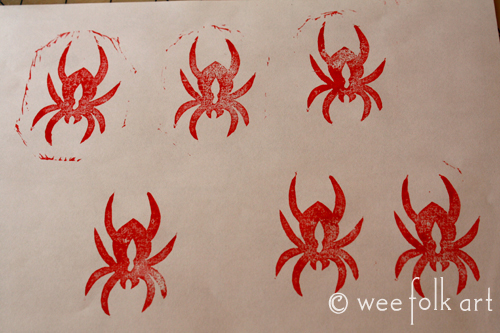
Once you only have the black portion remaining test your stamp.
If you are getting wayward stamp marks, use your carving tools to smooth away any of the excess bumps. Test again.
Once you are satisfied with your stamp you can glue it to a small piece of wood to make it sturdier and easier to handle.
https://www.weefolkart.com
Copyright © Wee Folk Art 2008 – 2012. All rights reserved.
All photos, text and patterns are copyright protected. You may not copy, reproduce or redistribute any material found on WeeFolkArt.com without written permission. Wee Folk Art retains all rights. Read our FAQs found HERE for specifics or contact us at weefolkart@yahoo.com if you have any questions.
Patterns may be used for personal use only. If you are interested in obtaining a Cottage Industry License so you can sell items made from our patterns, information can be found HERE.


One Comment
~ joey ~
Stamp making is on my To Do list! Thanks for the tutorial!
xoxo
~ joey ~