
Doorstop Bunny

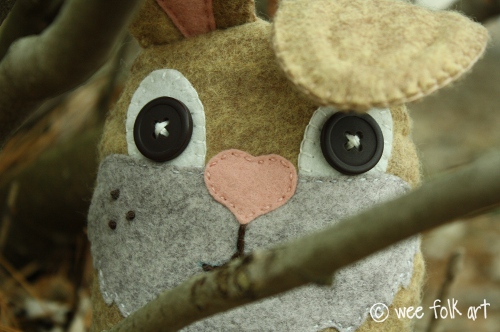
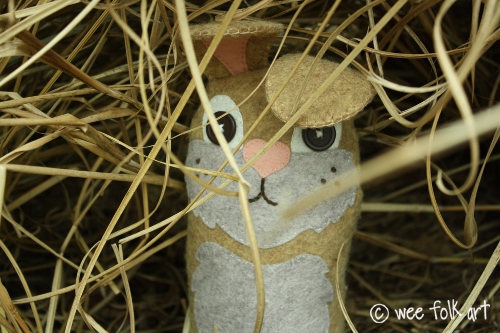
I must say, I think this little guy might be the cutest doorstop in the bunch so far. My girls were excited to see him. Pippin will make a great spring guest in your home. Enjoy!

Materials: (yardages are approximate and based on optimal placement)
Felt
Embroidery floss
2 3/4″ buttons with 4 holes for eyes
2 12” pipe cleaners
Stuffing (wool or polyfil)
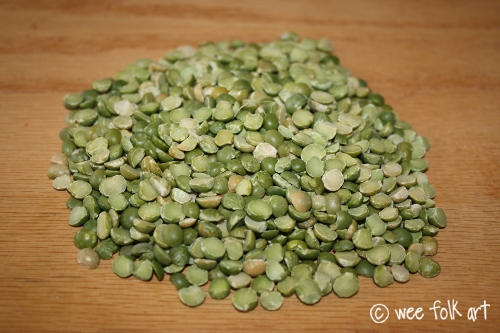
Beans, fish gravel or large grained sand for weighting the bottom
Pattern
Note: My felt was from Wool Felt Central. I used the following colors:
Haybale (TOY2617) for the front, back, ears and base
Driftwood (WCF2619) for the muzzle, chest and tail
Antique White (WCF1102) for the eyes
Blushing Bride (WCF0942) for the inner ears and nose
IMPORTANT: If you haven’t done so already, read our tutorial on cutting out felt found HERE.
Directions: (All seams are 1/4″ unless otherwise noted.)
Download pattern and make copies.
Cut out pattern pieces as follows:
1 front and back
4 ears
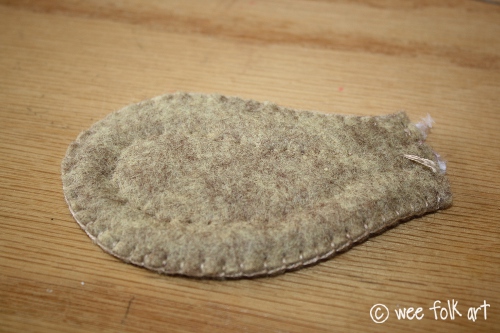
1 base
1 muzzle
1 chest
1 tail
2 eyes
2 inner ears
1 nose
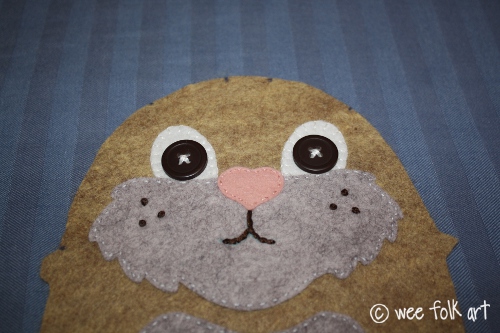
Using the pattern as a guide, pin or staple pieces on the front and back of bunny. Note: the eyes will be tucked under the muzzle as shown on the pattern.

Applique in the following manner:
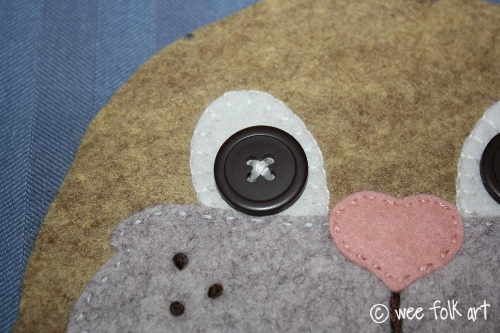
Using a blanket stitch and 3 strands of floss, sew on eyes.
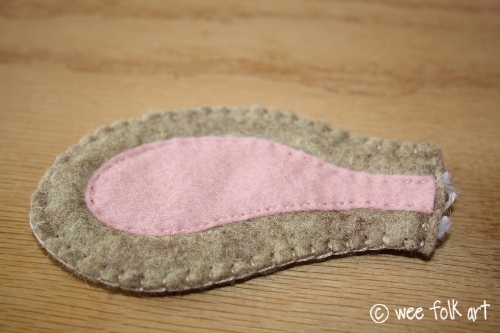
Using a running stitch and 2 strands of floss, sew on muzzle, chest and tail.
Using a running stitch and 2 strands of floss, sew on nose.
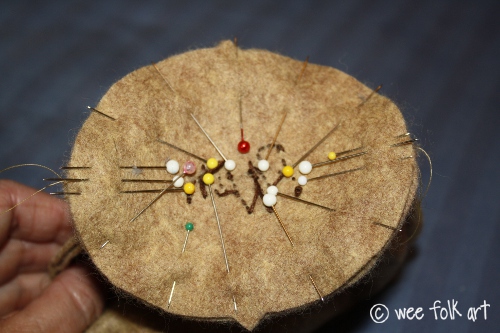
Embroider the face in the following manner:
Transfer facial detail to muzzle.
Using a stem stitch and 6 strands of floss, embroider mouth.
Using French knots and 6 strands of floss, embroider whisker spots.
Sew on eyes using 6 strands of floss, crisscrossing through the 4 holes.
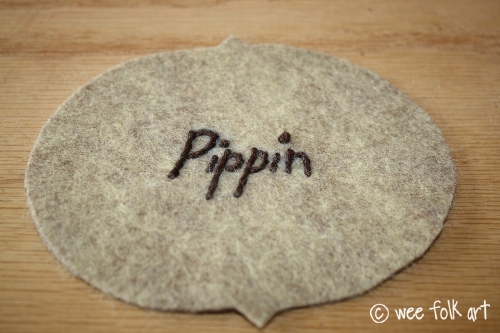
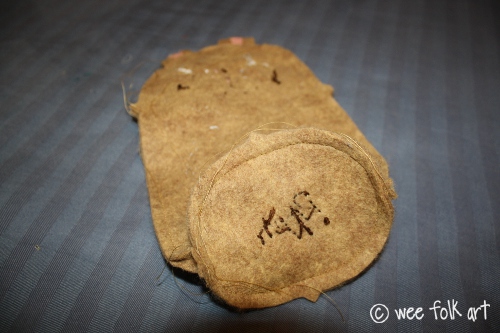
Optional: If you would like to, embroider the bunny’s name on the bottom using a stem stitch and 6 strands of floss.
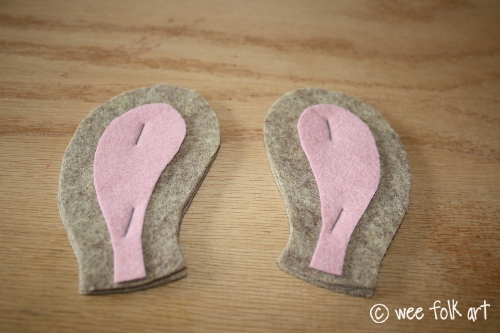
To make the ears begin by laying an inner on top of 2 layers of ears. Using a running stitch and 2 strands of floss, sew the inner ear to the ear going through all 3 layers.
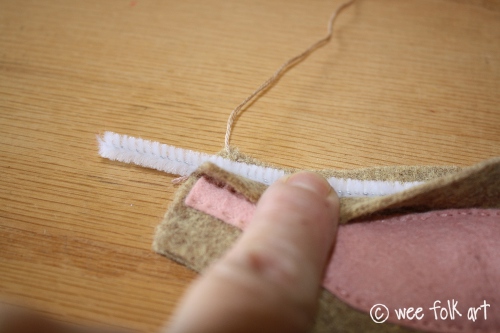
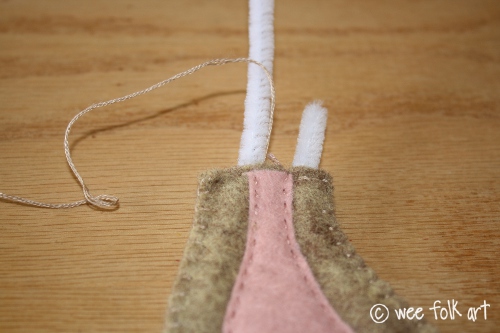
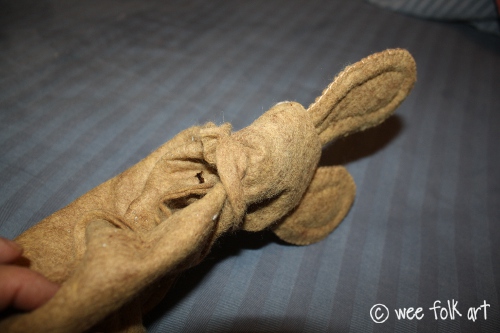
Take a pipe cleaner and lay it between the 2 layers of ears between the running stitch and the edge. Allow the pipe cleaner to overhang by about 1”.
Using a blanket stitch and 3 strands of floss, sew the 2 outer edges of the ears together, trapping the pipe cleaner as you sew around the ear. Gently bend the pipe cleaner around the top of the ear.
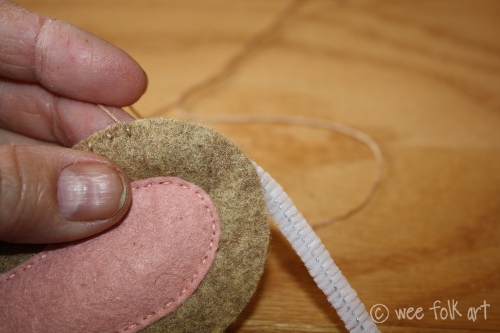
Clip off the extending pipe cleaner so it is even with the edge of the ear.
Do the same for the other ear making it in the mirror image of the first ear.
Mark the unfinished edge of the ears ½” from edge.
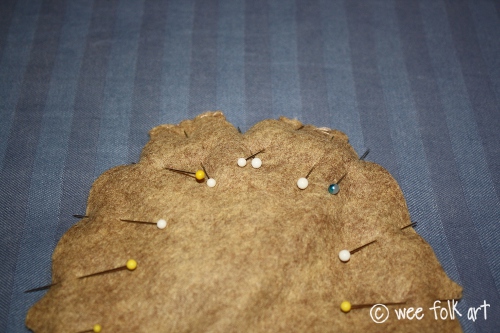
Position the ears on the front of the bunny, with right sides together, following the markings on the pattern, allowing the ears to overlap the ½”. Pin in place.

With right sides together, stitch front to back leaving a 2 1/2” opening as indicated on the pattern. (This opening will be used to turn bunny right side out after the bottom has been added.) Make sure to backstitch at the beginning and end stitchling lines seams do not unravel during the turning process. (This step can be done be by hand or with a sewing machine. If sewing by hand make sure to use very small stitches.) Note: Be careful when sewing over the ears, since there are pipe cleaners in them. If you go very slowly, you shouldn’t break your needle.
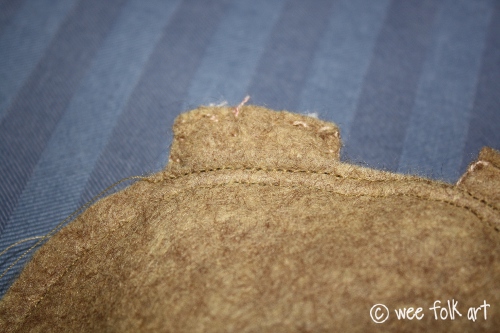
To reinforce the ears and to help them stand up straight, sew a second stitching line between the seam and the edge where the ears are attached.
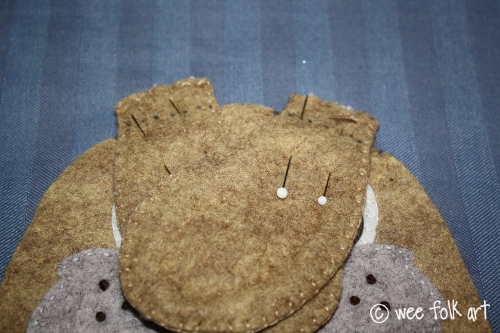
With right sides together, pin bottom in place matching side seams and notches. Sew in place.
Turn bunny right side out.
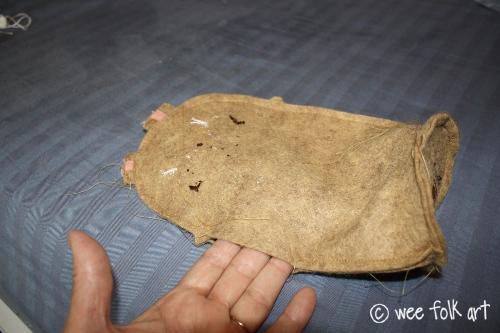

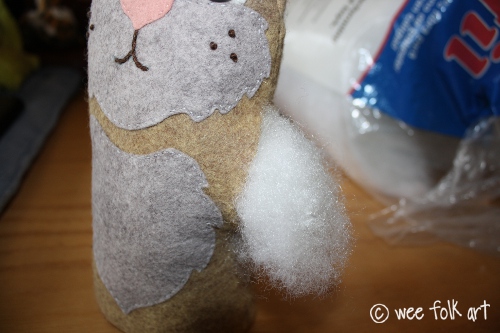
Using beans, gravel or sand, fill the bottom of the bunny to the opening.
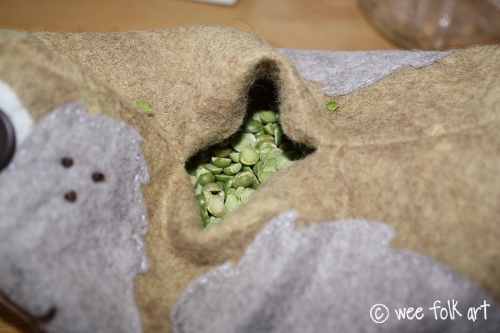

Fill the remainder of the bunny with wool or polyfil. Pack firmly without stressing seams.
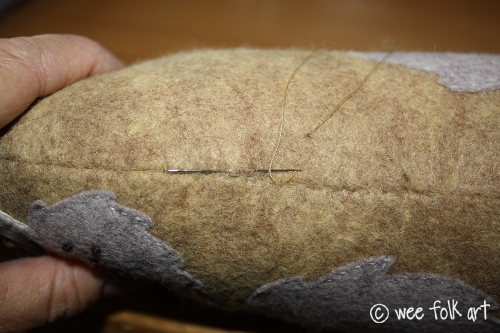
Using a blind stitch, sew up opening.


Copyright © Wee Folk Art 2008 – 2011. All rights reserved.


16 Comments
Sunshine Mama
Oh my gosh, he is just too cute for words! My kids are going to love this 🙂
I must say, I’ve been using lots of your patterns lately, to include some natural play in our home. I’ve made the wood peg flower fairies, the sleeping bags, the gnomes and such. They always turn out so well! Thank you for providing us with such great quality tutorials and patterns 🙂
Get well soon!
Stephanie xx
Mary B
This turned out so cute. Think I’ll make one in pastles for Easter and one in natural colors for woodland play!
Lori Everette
I love this new addition to your doorstops. We will be making one soon 🙂
Khristina
Thanks for the great tutorial. I have linked to you on my Freebies blog…hugs Khris
Debbie St.Germain
He is so adorable and wonderful instructions and photos.
I hope you mom feels better soon.
Debbie
CarlieH
How cute!!! Thanks for the tutorial. I love your designs.
twigandtoadstool
I think I might make one to watch over the goodies on Easter morning! So so sweet!!!
Thank you for all that you share!
xo maureen
Kim
the bunny doorstop is absolutely adorable, and i must now make one! thank you so much for taking the time to make a sweet pattern.
KJ@letsgoflyakite
Love this ! The colour combination is so really. Often we see bunnies in white, but I love the choice of haybale.
Anne Weaver
He is soooo cute!!! I linked to your pattern and tutorial over at Craft Gossip Sewing:
http://sewing.craftgossip.com/free-pattern-doorstop-bunny/2011/03/23/
–Anne
Guest
As a fan of all things bunneh, this little longear is soooo cute!
Jill
You are so amazingly talented! Thanks for sharing your talents and providing inspiration!
www.redroofpatterns.com
I have been a long time fan of your site. Thank you so much for all of your wonderful patterns and inspiration!
Nancy Ward
Wanted you to know I posted a link to the Doorstop Bunny todayh on my blog.
Nancy Ward
PaperFriendly
http://www.nancywardcrafts.com
Kimara
Thanks, Nancy. It is always the nicest compliment when someone shares our work with their readers. Loving making new friends 🙂
isabelle
Merci pour ce partage.
(thank you for the pattern)
Cordialement.
Bye. See you later.