
Hand Dipped Beeswax Candles
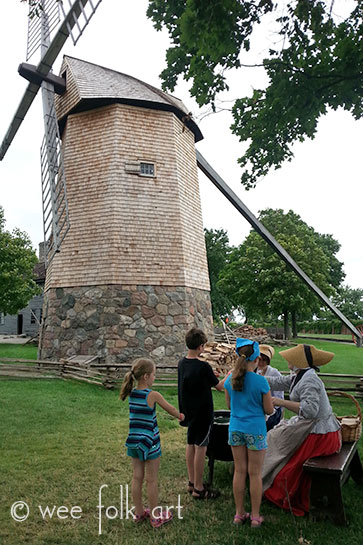
We spent a lovely day yesterday at one of our favorite places, Greenfield Village. The weather looked a bit iffy in the morning, following a series of bad storms the night before, which seemed to delay the crowds until later in the afternoon. For the first couple of hours we were able to meander through the village chatting with all of the period dressed workers. The highlight of the day for the kids was making hand dipped beeswax candles in colonial fashion.
Since I imagine we will be making these again at home sometime soon, I thought I would go over the process of how to make Hand Dipped Beeswax Candles.
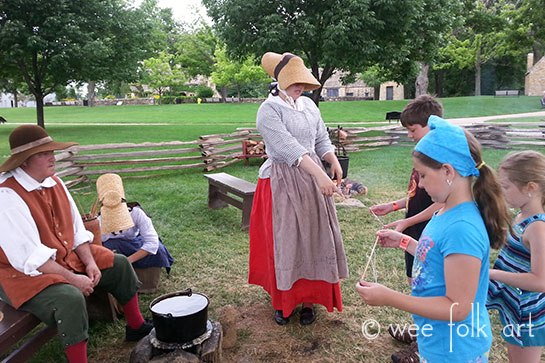
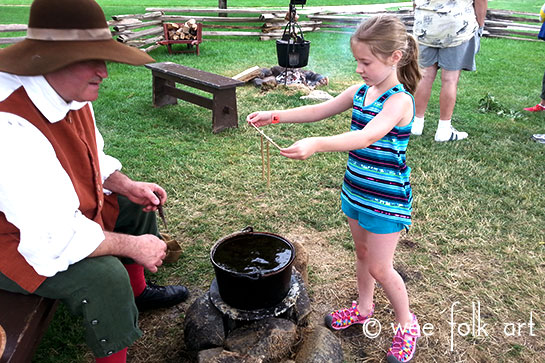
There was a large pot of melted beeswax sitting over hot coals and another pot filled with cool water. To start with each of the kids was handed a dowel rod that had two wicks attached. They prepped their wicks by letting the wicks hang down into the pot of melted wax for a minute.
Then they took their started candles over to the water and dipped them in the water until they cooled.
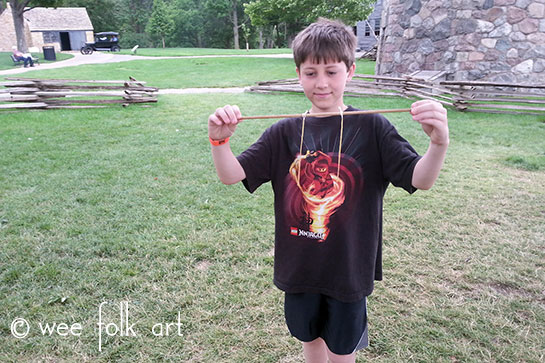
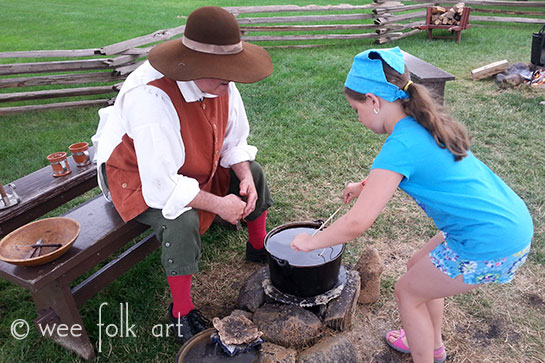
The helpers dried the candles with a tea towel and then sent the kids back to the wax. This time they dipped them fairly quickly so the wax on the wicks didn’t melt off. They held them above the pot to cool for a moment and then dipped them again. After the second coat they returned to the water pot to cool the wax.
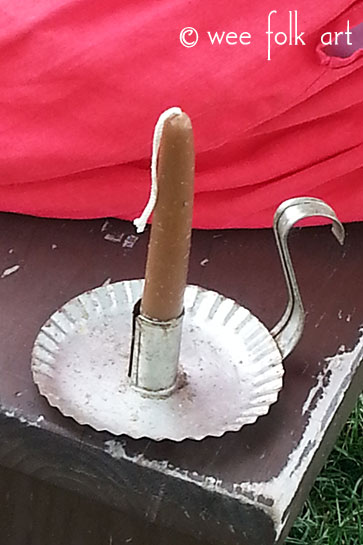
Occasionally one of the workers would trim off the bottom of their candles to help even out the bottoms. They continued alternating between the wax and water until their candles fit correctly into a candle holder.
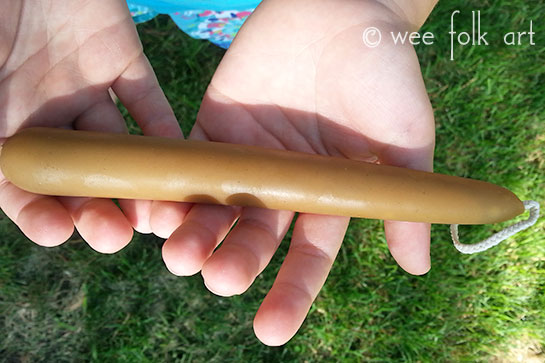
They each made a pair of beeswax tappers that are now “seasoning” in our freezer for a few weeks. This will help them burn slower when we go to use them. In the meantime, we will have to make special candle holders to display the kids’ Hand Dipped Beeswax Candles and since I have all the supplies on hand to make more… I think I will be making some of my own at home.


You May Also Like

Newbie Knitting | Slip Knot

Marta’s House
One Comment
Pingback: