
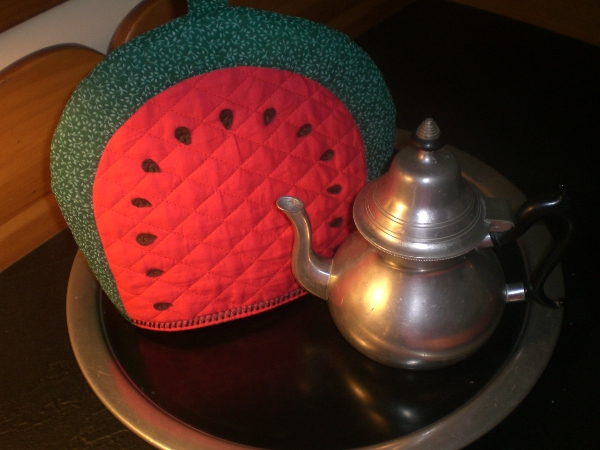
Watermelon Tea Cozy
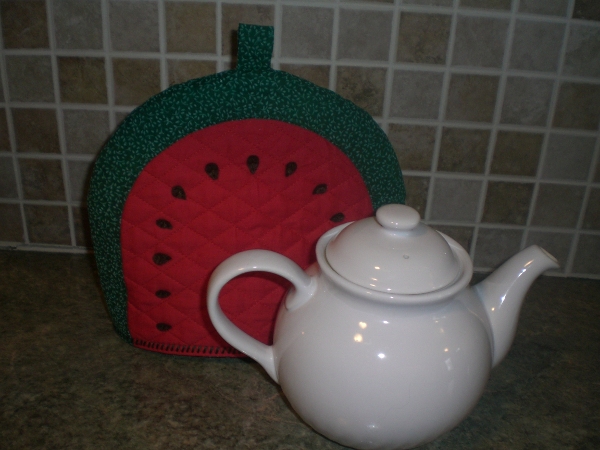
This tea cozy can be made in two sizes: small (11″ x 9″) and large (12 1/2″ x 10″)
Materials:
Materials are the same for the small and large tea cozy.
1/3 yard red prequilted material
1/3 yard green fabric
Wonder Under (optional)
Small piece brown or black felt
Embroidery floss to match felt
Green sewing thread
Copy of pattern:
Small Tea Cozy
Large Tea Cozy Page 1
Large Tea Cozy Page 2


1] Copy pattern.
2] Cut out pattern as follows:
Red prequilted fabric:
2 melon pieces for outside
Green fabric:
2 melon pieces for lining
2 rinds
1 rectangle 3” x 4” for tab
Wonder Under or other fusible mesh (optional)
2 rinds
Black or brown felt
13 seeds per side (approximately)
Note: Wonder Under is used if you wish to fuse the rind to the melon, then machine zigzag the edge. If you are not using a fusible mesh, you will be turning the inner edge under 1/4″ and slip stitching it in place.
Melon:
If using Wonder Under
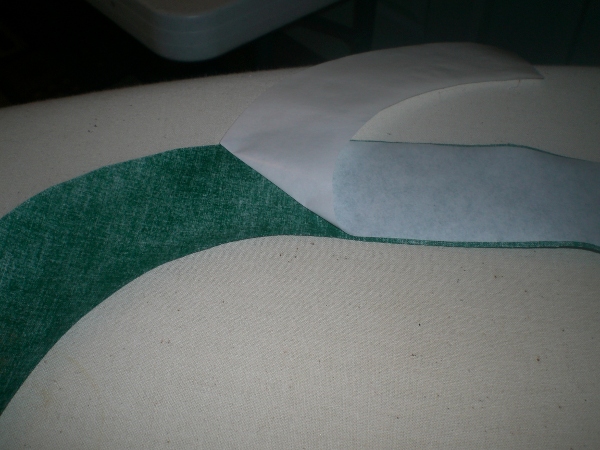
3] Fuse Wonder Under to wrong side of rinds.
4] Fuse rinds to front and back pieces of the melon.

5] Using a wide zigzag stitch, zigzag on the inside arch of the rind, close to the edge.


Optional: If not using Wonder Under (Not pictured since I did use Wonder Under)
6] Turn under the inside edge of the rind pieces 1/4”.
7] Position the rinds on the melon pieces and attach them using a slip stitch.
8] Fold the rectangular tab lengthwise with right sides together.
9] Using a 1/2″ seam, sew the length of the tab.

10] Trim seam to 1/4″, turn right side out, and iron so seam is in the middle of the back.

11] Fold tab in half so seam is on the inside. Pin to the top of the front section of melon, with the seam matching the top arch edge of the melon.

12] With right sides together pin the front and back melon pieces together. Sew the arch together using a 1/2″ seam.

13] Trim seam to 1/4″.

14] Turn right side out and finger press the arch.
Lining:
15] With right sides together pin the front and back melon pieces together. Sew the arch together using a 1/2″ seam. Trim seam to 1/4″. Turn right side out and finger press the arch.

Attaching lining to melon:
16] With right sides together, pin lining to melon, matching side seams.

17] Using a 1/2″ seam, stitch lining to melon leaving a 3” opening for turning.

Finishing:
18] Turn melon right side out.

19] Push lining into melon and slip stitch closed the 3″ opening.

20] Using a straight or decorative stitch, top stitch the bottom 1/4″ from the edge.

21] Making sure the lining is lying smoothly, pin on seeds in any pattern you want, going through the seed, melon, and lining. (This will hold the lining in place.) I placed my seeds 1” away from the inner arch. (See pic)

22] Attach seeds with 3 strands of floss with a small running stitch or by making a “t” on the seed. (Sew one straight stitch from the point of the seed to the back, then one straight stitch widthwise across the seed, making a “t”.) Sew seeds on both sides to hold lining in place.


https://www.weefolkart.com
Copyright © Wee Folk Art 2008 – 2009. All rights reserved.
All photos, text and patterns are copyright protected. You may not copy, reproduce or redistribute any material found on WeeFolkArt.com without written permission. Wee Folk Art retains all rights. All projects, patterns and directions are meant for your personal use and neither the patterns nor completed projects may be used for personal gain.

One Comment
Guest
Thank you for letting me use your free pattern…