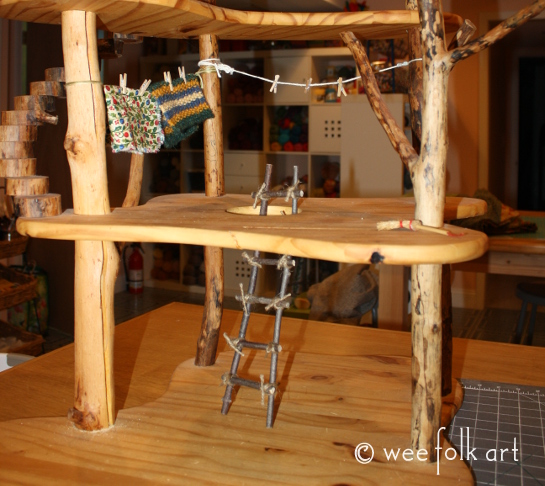
Gnome Home :: Building a Ladder
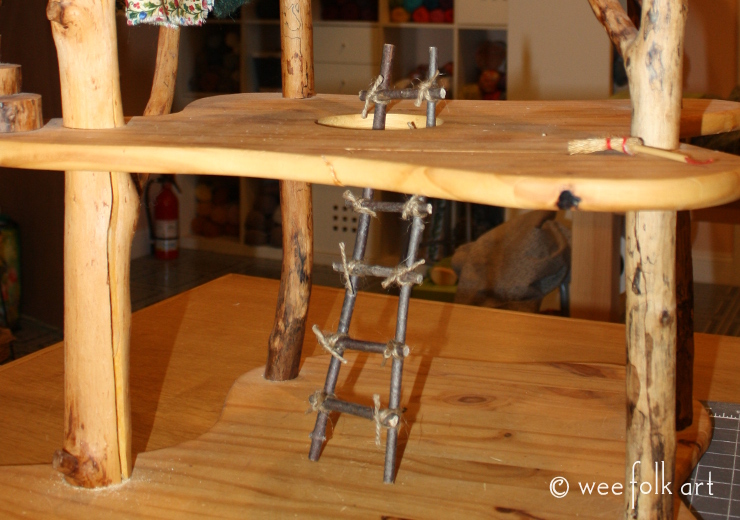
Now that you’ve learned how to build a gnome home, don’t forget about getting your wee ones from one level to another. If you would like to add a set of stairs to your gnome home, you can find a tutorial for making them HERE, but for nimble gnomes a ladder works just as well. All you will need for this project is some wood or craft glue, twine and a handful of sticks. Then up, up and away go your gnomes!
You can find tutorials for how to build a gnome home here:
GNOME HOME :: PART 1 :: GETTING STARTED
GNOME HOME :: PART 2 :: CUTTING OUT PIECES
GNOME HOME :: PART 3 :: ASSEMBLING
Materials:
- twigs
- wood glue or crafting glue
- twine
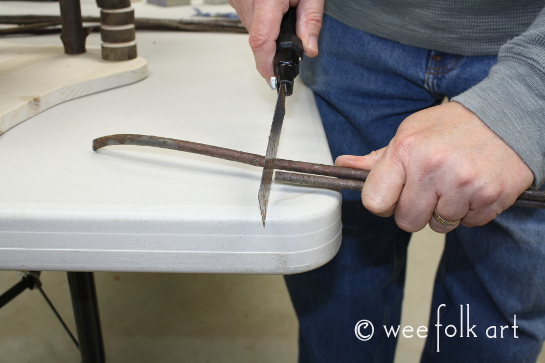
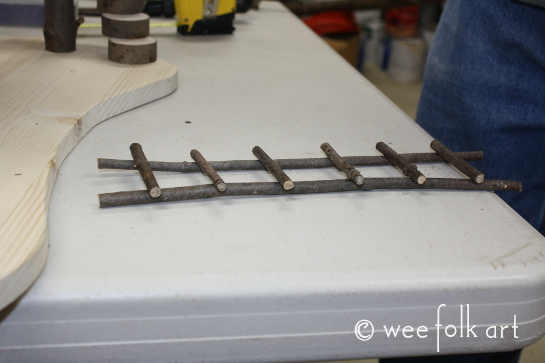
Begin by collecting or cutting fresh twigs. If you are collecting them off the ground make sure they haven’t started decaying. You would hate for a rung of the ladder to break when your gnomes are climbing it! Collect relatively straight pieces that have approximately a 1/4″ diameter. Cut the first side rail about 2 – 3″ longer than the distance from 1 floor to the top of the next floor. We cut ours 12″ long.

Cut the second side rail the same size.
Cut your rungs. We cut 6 rungs 2 3/4″ long.
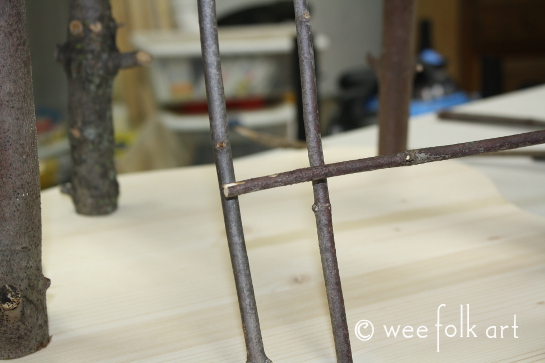
Lay your side rails on a table so there is a distance of 2″ from the outside of the side rails. Lay your rungs on the side rails, overlapping the rails and equal distance apart. Our rungs are space approximately 1 3/4″ from the center of one rung to the center of the next. By laying it out this way you can decide if you need more rungs.
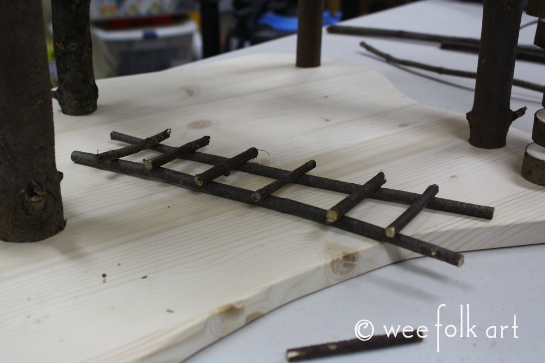
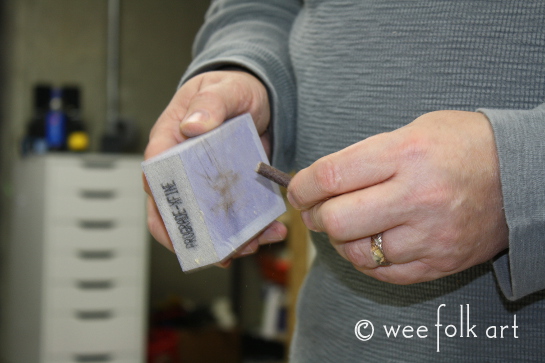
When you are satisfied with the looks of your ladder, lightly sand of ends of the rungs and side rails.
Lay out the ladder on a surface where you will be gluing.
Using wood glue or crafting glue, lift one rung at a time and apply a dot of glue to each side rail.
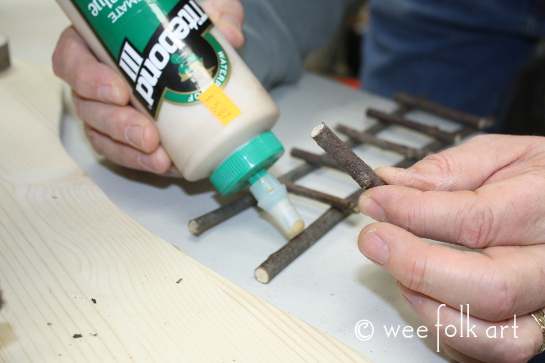
Center the rung on the side rails and press into the glue. Continue lifting the rungs and gluing them into place.

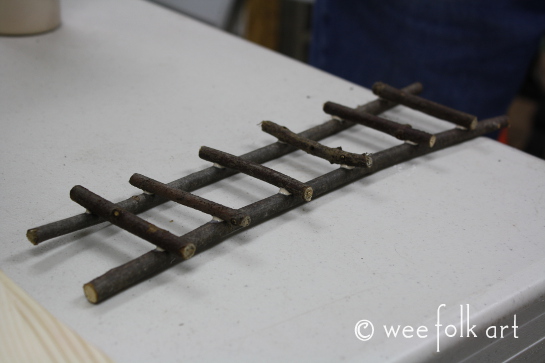
Allow the glue to dry completely.
Cut pieces of twine about 8″ long.
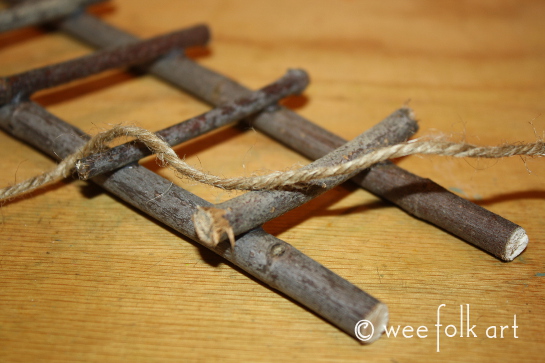
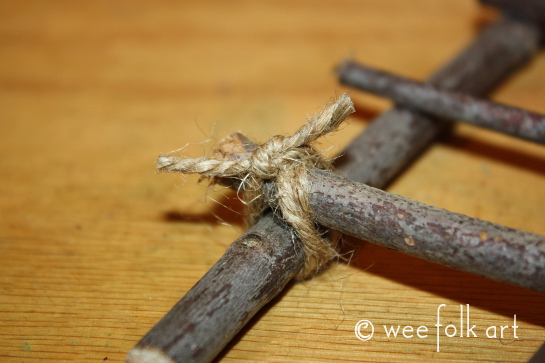
Tie the rungs to the side rails. Start by placing the twine behind the ladder on a diagonal so one end of the twine is above the rung on the outside of the rail and the other end is below the run on the inside of the rail.
Cross the two ends over each other and hold on the backside of the ladder.
Crisscross the twine on the backside of the ladder and bring both ends to the front of the ladder. One end should be on the inside of the side rail and above the rung and the other piece on the outside of the side rail and on the bottom of the rung.

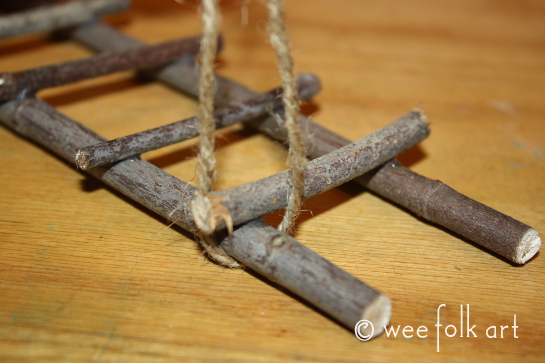
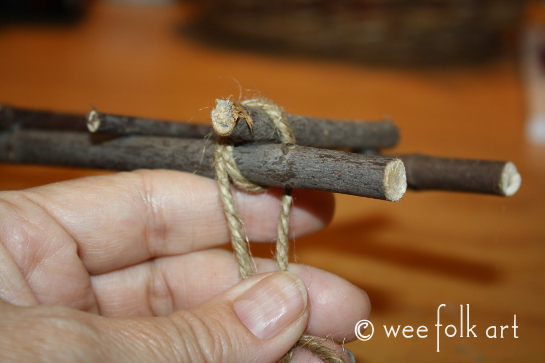
Using a square knot (right over left, left over right) tightly tie the twine together.
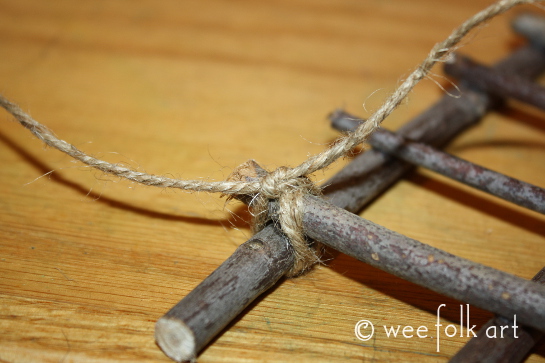
Leaving 1/2″ tails, cut off the extra twine. Continue tying on each side of the rungs to each side rails.
Your ladder is now ready for your gnomes to use.