
Homemade Beeswax Wood Finish Recipe
To protect your all natural wooden toys, you will want to use a nontoxic, natural wood finish. We like to use our homemade beeswax wood finish. It include olive oil or jojoba oil that will condition the wood, while the beeswax provides a protective coating.
By applying oil to the wood, it will seep down into the wood bringing moisture to its fibers. Then, after the oil has seeped into the wood, you apply a wax layer to the outside which helps prevent, or rather slow down, the loss of moisture from the wood. (Below I will share a recipe that combines these 2 steps.) There are a couple of possible disadvantageous to this process. First, it usually darkens the wood, as the oil seeps in. I personally think this creates richer tones, but it is a matter of taste. Also, you will need to re-wax the wood occasionally. This finish is not as tough as a varnish, and the wood can begin to dry out. At that time you will need to repeat the process. But I think that is a small price to pay for the rich patina of this type of finish, and the most obvious advantage… it is entirely non toxic and safe for even the youngest child!
Homemade Beeswax Wood Finish Recipe Ingredients
(I use a 4:1 ratio of olive oil to beeswax)
- 4 ounces olive or jojoba oil
- 1 ounce beeswax shavings
- microwave safe bowl or measuring cup (pyrex)
Homemade Beeswax Wood Finish Directions
I purchase my olive oil locally, but I order my beeswax from EBeeHoney.
NOTE: You can use Olive Oil or Jojoba oil. Both are natural. I used to use olive oil. The advantage is it is cheaper and readily available. The disadvantage is it can become rancid over time causing the finish to have a “stale” smell. I usually use jojoba oil now.
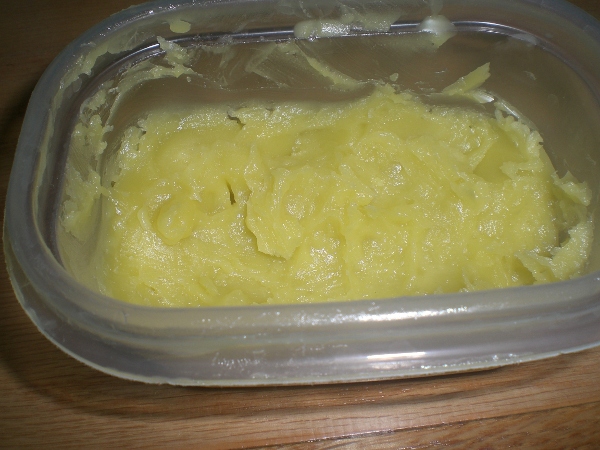
Pour 4 ounces of olive oil into a 2 cup Pyrex measuring cup. Add enough shaved beeswax to reach the 5 ounce mark on the measuring cup. (You’ll be adding 1 ounce of beeswax to the oil. This is just a quick and easy way to measure the beeswax.) An easy way to make shavings is to freeze the solid beeswax then use a food grater.
Melt the mixture in the microwave for 1 1/2 – 3 minutes, until the wax is melted. Obviously, be careful because the oil is very hot.

The hot oil can be applied to the wood while it is in liquid form using a brush. Or, you can wait until the oil has cooled and becomes a firm paste, similar to Turtle Wax. I prefer to wait until it has cooled. Now, there is no chance of burning yourself, so a must if the children are helping you. Plus it’s the only craft I do that is actually good for my hands. I forgo a cloth, and apply the paste directly to the wood using my hands! The beeswax and olive oil are like a manicure treatment at the finest salons!
To store the olive oil and beeswax finish, place in an airtight contain and store away from direct sunlight. When you are ready to reuse, simple slather it on the wood as a paste, or if you prefer working with it in the liquid form, heat it in the micro wax just until it is melted.
Apply the homemade Beeswax Wood Finish to your wooden toys by either painting the liquid on, making sure to cover all surfaces, or if using a paste, use your hands or a rag to scoop the paste out of the container and work it into the wood.
Apply the oil or paste liberally, making sure you have total coverage. Apply enough so you leave a film similar to applying lip gloss.
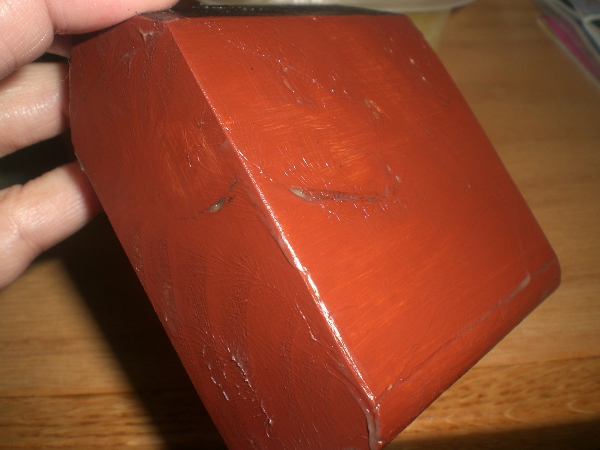
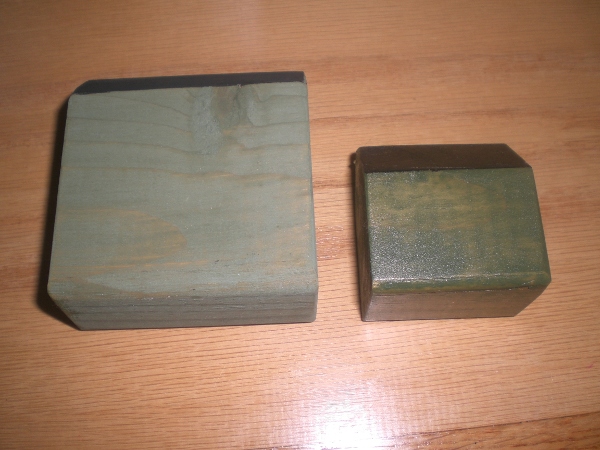
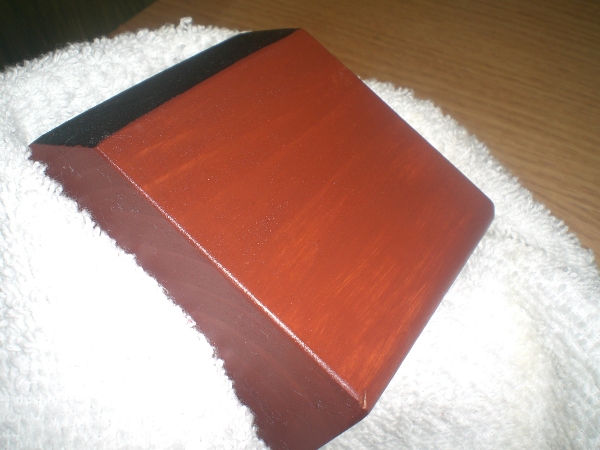
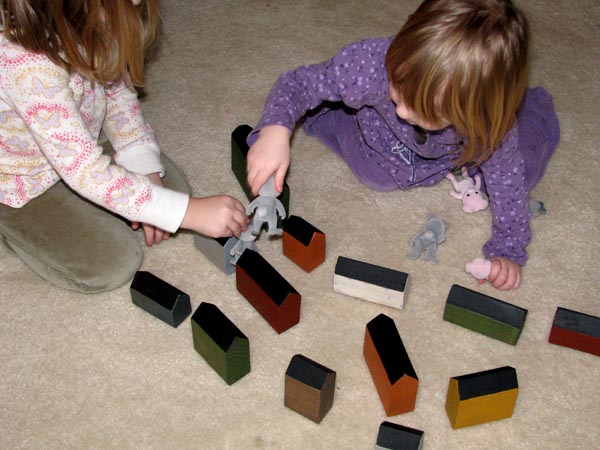
Let the finish sit on the wood 1 – 2 hours. Use rags to wipe off the excess finish then buff with a clean rag. Wait a day or two and check the wood. If it seems dry to you, you can repeat the above steps one or two more times, waiting a day between each process. The wood should have a nice smooth feel without being greasy. Make sure the wax coating is worked into the wood. You should not leave behind fingerprints. The blocks are now ready to be played with.
Occasionally, you will need to re-polish the blocks with your homemade beeswax wood finish. But remember, when they are played with, the oil from hands helps to keep them supple! So just check them regularly for drying, and re-polish as necessary following the steps above.
Note: The rags can be washed and reused. Because they will have oil and wax on them, I like to use very hot water plus a teaspoon of Lystoil in the washing machine, plus your normal detergent. The oil in the Lystoil helps break down the oil in the rags. I then run a cycle without anything in the washer to help remove any oil or wax residue. I follow by washing a load of towels before I wash our clothes. Probably overkill but safe!


19 Comments
Robyn
Can this finish be used as a furniture polish? Just wondering.
Kimara
You would not use this paste for everyday purposes. You would wind up with a waxy build up. Now, if you had an unfinished piece of wood or a table that’s original finish has been worn off, then this would be great for using for a periodic reconditioning. For everyday purposes I would suggest:
1/2 cup lemon juice mixed with 1 cup olive oil
-or-
1/2 cup vinegar mixed with 1 1/2 cups olive oil
I prefer the smell of the lemon juice but the vinegar mixture works equally well and is cheaper to make. Apply small amount to the wood and rub it in well.
Jenni
I’m wondering why you need to add the olive oil. Why can’t you just use the beeswax?
I absolutely love your blocks and it inspired me to make my own. What’s the best way to sand them?
Thanks!
Kimara
The beeswax more or less sits on the surface…sealing the wood. The oils seep down into the wood and slows down the natural drying out process of the wood. In all of my research I’ve always read about the 2 steps… oil… wax. I can’t say for a fact that the beeswax alone wouldn’t be enough, but I’ve have so much success with the combo, that it’s the only thing I can recommend.
As far as sanding goes, it really depends on what equipment you have available to you. DH has a wonderful workshop, so we have many power tools. He used a belt sander which makes the sanding very fast, however, you can sand them by hand if you don’t have the power tools. I suggest you get at least a block sander, which like its name implies, is a block that sandpaper attaches to, and you slide it back and forth over the wood. But the great thing is these are rather primitive. Perfect is not necessary, or even desireable! Sand enough to get rid of all rough and pointy edges.
Glad we inspired you! Make sure to include pics of your finished blocks on our Wee Folk Art Flickr Club!
fussball deutschland
Gute Arbeit hier! Gute Inhalte.
Kimara
lieben
Interessante Informationen.
Erich
Hi there can I use the beeswax on my bass guitar. It has a bare wood finish (onvangkol wood).
Kimara
I would highly suggest you ask someone that works with guitars. I’m thinking it would be wonderful, but I don’t know whether or not it would somehow change the tonal qualities of the wood. If you normally wax or oil your guitar, this wouldn’t be different and beeswax is wonderful… soothing to the touch, and I think it has a wonderful smell. But, until truly worked in, beeswax can feel a little sticky… not sure if this would impact sliding on the neck??? So… final answer… not sure!
Erin @ Wild Whispers
This is just what I was looking for to help me cover water color stain on my Waldorf wooden stackers for my daughter for Christmas! I am so grateful for your help with this tutorial! I wish you all the best of the holiday season!
Kacie
Will this prevent colors from coming off the wood? I’ve dyed some wooden beads using food coloring for (what I hope will be) a teething necklace that my infant can chew on. I’m looking for something safe to seal the wood that will also keep the color from bleeding off every time she puts it in her mouth. Any experience with this?
Jane
I have butcher block counter tops that I currently use mineral oil to condition every month… Could I use a mineral oil/beeswax combo to better seal the counters? Hoping to use something that won’t require reapplication as often. Thank you!
Kimara
It’s been my experience, if you use your butcher block counter as often as I do, you will still need to condition frequently. Knives and acid will still break down the beeswax. Even using food grade varnishes will require maintenance. Unfortunately, they simply require lots of loving attention to keep them looking good and to keep them free of bacteria.
Pingback:
Pingback:
con
Will this, the wax, prevent colors from coming off the wood?
Kimara
If there is an access of color that wipes of with a rag before you apply beeswax, the color can transfer for to the wax and still come off. It doesn’t seal the wood and paint like a lacquer or polyurethane finish. However, once you remove the access paint, the wax will keep the colors intense and stops them from fading. I have used this with acrylic, soy, and milk paint without the color coming off. I’ve also used it with water colors. The wax worked beautiful on all of them 🙂
~Kimara~
Pingback:
Pingback: