

Paperclay Gnomes, Of Course!

When I was working on the Paperclay Leaves last week, I was absent-mindedly rolling some of the cut-away clay in my hands. Before I knew it, the blob was shaped into a peg form. Well, it took me about 3 seconds to decide to make some gnomes. What a shocker, right?
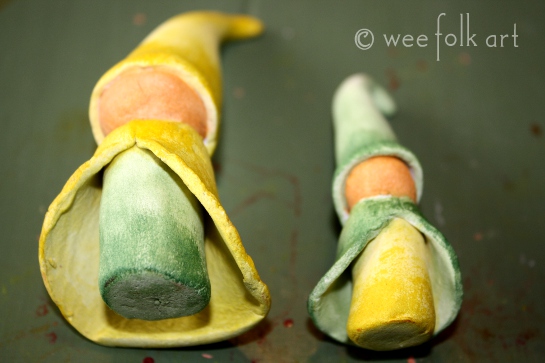
Anyway… I ran a copy of Wee Folk Art’s Waldorf Style Gnomes, both the adult and the child patterns, pulled a couple wooden pegs out for sizing, and before I knew it, I had me a gaggle of gnomes. Well, actually, I had 2 gnomes with plans to create a gaggle 🙂
So, here are the directions to make your own Paperclay Gnomes. Note: I would not consider these to be children’s toys. Although all the materials are non-toxic and child safe, they will break if played with in an exuberant manner… and I ask you… what child DOES NOT play exuberantly? BTW: You can use other clays to make this project, too.
It took a couple ounces of paperclay for each gnome.
Materials:
- paperclay
- water colors
- sealer Liquitex Gloss Medium and Varnish from Dick Blick
- copies of Waldorf Style Adult Gnome and Child Gnome patterns
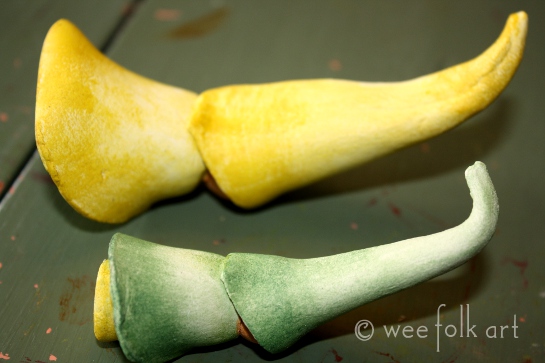
To Shape:
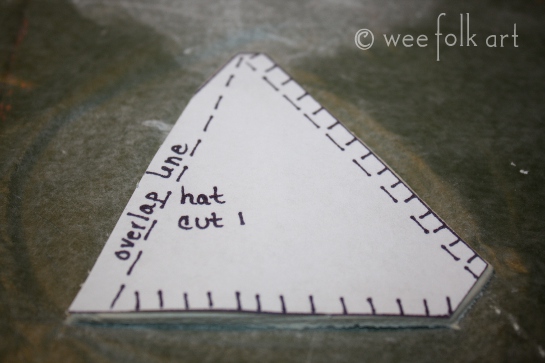
Make copies of the adult gnome and child gnome. Cut out the hat and cloak for each gnome. When cutting out the hat, cut the hat so you leave only a 1/4″ beyond the overlap line. You will not need the body wrap.
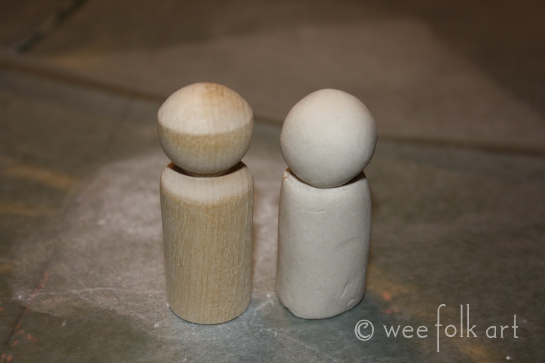
If you have wooden pegs, you can use them as models. If not, you can use the illustrations on pattern pages for sizing. Roll out a body and a head.

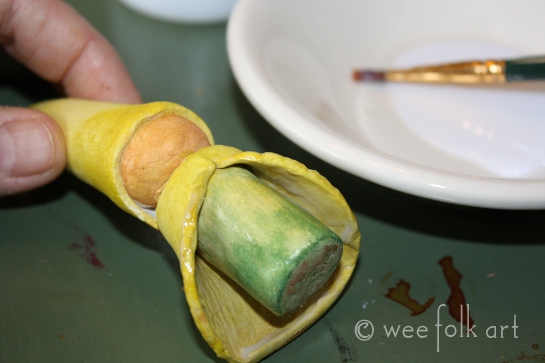
Break a toothpick in half. Rub water on the top of the tube where the head will rest. Insert the half of a toothpick half way down into the center of the tube top.

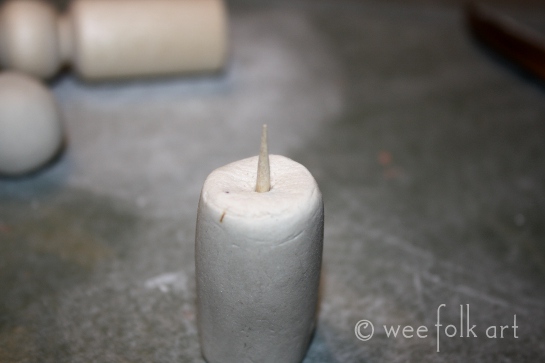
Place the head on top, pushing gently and turning slightly back and forth to help the two surfaces of the clay to bind. Stand the gnome up, making sure the bottom is flat so the gnome is not leaning. Note: both of my gnomes lean a bit and that is fine! Just make sure it stands without falling.
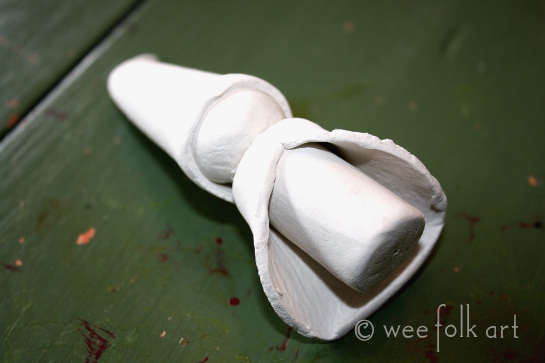
Pat a piece of clay in your hand and roll like a pie crust. Lay the cloak pattern piece on the clay, and cut around the edge with a sharp knife.
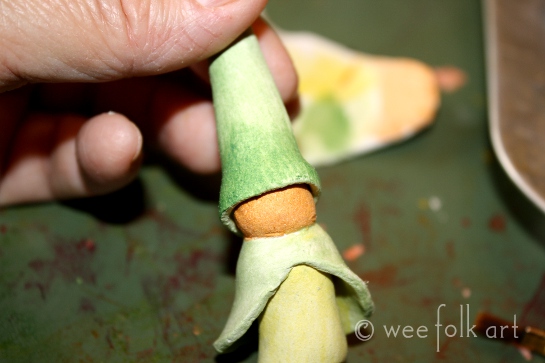
Put the cloak on the gnome, overlapping the neck a bit. Put water on your finger and smooth the front making sure the cloak has stuck to itself and the gnome.

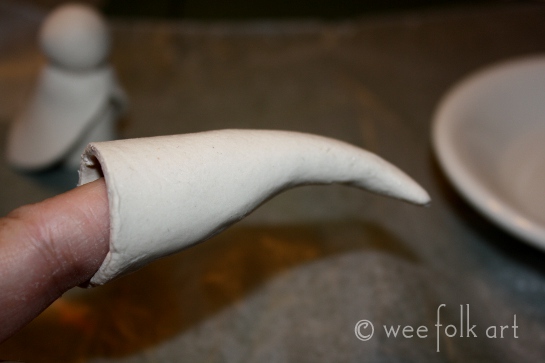
Cut the hat out of clay in the same manner. You will need to cut away a little bit of the 1/4″ overlap near the top or you won’t be able to fold the hat near the point.
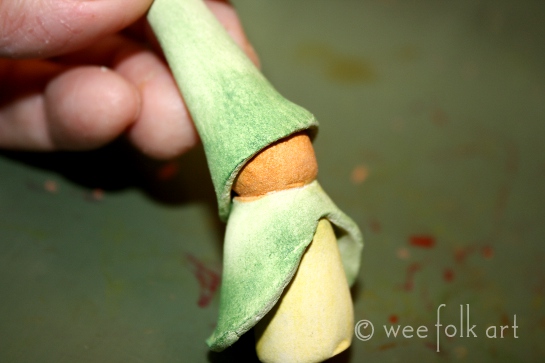
Run a wet finger along the 1/4″ overlap. Wrap the clay forming the hat. Smooth the seam inside and out. You can give a jaunty bend to hat if you’d like.

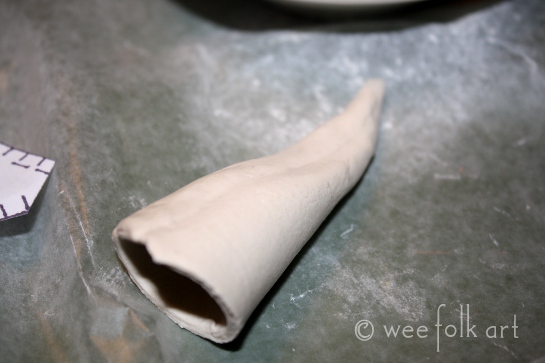
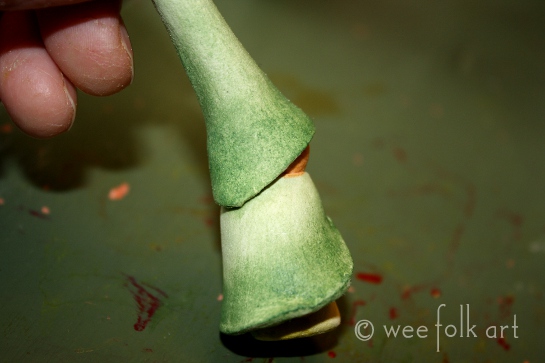
Run a wet finger in the inside rim of the hat and position on the gnome’s head. Push gently along the rim to make sure it is secure.

Let the gnomes dry thoroughly. It took 3 days for mine. When dried, you can leave white and seal, or paint.
To Paint:
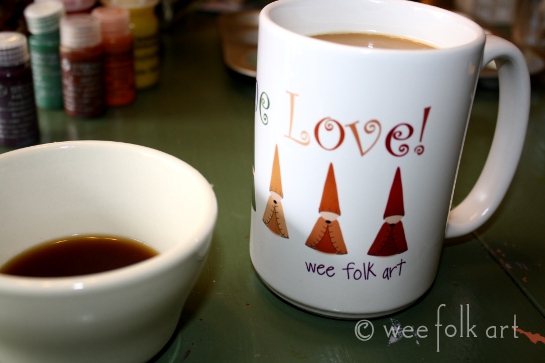
To begin with, I collected all the supplies I would be needing. Although you can use any paint on these, I wanted a translucent quality to the colors, so I used my Stockmar Watercolor Paints.

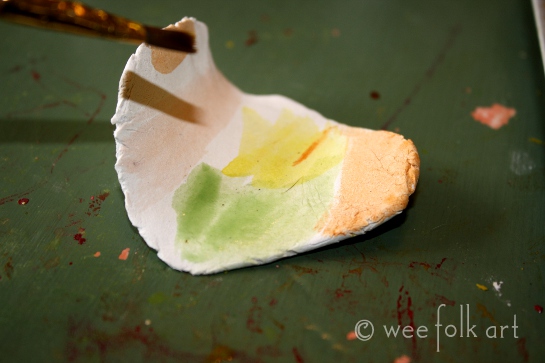
BTW… It is a good idea when working with the clay, to make a flat cookie that you can try paint colors on. Make sure you let it dry completely.
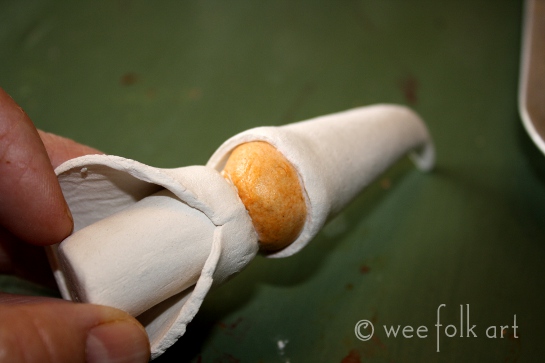
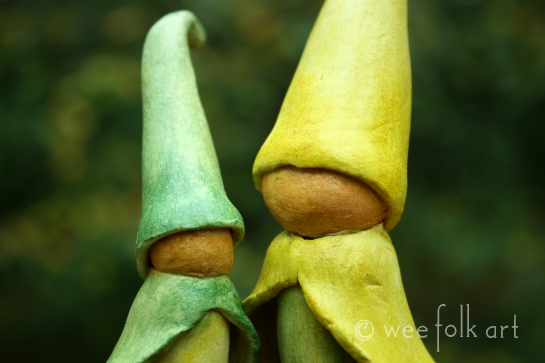
I began by painting the face.
Then I painted the hat and coat the same color, including the inside of the cloak. Like the leaves, I started with watered down color, and added more intense color for shading. I then painted the body and accented in the same manner.
Finally, I made a strong coffee… some for me and some for the gnomies 🙂 I wanted to give the gnomes an aged looked so I brush coffee over the whole gnome.
When the gnome was dried, I seal it.
All done! You know you want to try this, right? Can’t you imagine them tucked hither and yon in your house? Enjoy!


Copyright © Wee Folk Art 2008 – 2011. All rights reserved.All photos, text and patterns are copyright protected. You may not copy, reproduce or redistribute any material found on WeeFolkArt.com without written permission. Wee Folk Art retains all rights.

11 Comments
Janis Newbert
Seriously, how do these ideas just pop into your head. These are adorable. We have clay at home and are going to give this a try later in the day. Thanks again for all your inspiration.
tina
These are so cute! I just came upon your site and just love these little guys. I think I will try to make them with playdoh with my daughter tomorrow. Then next will be to make them with clay or felt, soooo cute! 🙂
Kimara
Glad you found us 🙂 We have many gnomey things here. If you are looking for a pattern for a basic felt gnome, check out these little guys. Hope you and your daughter have fun! http://weefolkart.com/?q=node/187
CHERYL
Thanks for the inspiration! Now, I just need to retire to have all the time in the world to create. Love your designs.
Mamajess
Oh my goodness , They are so adorable. We are going to have so much fun making theses. I can’t wait.
~ joey ~
Unbelievably cute! You really come up with some amazing projects! I’m so glad that you blog! :o)
xoxo
~ joey ~
Anonany
These are absolutely delightful. I have to make a fairy-themed birthday cake next week and have been looking for some simple characters that can be made out of fondant icing. These — along with fondant versions of your equally cute felt flower gnomes — are exactly what I need ! Thank you for sharing your creativity and imagination.
Kimara
Every once in a while I spend the better part of a day going to back posts. I find things I forgot I made 🙂 I do hope you enjoy yourself. Looking forward to any questions or comments you might have.
((hugs))
~Kimara~
jnttosbrns01
I can see that you are an expert at your field important site Thank you for sharing.
Delia
As a conceivable consequence of your mesmerizing subject, stop smoking omaha , differing customers would be intrigued.
Pingback: