
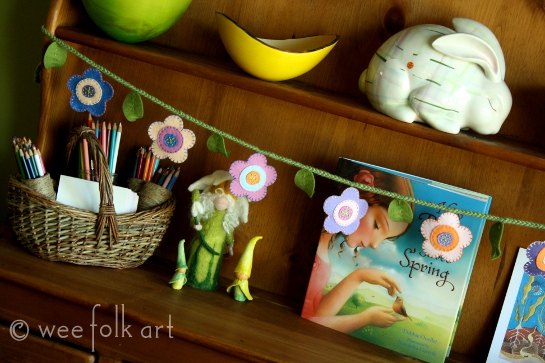
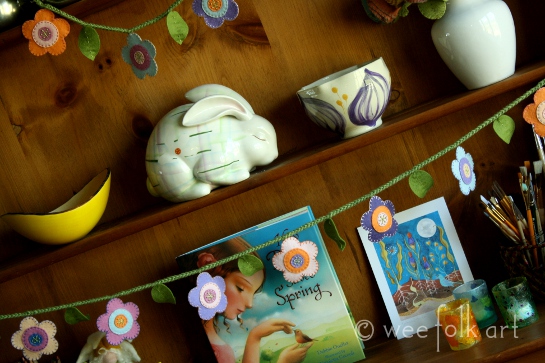
Spring Time Flower Garland
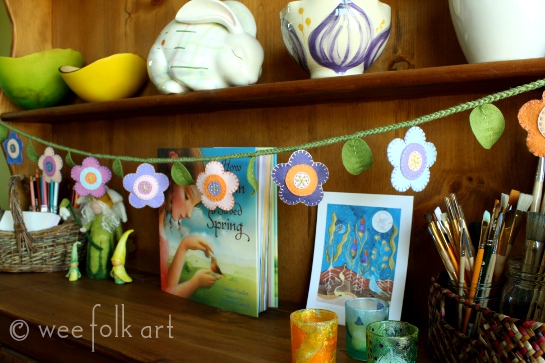
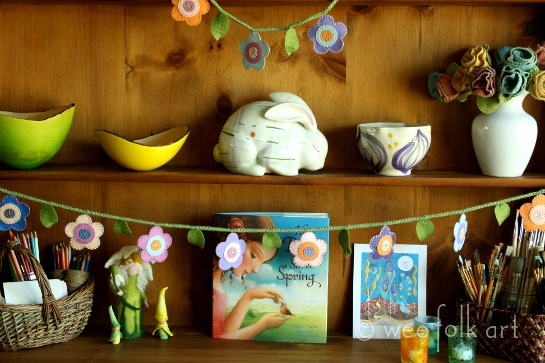
The daffodils in our yard are just poking their heads through the ground, but I was aching for some flowers, NOW, so I decided to make my own. You can make a garland or 2 or 3 for yourself, too. Hang your Spring Flower Garland up and you’ll feel like you stumbled upon an enchanted flower fairy garden. With a kiss of spring and a promise of warm summer days, bring the outdoors indoors with this lovely Spring Flower Garland.
To make your own you will need:
Materials:
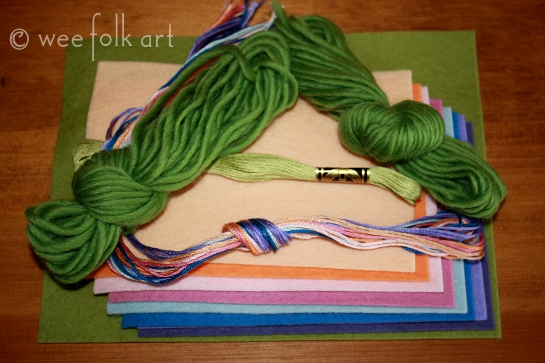
wool felt – 8 colors for flowers and green for leaves
embroidery floss to match the 9 felt colors
wool yarn
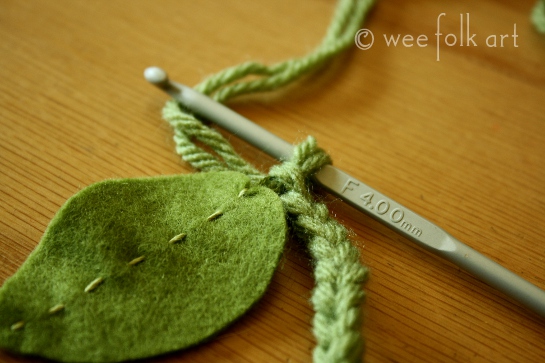
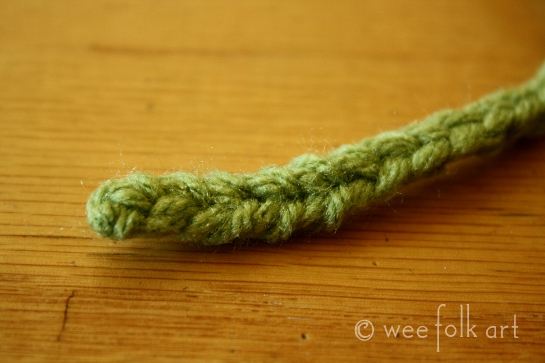
Size F or G crochet hook (it is small for the 2 strands of yarn you will be chaining, but I wanted the chain dense
embroidery needles
pattern
NOTE: If you want the front and back side finished, you will need to make a second set of flowers, but instead of blanket stitching around the outer edge of a single flower, you would blanket stitch the wrong side of 2 completed matching flowers together.
TIPS for cutting out felt can be found HERE.
ILLUSTRATIONS of stitches can be found HERE.
Directions:
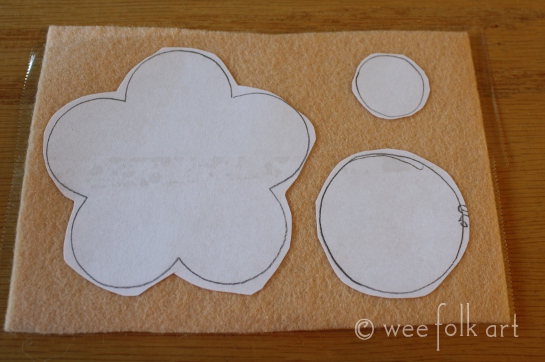
Make a copy of the pattern.
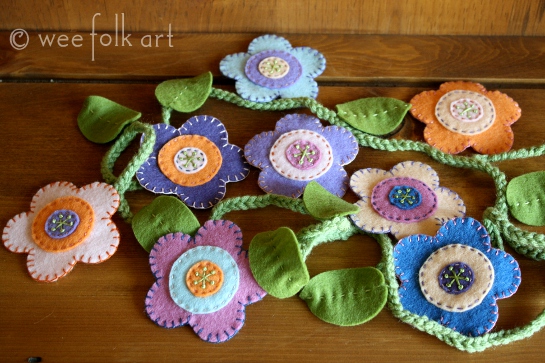
NOTE: In the first few photos there are only 6 flowers and 7 leaves. When I was done with my first garland, I decided I wanted it longer so I added a dark blue and dark purple plus 2 more leaves.
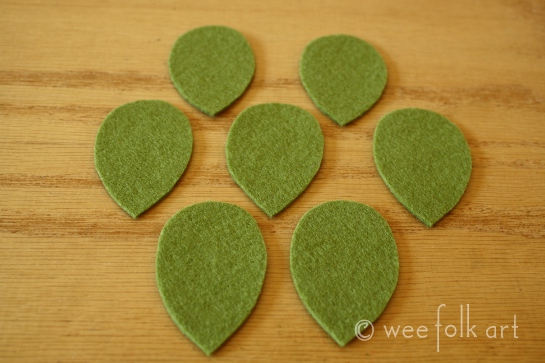
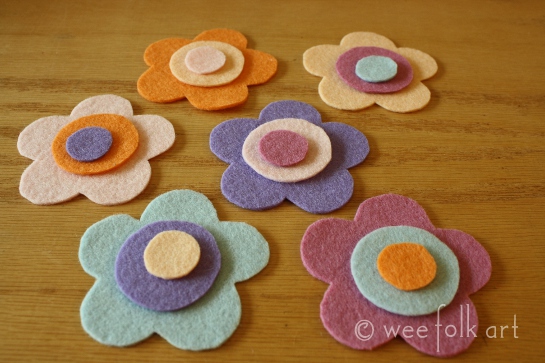
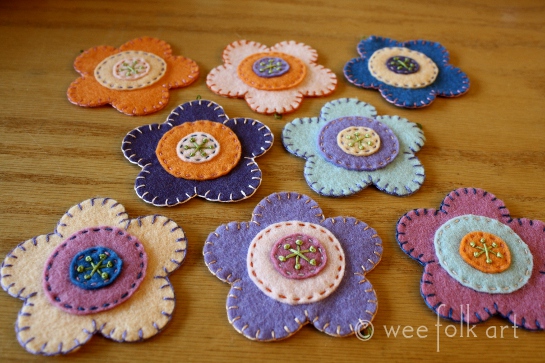
Using 8 different colors of felt, cut out a petal, large circle and center from each color. Cut out 9 leaves. The eight colors I used were light and dark: blue, purple, orange and pink.

Randomly mix and match the flower parts. The only rule… use 3 different colors for each flower.
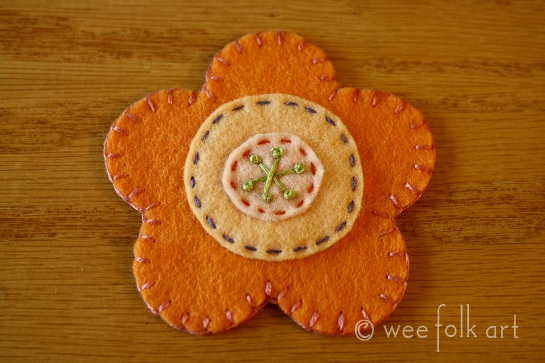
For each flower:
Using 3 strands of contrasting floss, blanket stitch the edge of the petals.
Using a running stitch and 3 strands of contrasting floss, sew the large circle to the petals.
Using a running stitch and 3 strands of contrasting floss, sew the small circle to the large circle.

Using a straight stitch and 6 strands of green floss, sew 3 lines creating a 6 point star.
Add a French knot to the end of each point on the star using 6 strands of green floss.
For each leaf:
Using a running stitch and 6 strands of green floss, sew a stem down the center of the leaf. Slightly gather and tie off.

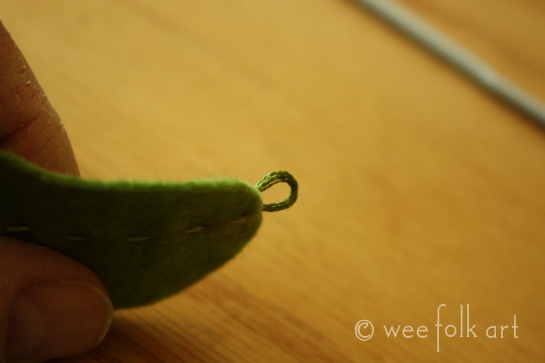
For each flower and leaf:
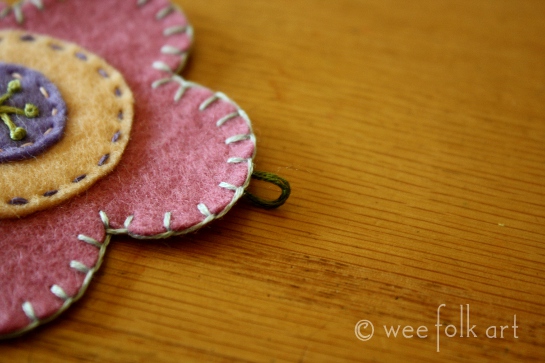
Add a small loop to the top of each leaf and one flower petal using 3 strands of green floss. To control the size, I attached the floss to the wrong side of the leaf and flower. I then wrapped the floss around the base of my crochet hook for sizing, then tied it off. When adding the loop, you want it to be perpendicular to the leaf, so when you later add it to the crocheted vine, it lies flat and the right side faces forward.

Making the vine:
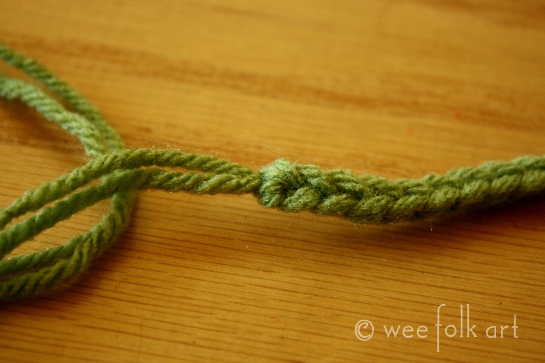
Using 2 strands of yarn, chain 40.
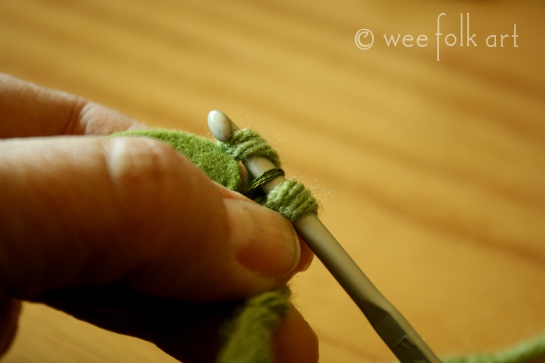
Slip a leaf on the hook with the right side up.
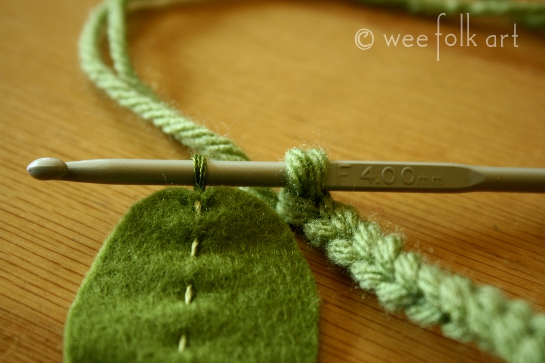
Chain 1 catching the leaf loop in the chain.
Chain 12, then add a flower in the same manner. NOTE: Do not count the chain you use to connect the leaves and flowers.
Continue until all 9 leaves and 8 flowers have been add.
Chain 40.
Pull through your last chain and work the ends at the beginning and end of the chain into the chain.
Ready to hang. Note: when you are hanging the garland, make sure the front of the chain is showing and don’t twist the chain. Make sure the front side of all the flowers and leaves are showing, then stand back, and smile at the pretty flower garland!
Copyright © Wee Folk Art 2008 – 2012. All rights reserved.
Patterns may be used for personal use only. If you are interested in obtaining a Cottage Industry License so you can sell items made from our patterns, information can be found HERE.

9 Comments
Sanna
It is so pretty. Even if I can’t find the time to make it myself, I love looking at your photos.
Camille
I agree. I love looking at your photos. Each one is pretty enough to frame. Love the garland. Think I might ask my Nona to make a couple for me. She’s always looking for projects.
Leigh Ann
I can’t crochet (I’m sure I could do something else for the chain), but I’d love to add the flowers to a bag!
Marissa
Just a lovely idea, thank you for sharing with us!
Makita
I only just discovered your blog today (thankfully, someone posted a link to this post on FB). I am so doing this!! My kiddos and I will have such fun! Thank you!
Lisa K
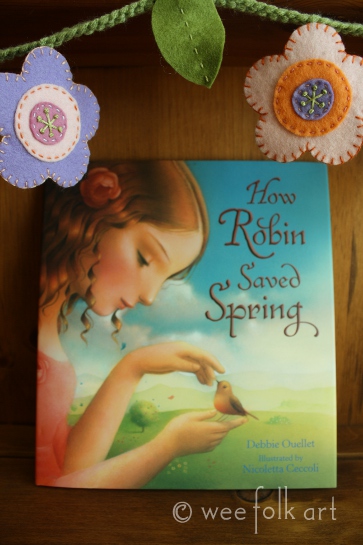
Very sweet flower garland! What is the book in the background? The illustration looks beautiful 🙂
Kimara
I agree, it is a lovely book. I did a book review on it the day after I featured the garland. I knew I'd have lots of people interested because the illustrations are so beautiful. Head over to our post and read all about it 🙂 https://weefolkart.com/content/how-robin-saved-spring-book-review
Lauren
I love this! It’s so cute…I have to make it for Spring! I thing it’s something I can handle! 🙂
I’d love for you to link up and share if you are pin friendly: http://tutusandteaparties.blogspot.com/2012/03/pinteresting-party-week-31.html
Pingback: