
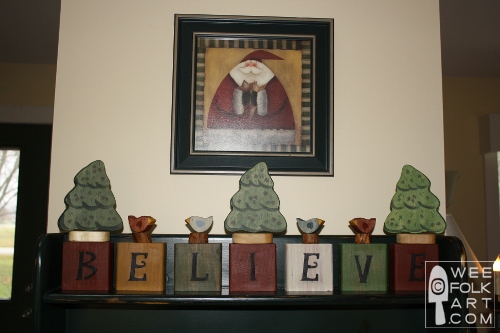
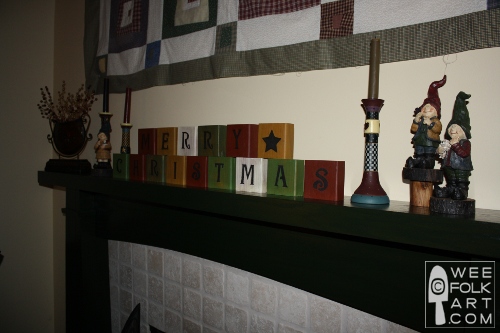
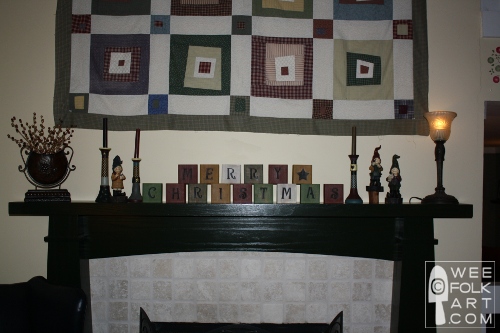
Wooden Christmas Blocks
NOTE: For more photos of Wooden Christmas Blocks, check HERE!
If you can cut a piece of 2×4, you can make this project. BTW… even if YOU can’t cut a 2×4, many lumber yards are willing to do it for you for a nominal fee. Use your imagination to share greetings and messages by simply stenciling letters to blocks you have painted. This is a craft that most children can help you with. A very affordable Christmas craft to keep or give as gifts.
Wooden Christmas Blocks Materials:
- 2×4 lumber – You need 1 block per letter (Figure approximately 3 blocks per linear foot)
- saw for cutting wood
- sandpaper for sanding wood
- *paint – milk paint for block, acrylic paint for stenciling
- 2″ alphabet stencils (I purchased mine at Michael’s. They were inexpensive paper stencils. You could also find a font you like and cut out stencils.)
- stencil brush
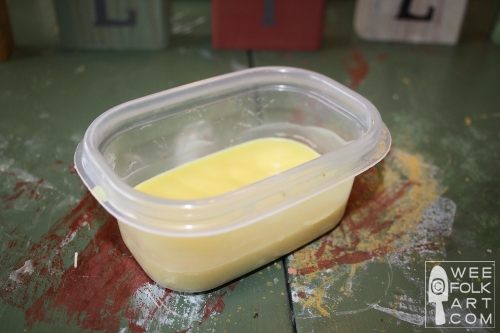
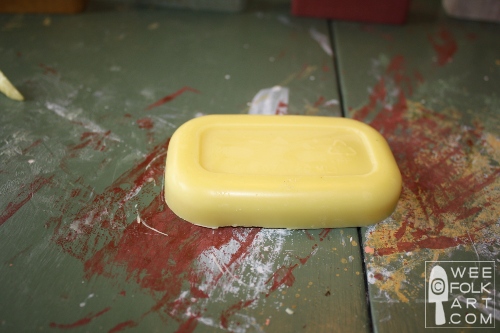
- Olive Oil and Beeswax finish (recipe available HERE)
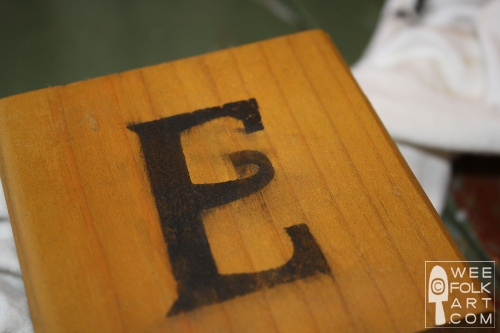
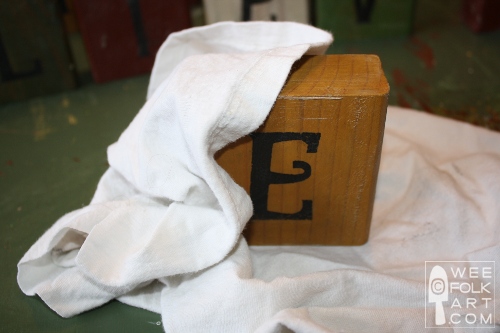
NOTE CONCERNING PAINT: I used milk paint to paint the blocks. 1 teaspoon of powder to 1 tablespoon of water covered 4 blocks. I used black milk paint to stencil the letters. I had trouble with the black paint bleeding when I applied the finish. Milk paint “stains” the surface of porous surfaces. I think the original coat of milk paint I applied acted like a sealer and the black paint did not set well. (See pic below.) For the next set of blocks I make, I plan to use black acrylic paint for the stenciling.
Wooden Christmas Blocks Directions:
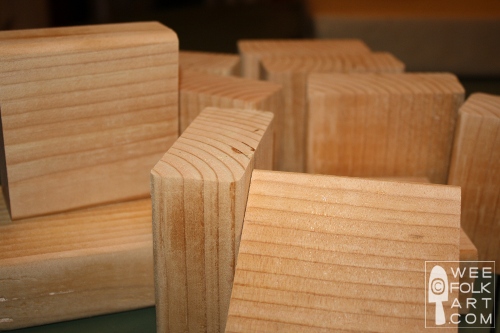
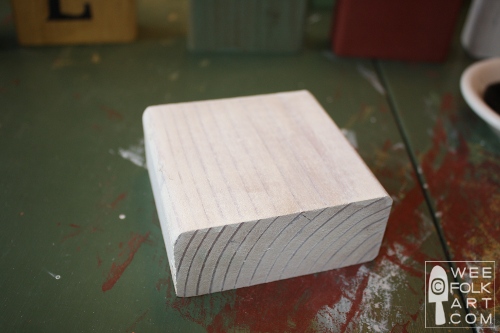
1] Cut a pine 2×4 to create squares. (Each block will be approximately 3 3/8″ x 3 3/8″.)
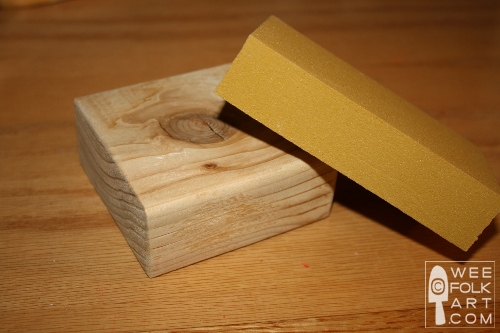
2] Lightly sand the edges to remove sharp edges. NOTE: Since these are made for display and not to be played with, and they are suppose to have a primitive look to them, you do not have to do a fantastic sanding job. Just good enough to prevent splinters while you are working with them. If you do intend to use them as a toy, make sure to thorough sanding job, making the blocks smooth, to prevent any splintering.
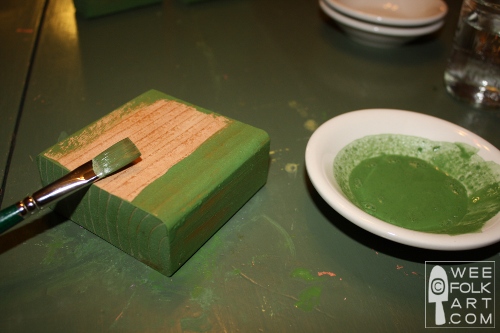
3] If using milk paint, mix according to instruction. By mixing 1 teaspoon of powder to 1 tablespoon of water, I was able to paint 4 blocks. Allow to dry completely.
4] Before stenciling blocks, arrange the blocks in the manner you plan to display them. It is not always easy to get a random look 🙂

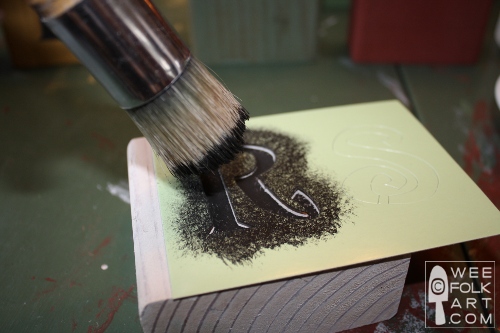
5] Center a letter stencil on a block, and using a very small amount of paint that has been blotted on a paper towel, stencil your letter on a block.

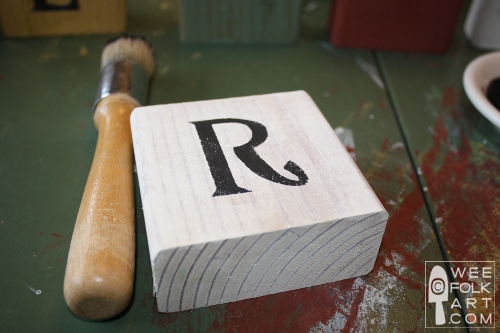
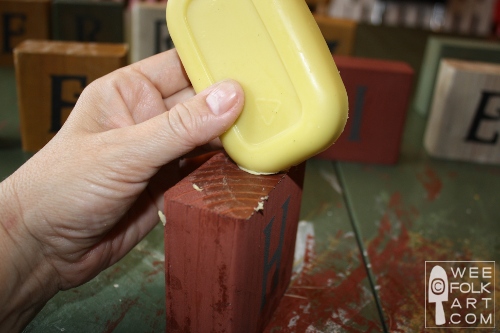
6] Allow paint to dry completely. Finally, seal the wood with a beeswax and olive oil finish. The recipe for mine can be found HERE. NOTE: For this project, I melted the olive oil and beeswax together. I let it cool in a container, took it out, and used it in bar form.
2 Comments
Pingback:
Pingback: