
Treasure Pouch

To get more information and photos of this project, CLICK HERE and HERE and HERE and HERE.
I created the Treasure Pouch so my grandbabies could take them along on walk-abouts. It’s just big enough, 7″ x 6″, to tuck away several “keepers”, without being too heavy or cumbersome!
Materials:
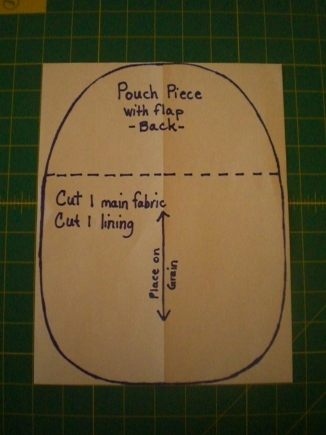
Pattern Pieces
Snail Applique Pattern
Flower Applique Pattern
1/4 – 1/3 yard woven fabric for lining (great project for fabric scraps)
2 9″ x 11″ piece of wool felt
wool felt scraps for applique
12 strands of 4 ply wool yarn for shoulder strap, approximately 50″ long each
embroidery floss and needle
matching thread for sewing machine
Directions:
1) Download and piece the pattern together.


2) Cut out 1 front and 1 back out of felt and 1 front and back out of woven fabric.

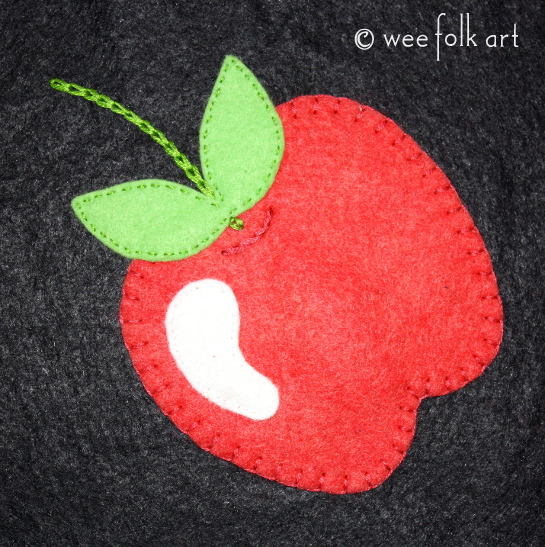
3) Chose an applique pattern. Two appliques, a snail and a flower, are available to download or create your own design. Cut applique out of scraps of wool felt. When placing the applique on your flap, make sure it is at least 1″ away from all sides and fold line.


4) With right sides together pin back lining to back felt. Sew together using a 1/2″ seam allowance. Leave a 2 1/2″ opening on side to turn.

5) Trim curves to 1/4″.

6) Turn and press. Blind stitch opening closed.

7) Repeat steps 4 – 7 for front lining and front felt.
8) Place front on top of back so the front’s felt side is touching the back’s lining fabric side. This how the two pieces will be attached.

9) Begin by using 6 strands of contrasting embroidery thread to blanket stitch across the top (the flat side) of the pouch front.

10) When you reach the end, place the pouch front on top of the back piece as shown in step 8. Without tying off the thread, continue blanket stitching around the sides and bottom of the pouch, going through all layers. Check the back of your work frequently to make sure the blanket stitch is even on the front and the back.

11) When the two pieces have been blanket stitched together, continue blanket stitching around the flap. Tie off.

12) To reinforce the pouch, sew a running stitch in between the blanket stitches using 6 strands of embroidery floss. Do this only to the area where the front and back are attached. DO NOT sew running stitch along flap. Check the back of your work frequently to make sure the running stitch is even on the front and the back.


13) To make a strap, use your favorite braid style and about 12 stands of yarn. The finished length should be approximately 36 inches so braid 6 inches longer, then tie a knot at each end and cut to allow a 1 1/2 – 2 inch fringe.

14) Sew the strap in place by securing the knots to the back of the closed bag approximately 1″ in and 1″ down. Be careful to sew only to the felt and do not go all the way through the bag. The stitches should not be visible from inside the bag.


www.WeeFolkArt.com
Copyright © Wee Folk Art 2008. All rights reserved.

One Comment
Pingback: