Dress Up Vest Un-Pattern

Here is the Un-Pattern for the Child’s Dress-Up Vest. (Why an UN-Pattern? Because you actually have to draw up your own pattern… we just tell you how we made ours).
For this project I used about 1 yard of Navy Corduroy and 1 Yard of a cotton print and 3 large silver buttons.

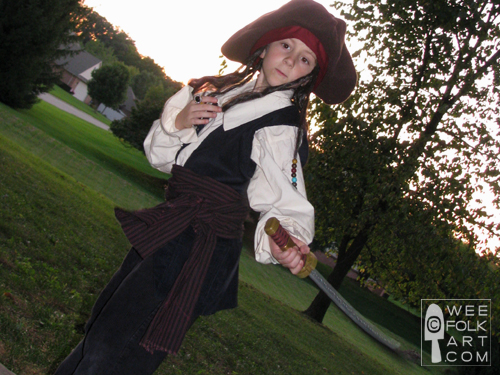
First I took the pattern I had made for the Pirate Shirt here (shown on top) and made some adjustments. I wanted the vest to be longer and the opening to be curved.

Leaving a 1/2″ seam allowance all the way around (even on the fold for roominess) I cut out one back piece on the fold (without the cut away curve for the front). I then cut out two front pieces with the 1/2″ seam allowance and I added another inch where the buttons would go for overlap.

Once I was happy with my vest pieces, I used them as a pattern to cut out my lining fabric to match.

With front sides together, sew up the top shoulder seams. Repeat with lining. (At this point I tried the vest on my boy and decided to shorten it up a bit. I made the adjustments to both the main fabric and lining).

Matching right sides together, pin the lining and main fabric together. You will get a wonky Y shape. Sew up everything but the SIDE SEAMS (the seams under the arms on both the front panels and back). Leave those open.

Pull the vest right side out through one of the side openings. Iron.

Outsides together, line up your side seams and sew. I also serged these seams but you could finish it even nicer with a Flat Fell Seam.

Now for some finishing touches. I cut out some squares for pockets. (I am only showing it on the liner side for better contrast so you can see the sizing).

I turned under and ironed the edges (twice at the top). I stitched along the top edge to hold the top edge down.

I centered the pocket pieces on the front vest panels and stitched in place.

For the finishing touch I sewed on 3 large silver buttons. I actually had room for four but only stitched a piece of string in the bottom position to make it look like a missing button (seems to me pirates would lose a few buttons along the way). I have not made the button holes on the other side yet but plan to at some point (actually I’ve never made button holes and figure I will hand it off to Gammy for that last bit).