
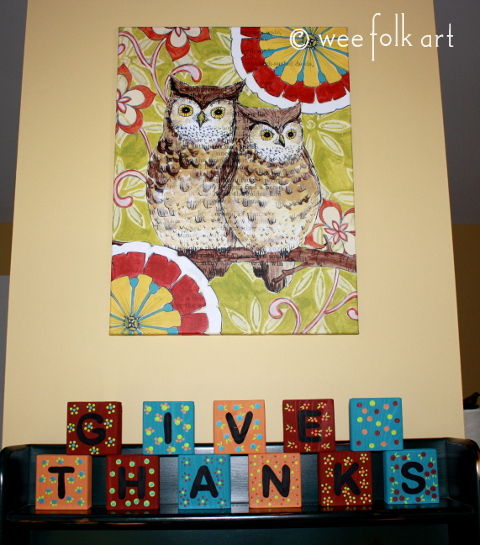
GIVE THANKS Wooden Blocks Thanksgiving Decor
Autumn… traditionally a time to harvest the bounty from our gardens and a time of gratitude. The simple words “GIVE THANKS” reminds us to count our blessings and to Give Thanks. With just some inexpensive pine 2″ x 4″s and a little paint, you can share this message with family and friends by making your own GIVE THANKS Wooden Blocks Thanksgiving Decor.

If you can cut a piece of 2″ x 4″, you can make this project. BTW… even if YOU can’t cut a 2″ x 4″, many lumber yards are willing to do it for you for a nominal fee. Use your imagination to share greetings and messages by simply stenciling or hand painting letters to the blocks.

GIVE THANKS Wooden Blocks Thanksgiving Decor Materials:
- 2″ x 4″ pine board. You need 1 block per letter (Figure approximately 3 blocks per linear foot)
- Saw for cutting wood
- Sandpaper for sanding wood
- Paint – I used our Non-Toxic Soy Paints available in our shop
- 2″ alphabet stencils or you can pick a 2″ font from your word processor (more about this later)
- Paint Brushes
- Wood Finish (optional) – I used our Original Beeswax finish available in our shop or you can use our recipe for Olive Oil and Beeswax Finish available HERE
GIVE THANKS Wooden Blocks Thanksgiving Decor Directions:
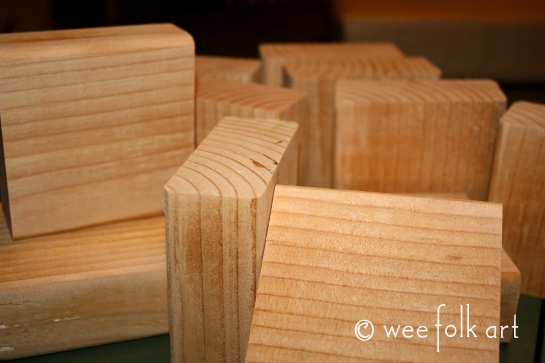
Cut a pine 2″ x 4″ to create squares. (Each block will be approximately 3 3/8″ x 3 3/8″.)
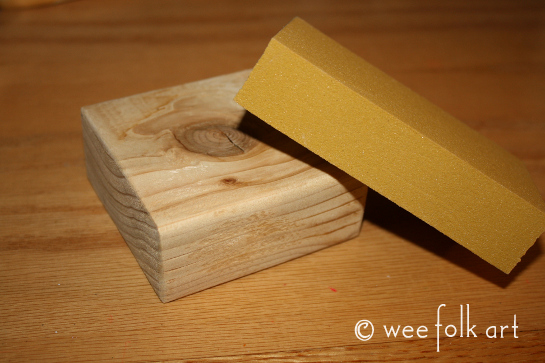
Lightly sand the edges to remove sharp edges.
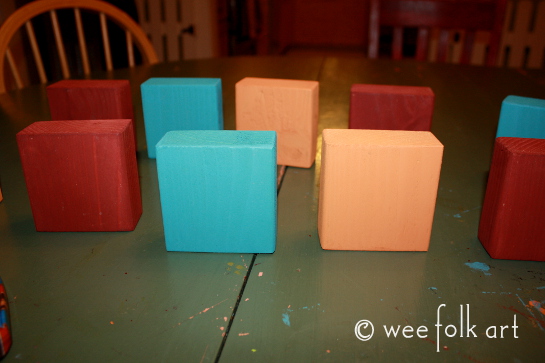
Paint all 6 sides of the blocks. Allow to dry completely. You should only need 1 coat of paint.

When choosing my paints, I wanted colors that reflected the season, had a bit of whimsy, and coordinated with the painting that they were going to stack under. Although teal/aqua isn’t usually considered a “fall” color, I wanted to pull the color into my letters. (BTW… I bought a series of 3 owl pictures at Pier 1 a couple of years ago. They were only $30.00 a piece. I LOVE them. I just checked. They still have some available online… on sale… for $19.00 a piece! You can find them HERE. I’m sure their supplies are limited.)

Before adding letters, arrange the blocks in the manner you plan to display them. Decide if you want a random look or a pattern.
You can either use a set of purchased 2″ letter stencils or make your own letters using your word processor. (Mine is Microsoft’s Word) I used the font Arial Rounded MT Bold, set the size at 200, and after typing the letters, highlight them, and made them Bold. It gave me letters that were 2″ tall.

If using a stencil, center the letters on your blocks. If using a printed font, cut out each letter, and trace them unto the blocks. Because the pine is soft, if you press hard, you will leave an impression on the wood.

You can now stencil or hand paint the letters on the blocks.

If you want, you can leave the blocks with simply the letters. Check out some Christmas blocks I made several years ago. They can be found HERE. I wanted a more whimsical look, so I painted designs on each block. To make the flowers I simply dipped the back of my paintbrush in paint and dabbed the paint on the blocks. You can get a better idea of this process by checking out the flowers on our City Gnome Beds found HERE. To make the round circles, I dipped the back of a pencil (without an eraser) in paint and dabbed it on the block. All the designs are random… just have fun 🙂


When the paint was thoroughly dry, I went over all the blocks with our wood finisher.

Although this stage is optional, it does give the letters a lovely sheen, will stop the wood from drying out and will help them last for years 🙂

Now, display your GIVE THANKS Wooden Blocks Thanksgiving Decor.
I plan to make a couple more sets for other places in the house. You can get as creative as you’d like in your wording. This is a lovely and inexpensive way to herald in any season 🙂


3 Comments
Janice Everette
I love using teal in an autumn setting. I love the fall but I do get tired of the of all the oranges and browns. Adding the teal really brightens things. I’m going to intro teal into my autumn collection.
Shelia H
These are beautiful. I loved your Christmas ones when I saw them several years ago and made some them. I cut out a whole pile of blocks back them, so I’m going to hit the stash and get some fall ones painted. I also like the addition of blue in the setting. That spring green would look awesome as well. I also don’t care for the heavy fall colors that are so prevalent this time of year. I’m thinking “Autumn Bounty” might look great with some pumpkins and Indian caorn.
angiegk
love this idea! What a great craft for the kids!